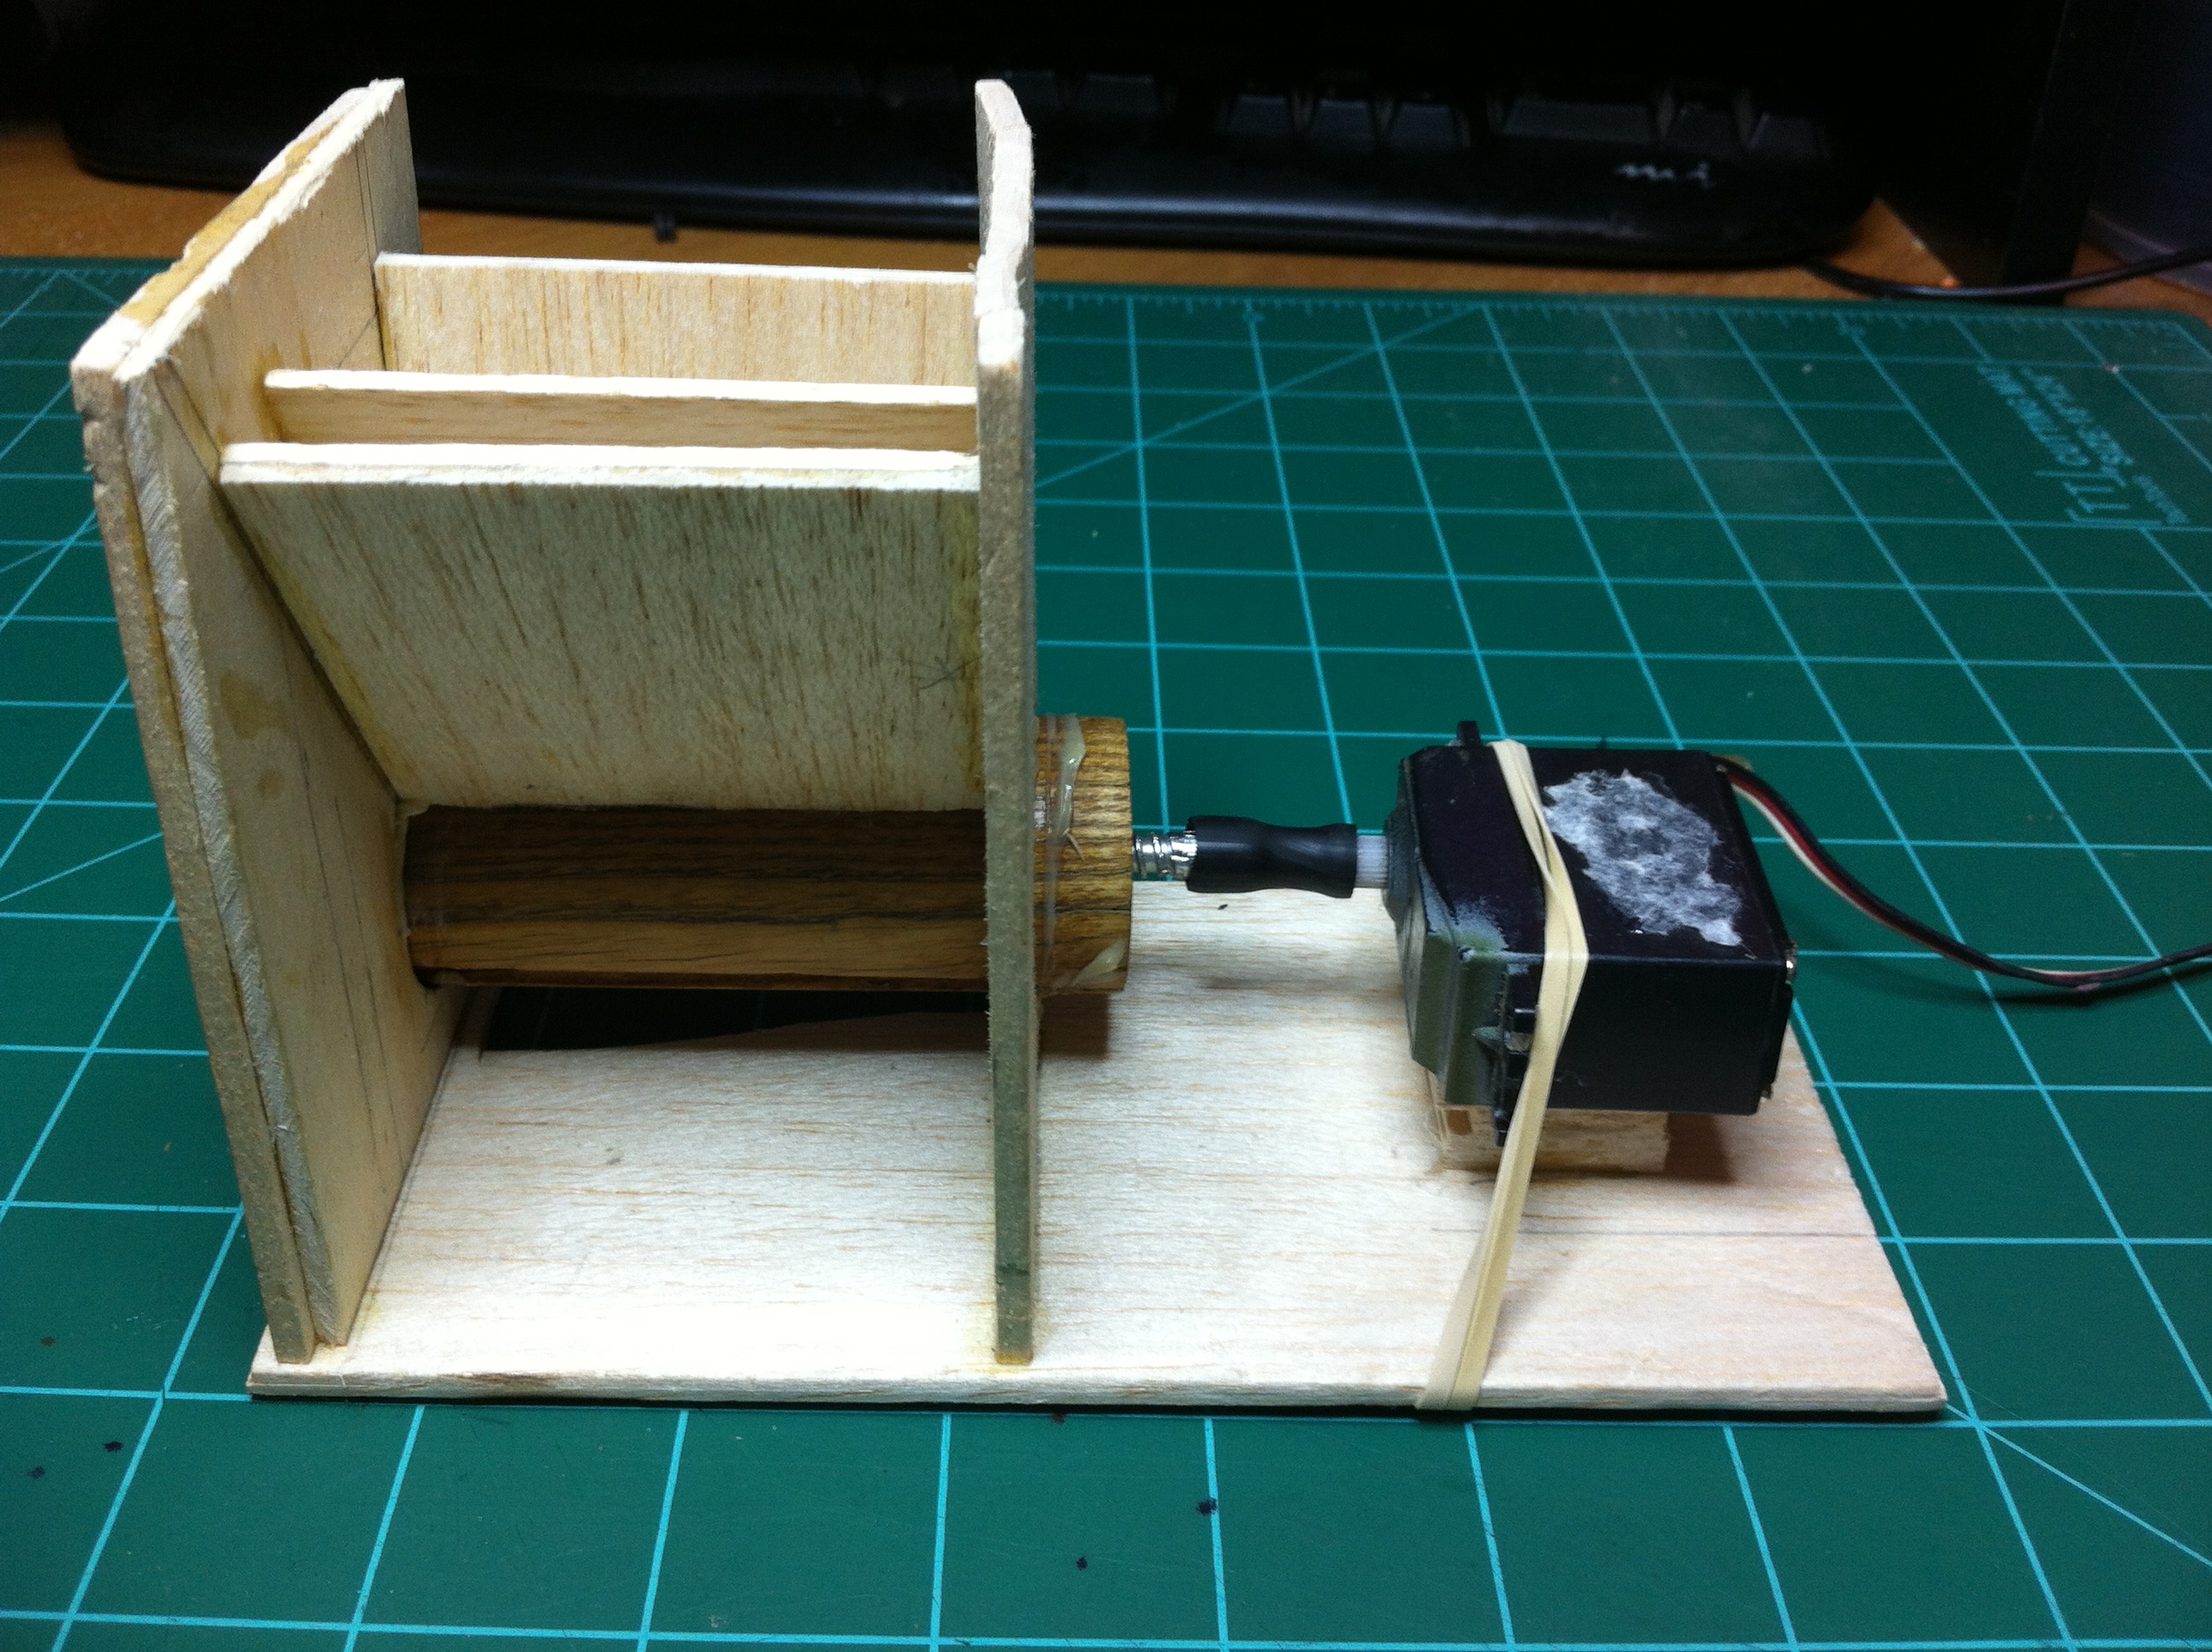
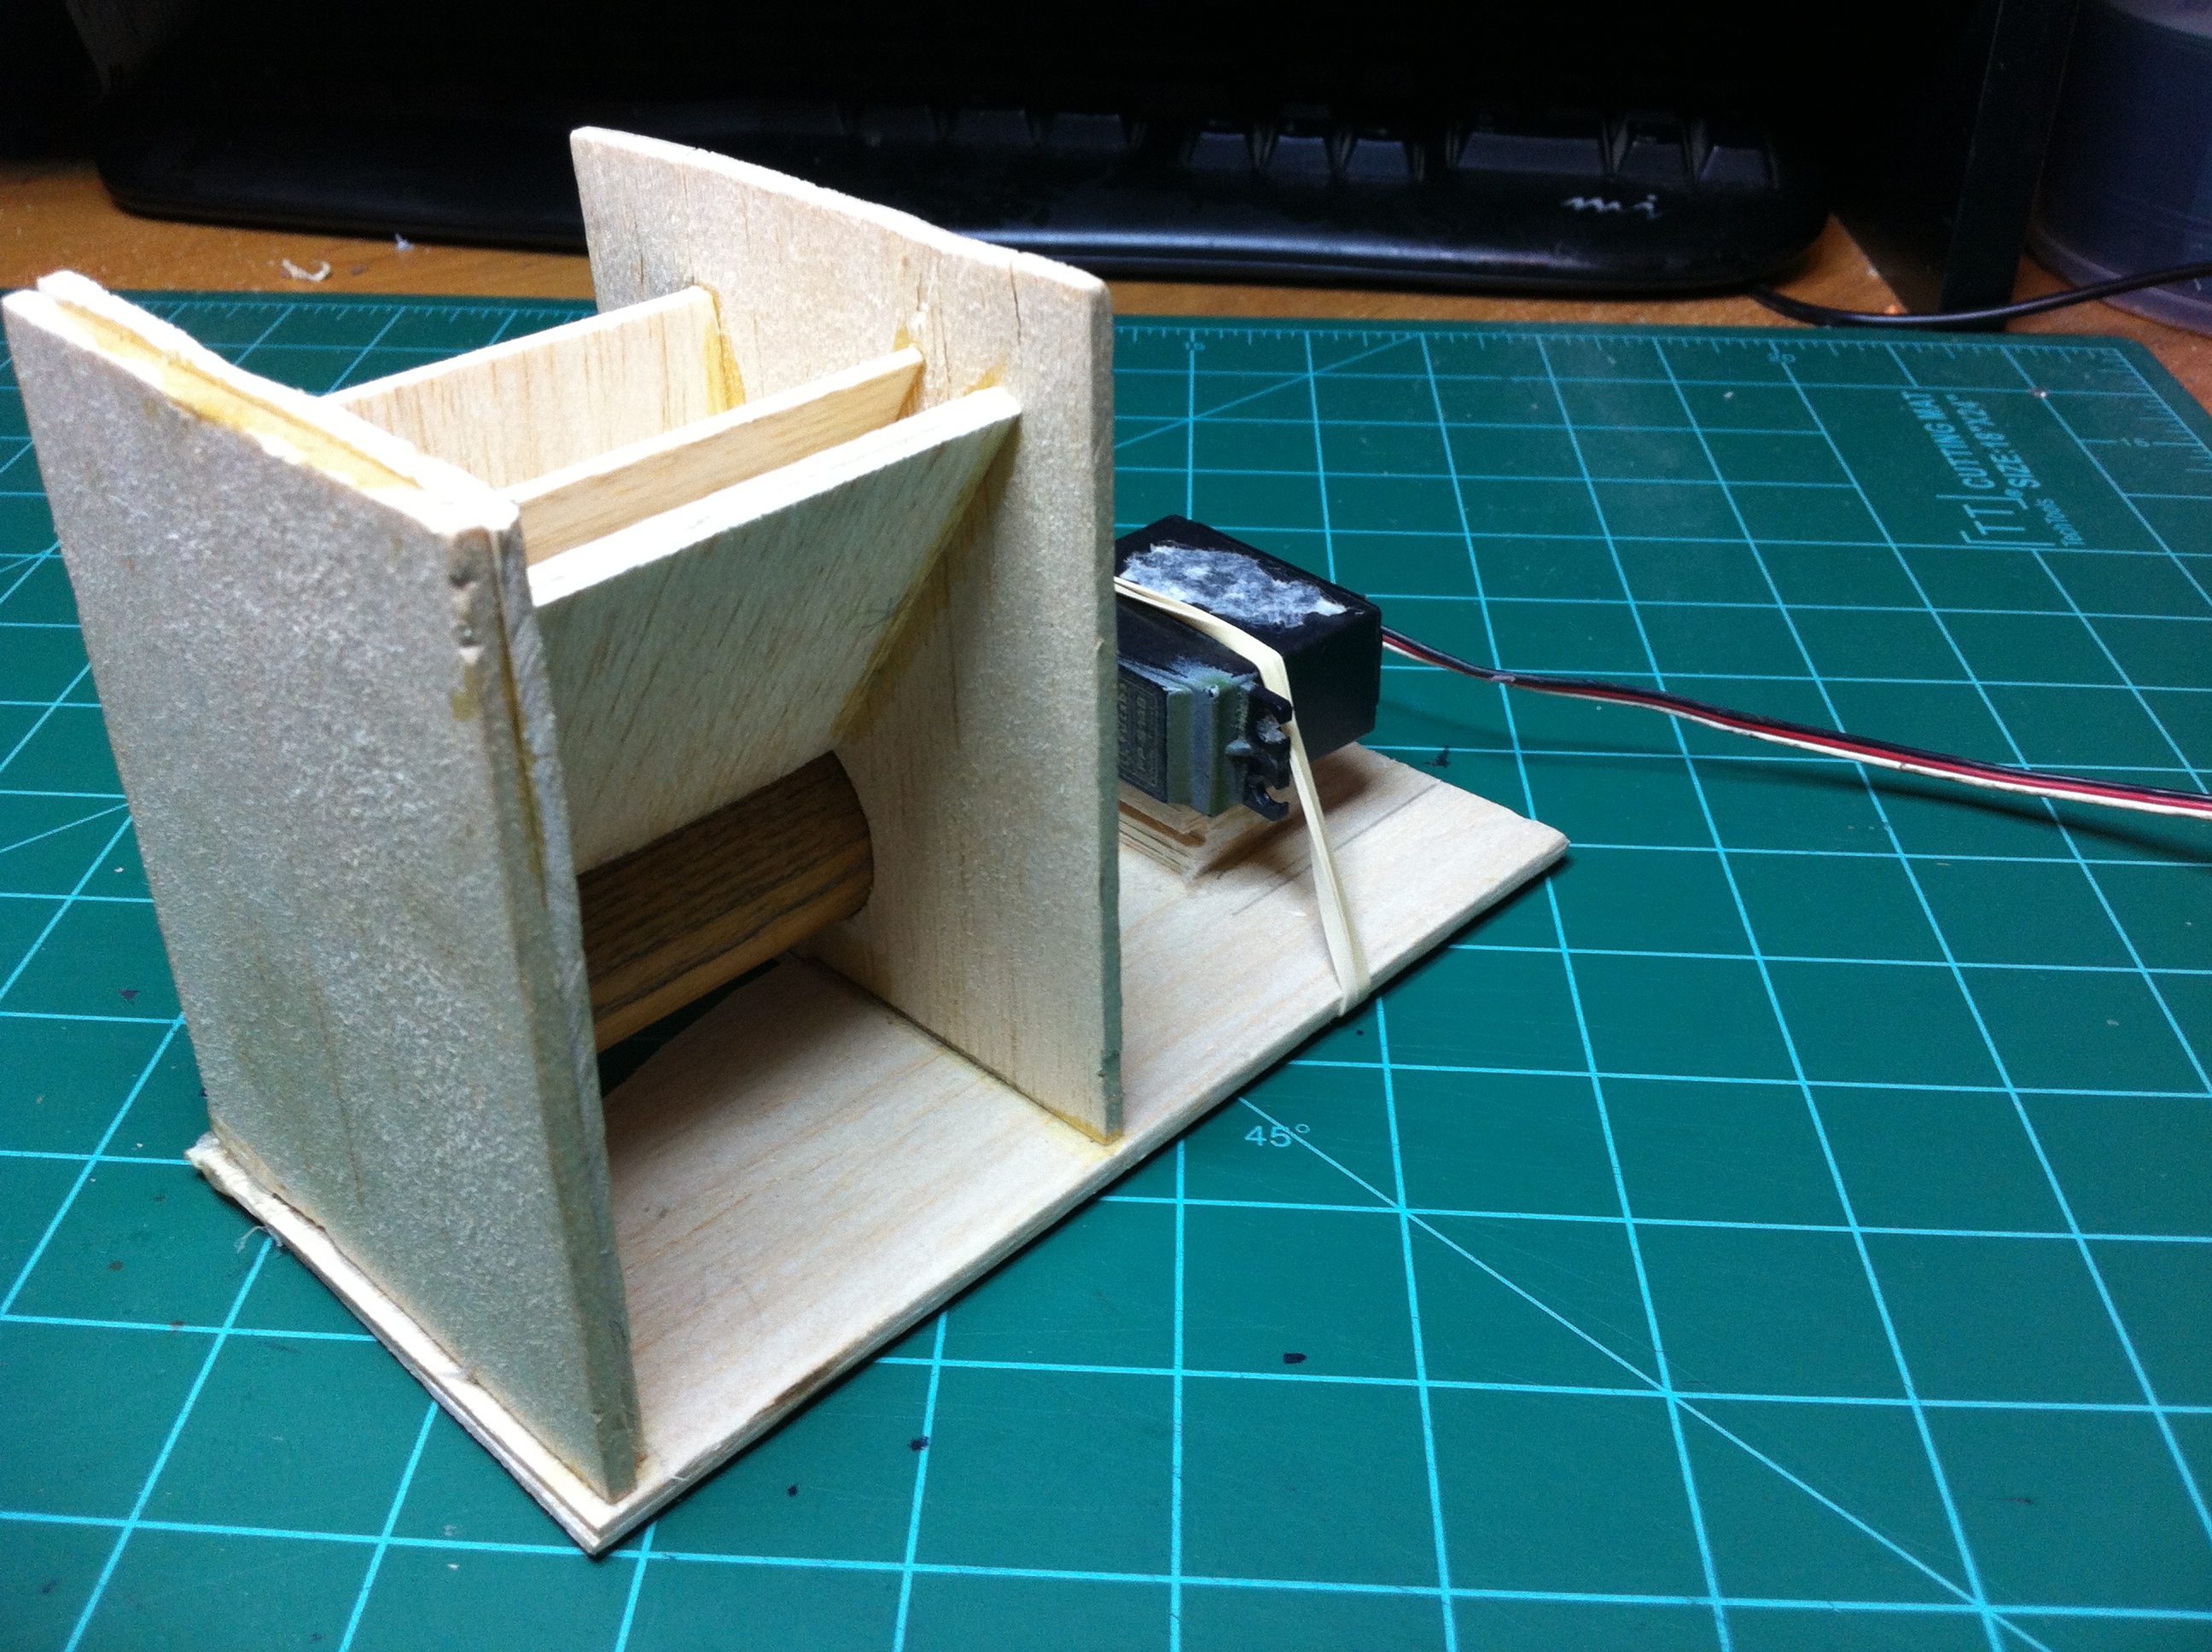
So I’ve built my Firecracker Dispenser out of wood and with tighter tolerances. This version, version 2, is better constructed than version 1, but I am still having problems with jamming.
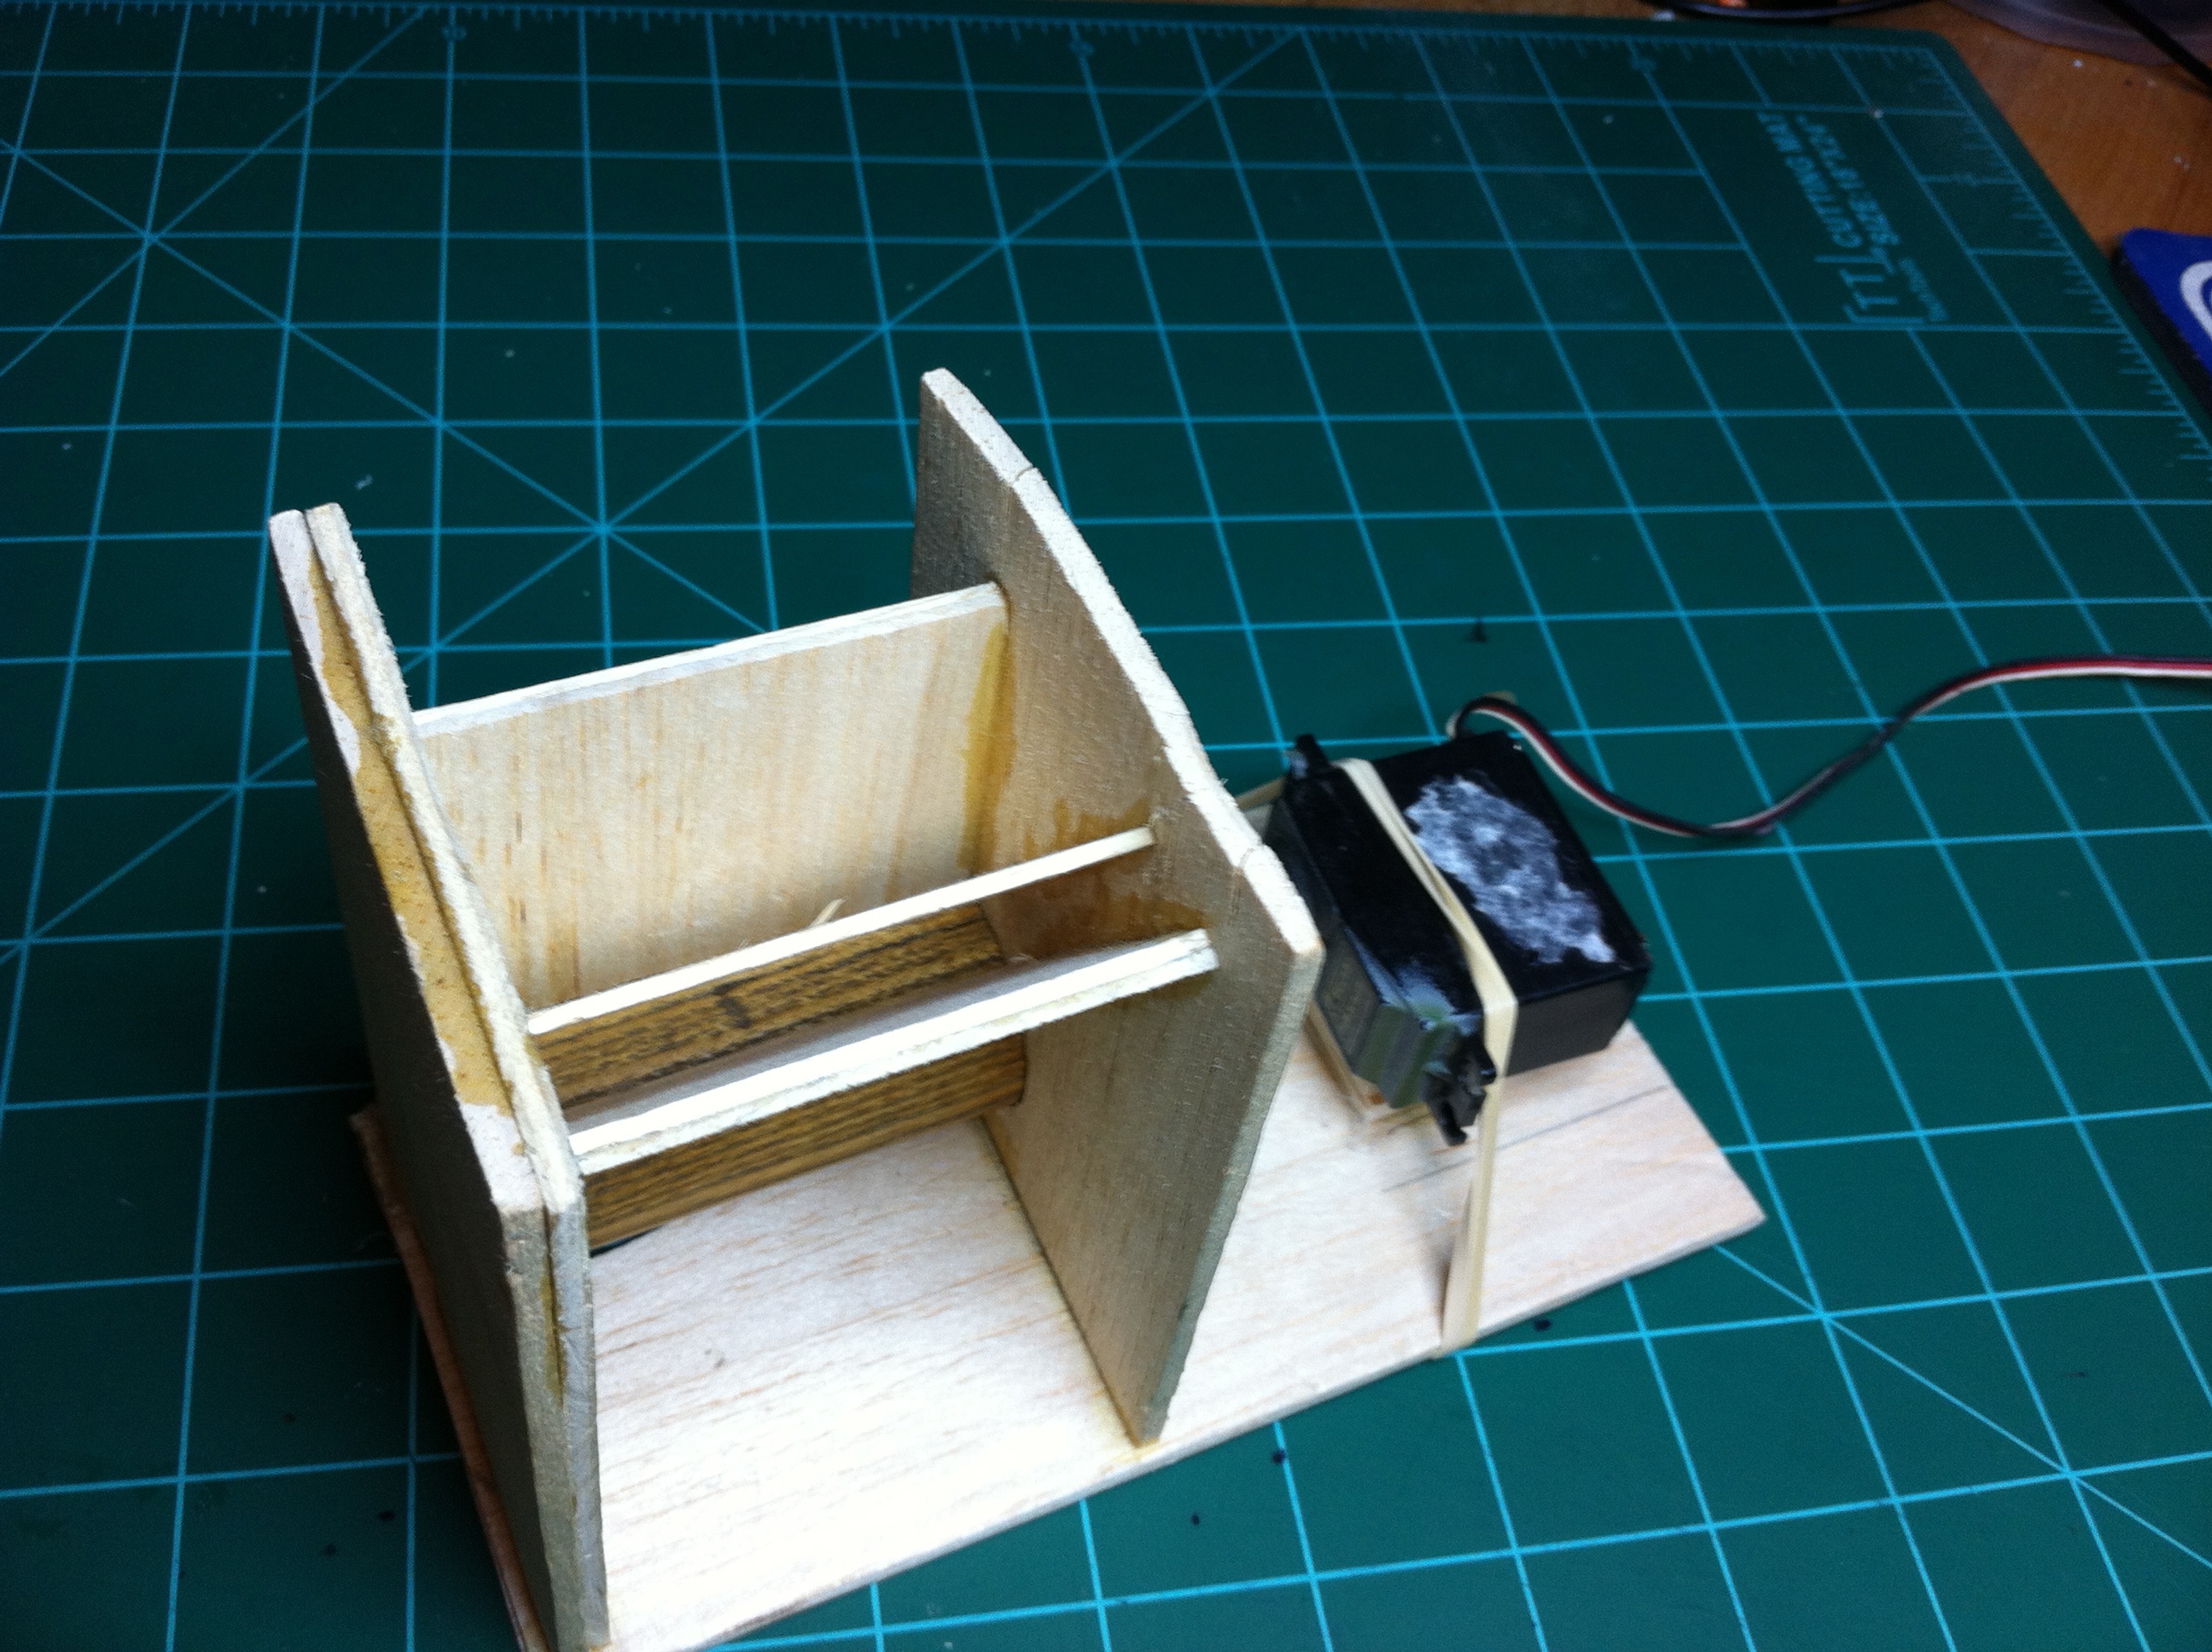
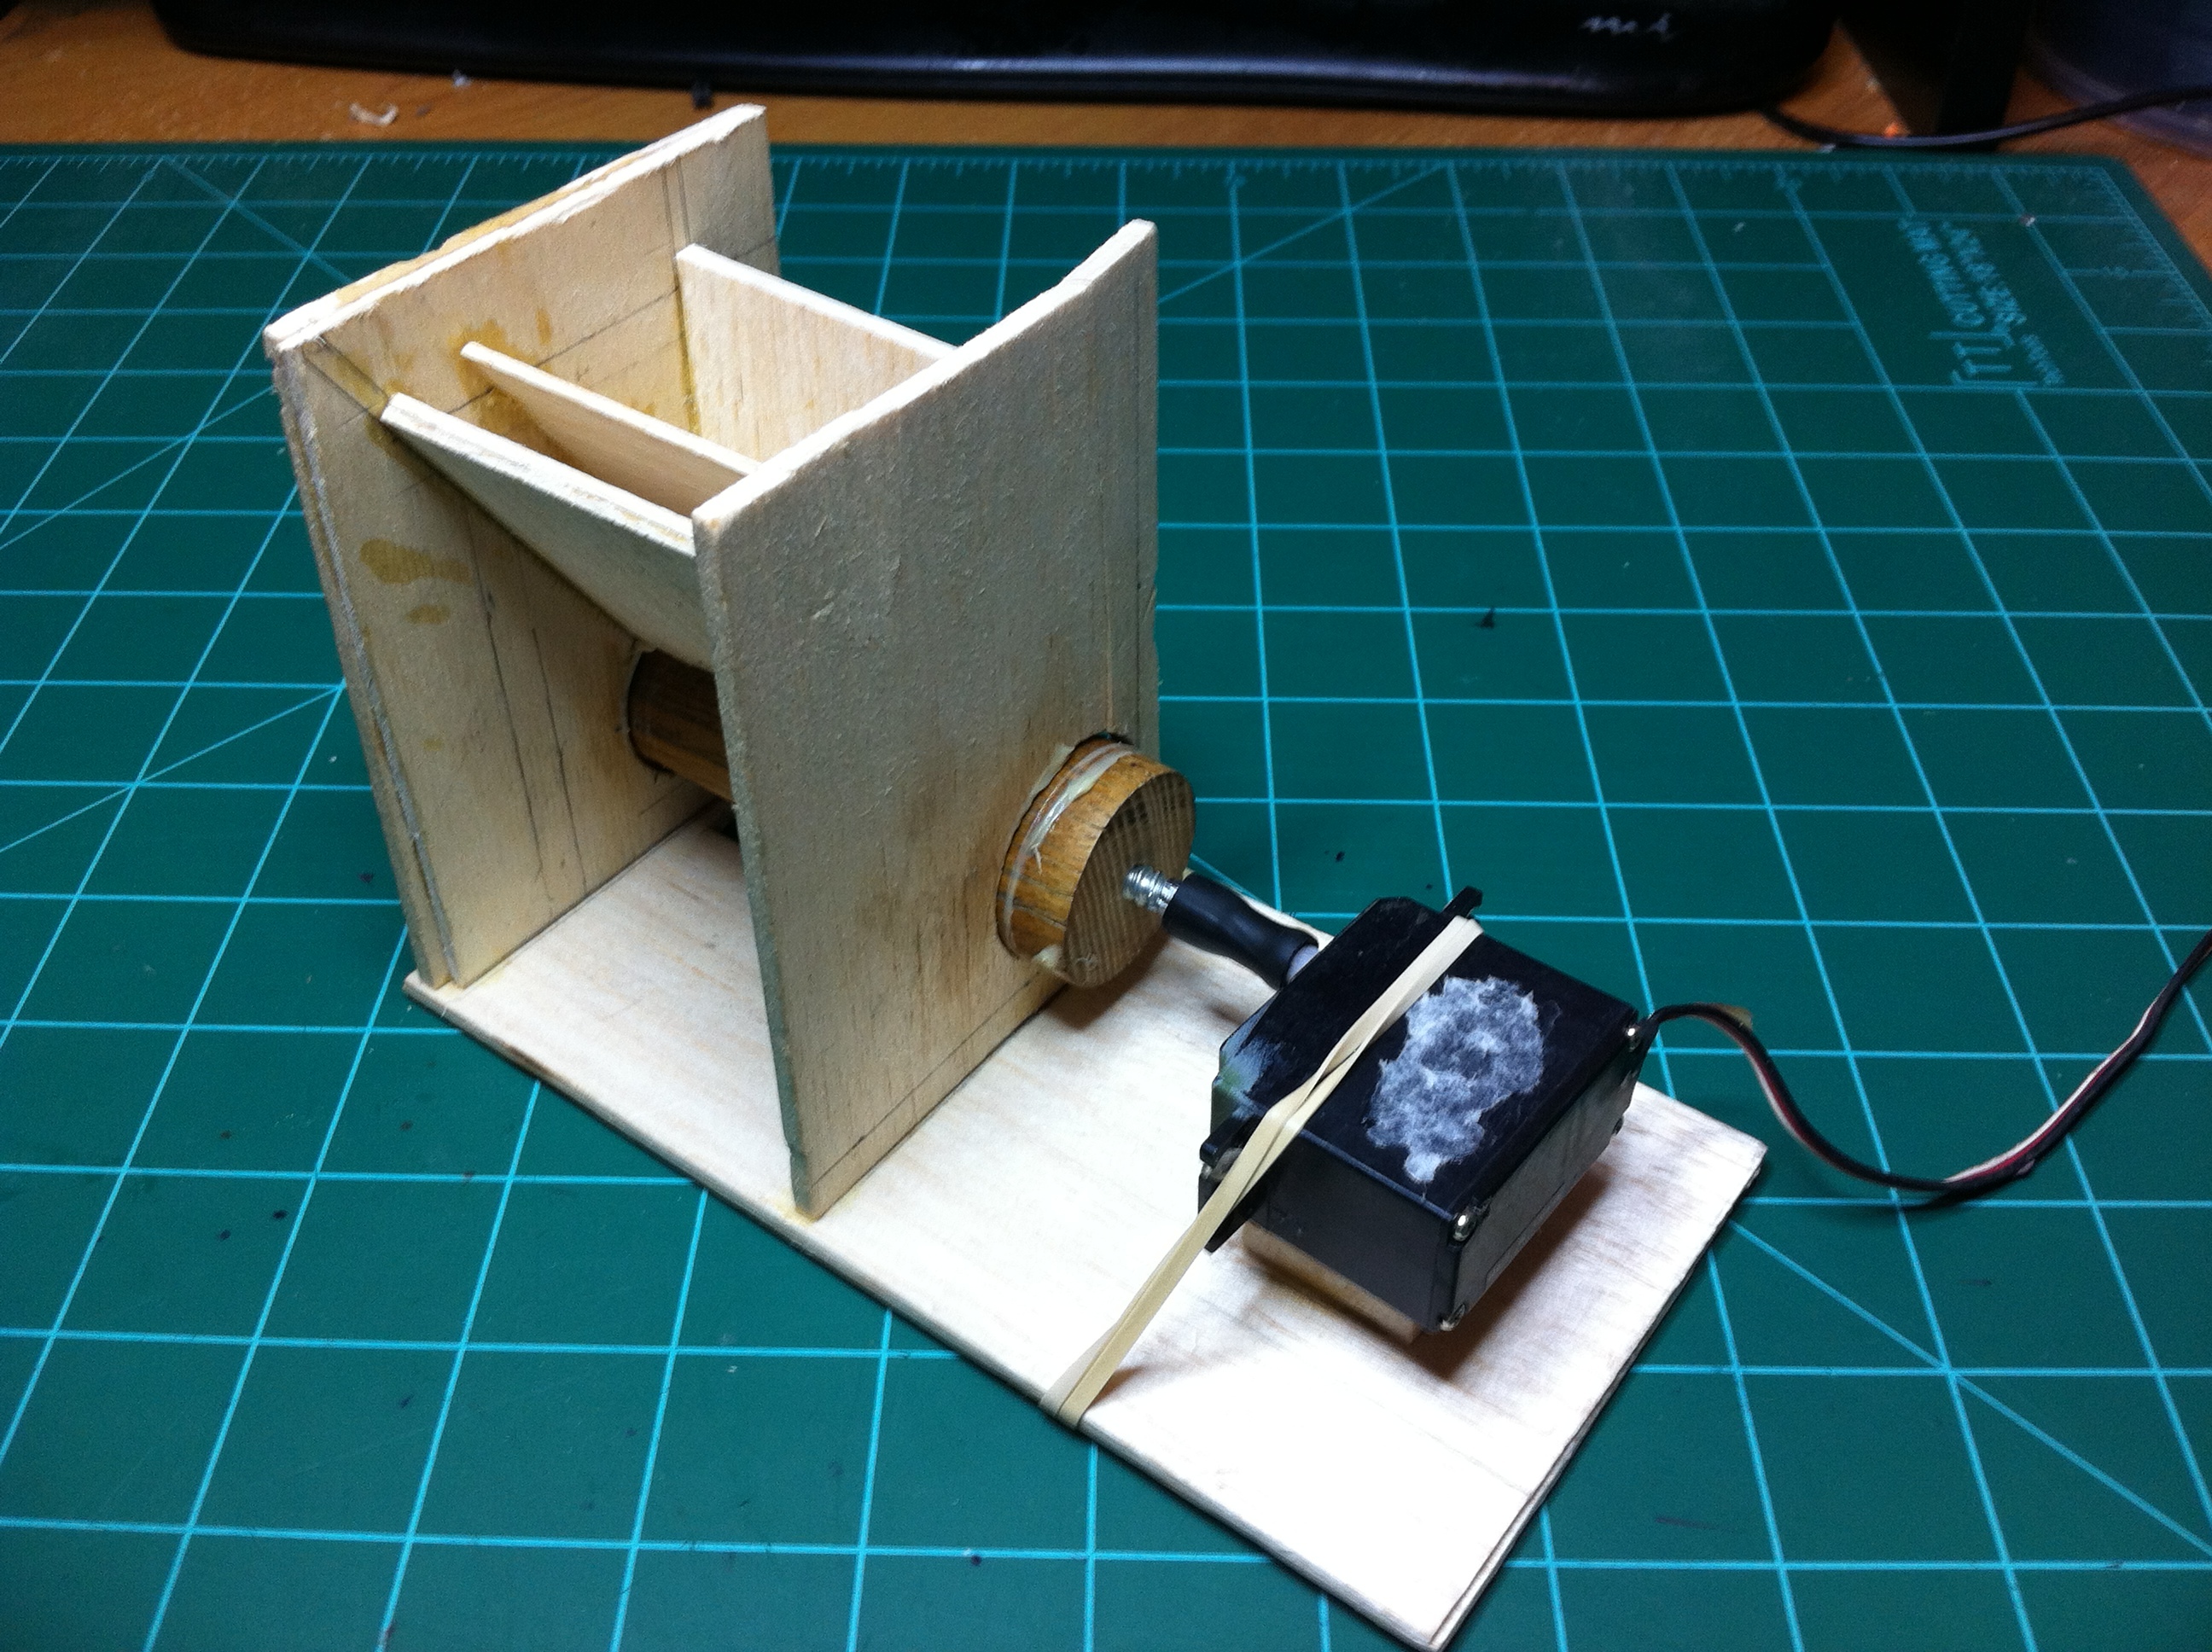
This version is made out of 1/8″ balsa wood. It’s the exact same design as the first version, it is now just made out of wood. It’s got a base, a hopper, a dowel with a groove in it, and a 360 servo. I am using a piece of 1/8″ inner diameter vacuum tubing to connect the servo to the wood screw that is in the dowel. There’s not much I can add in terms of design details because it is the same design as version one. This is more or less just an update on the project.
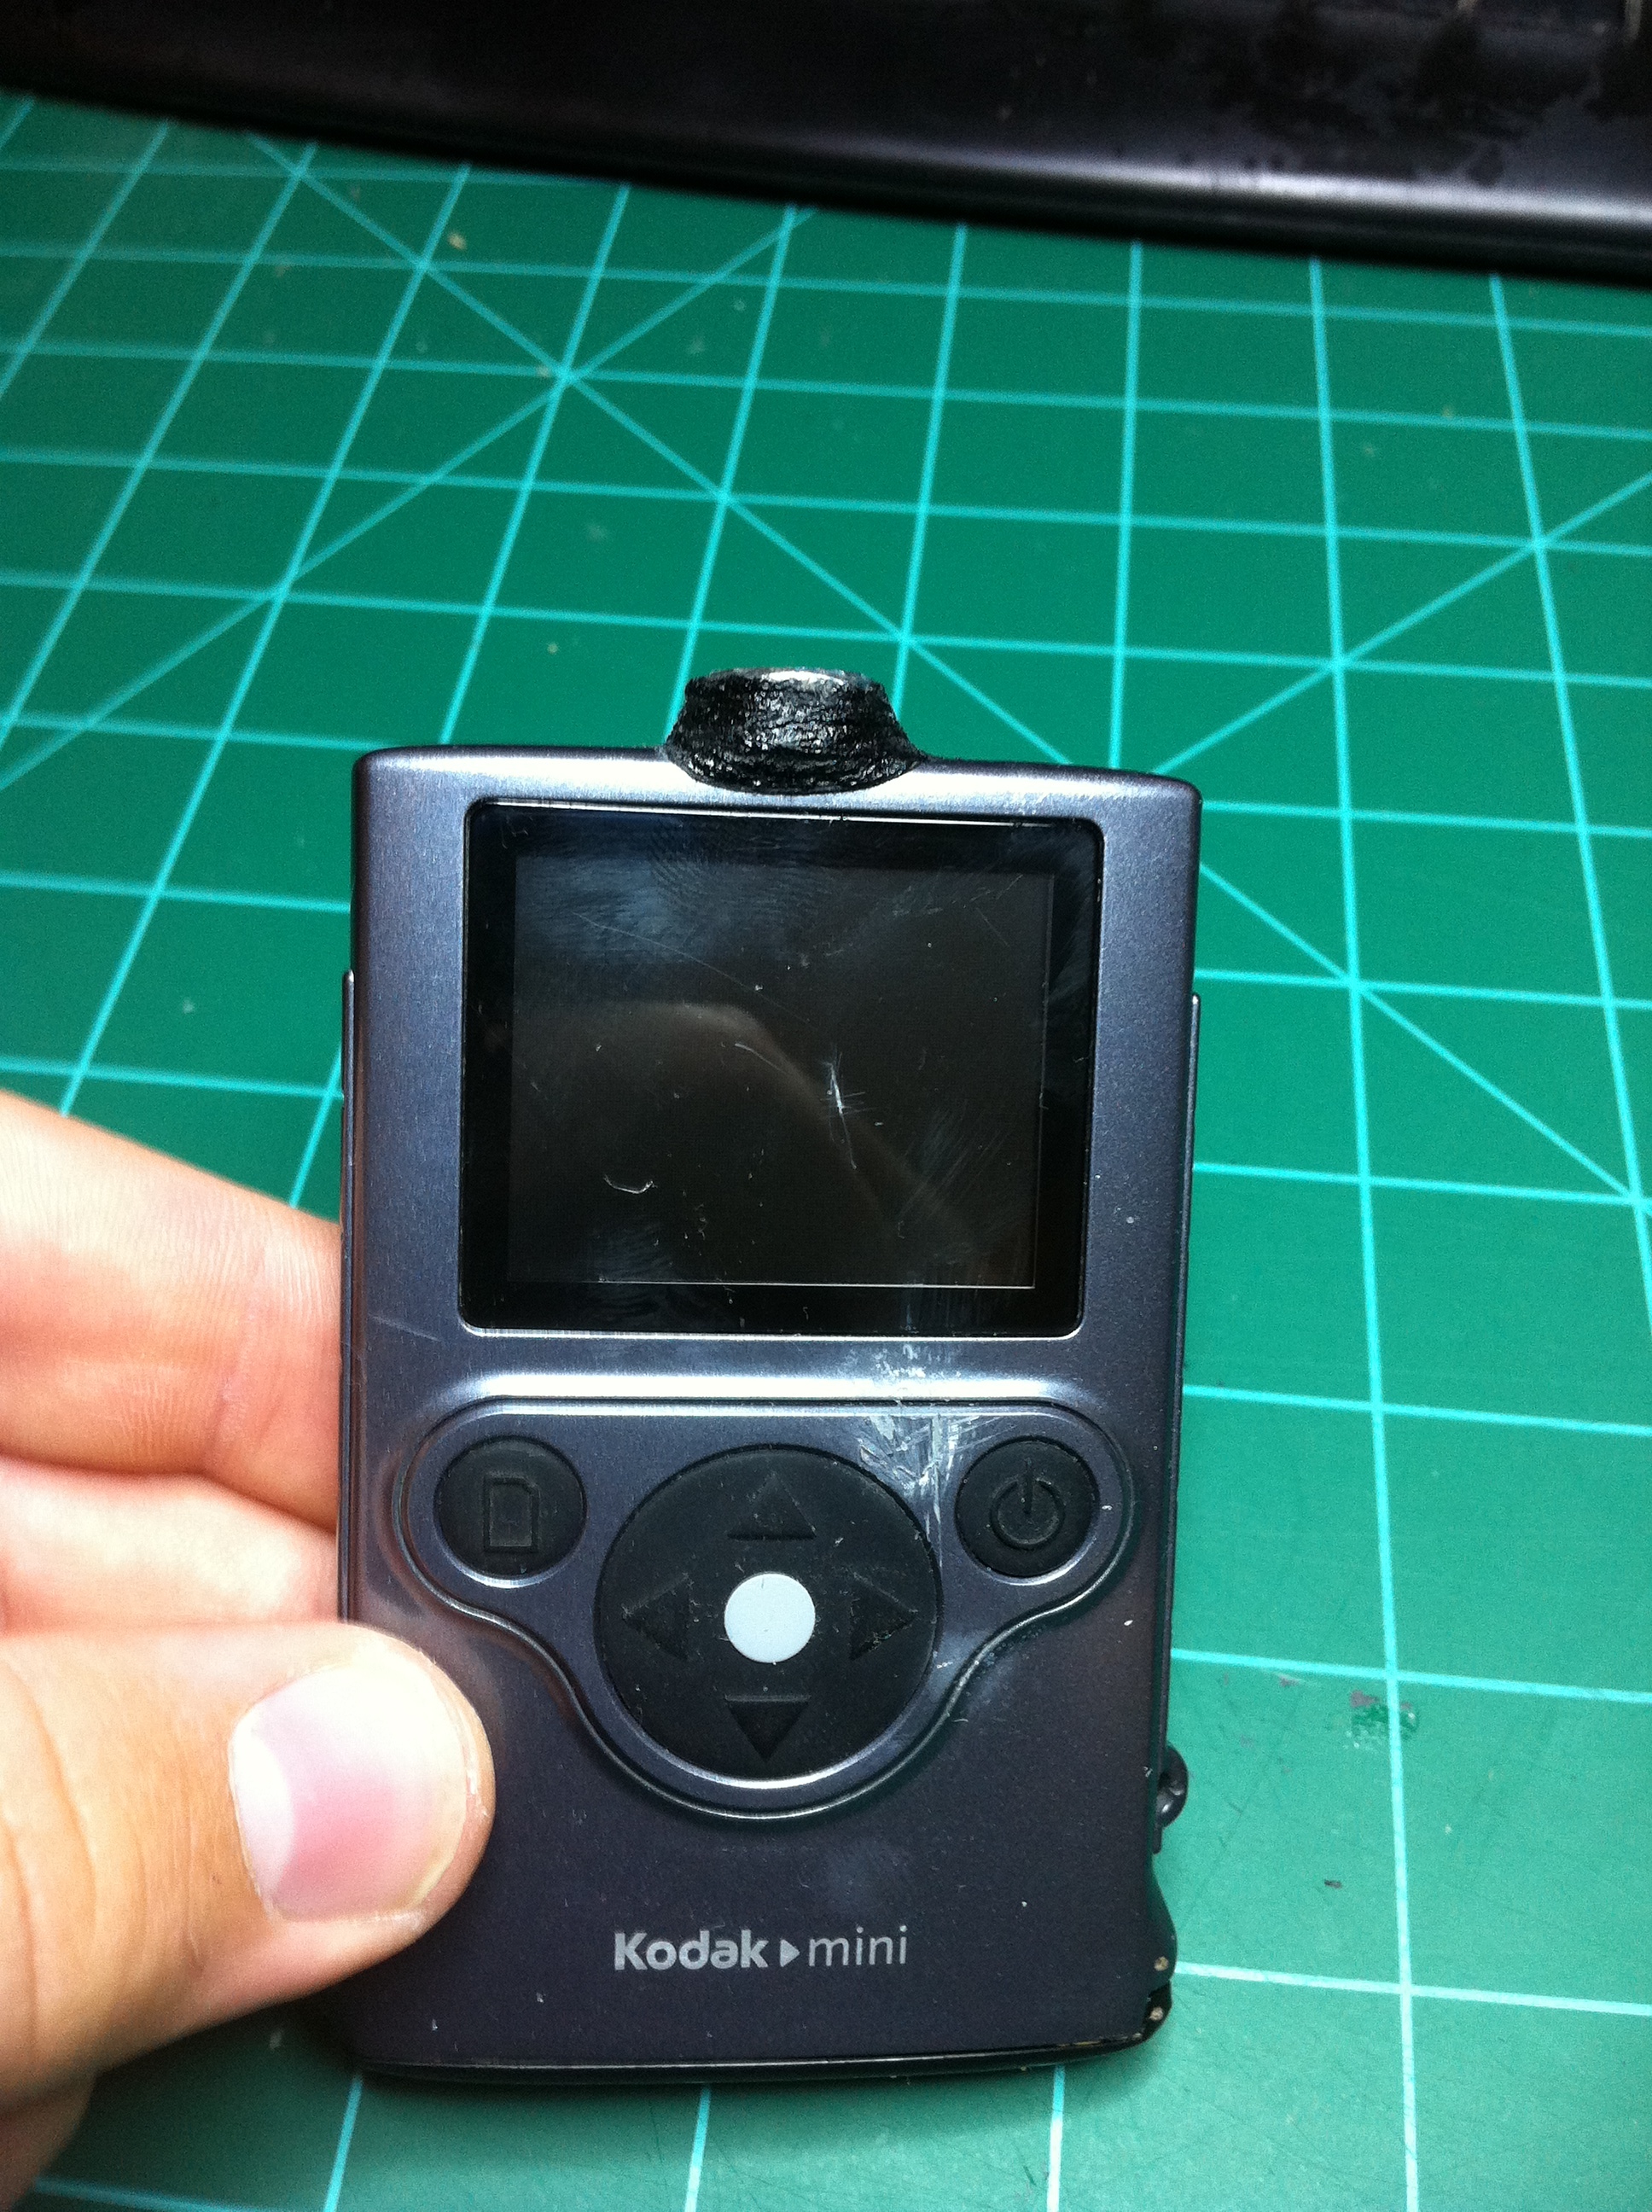
While working on the first prototype of the firecracker dispenser and lighter, I wanted to take some video of it when I realized I couldn’t attach my iPhone to a tripod. I know you can buy things that make it to where you can do this, but why buy it when you can make your own . . .
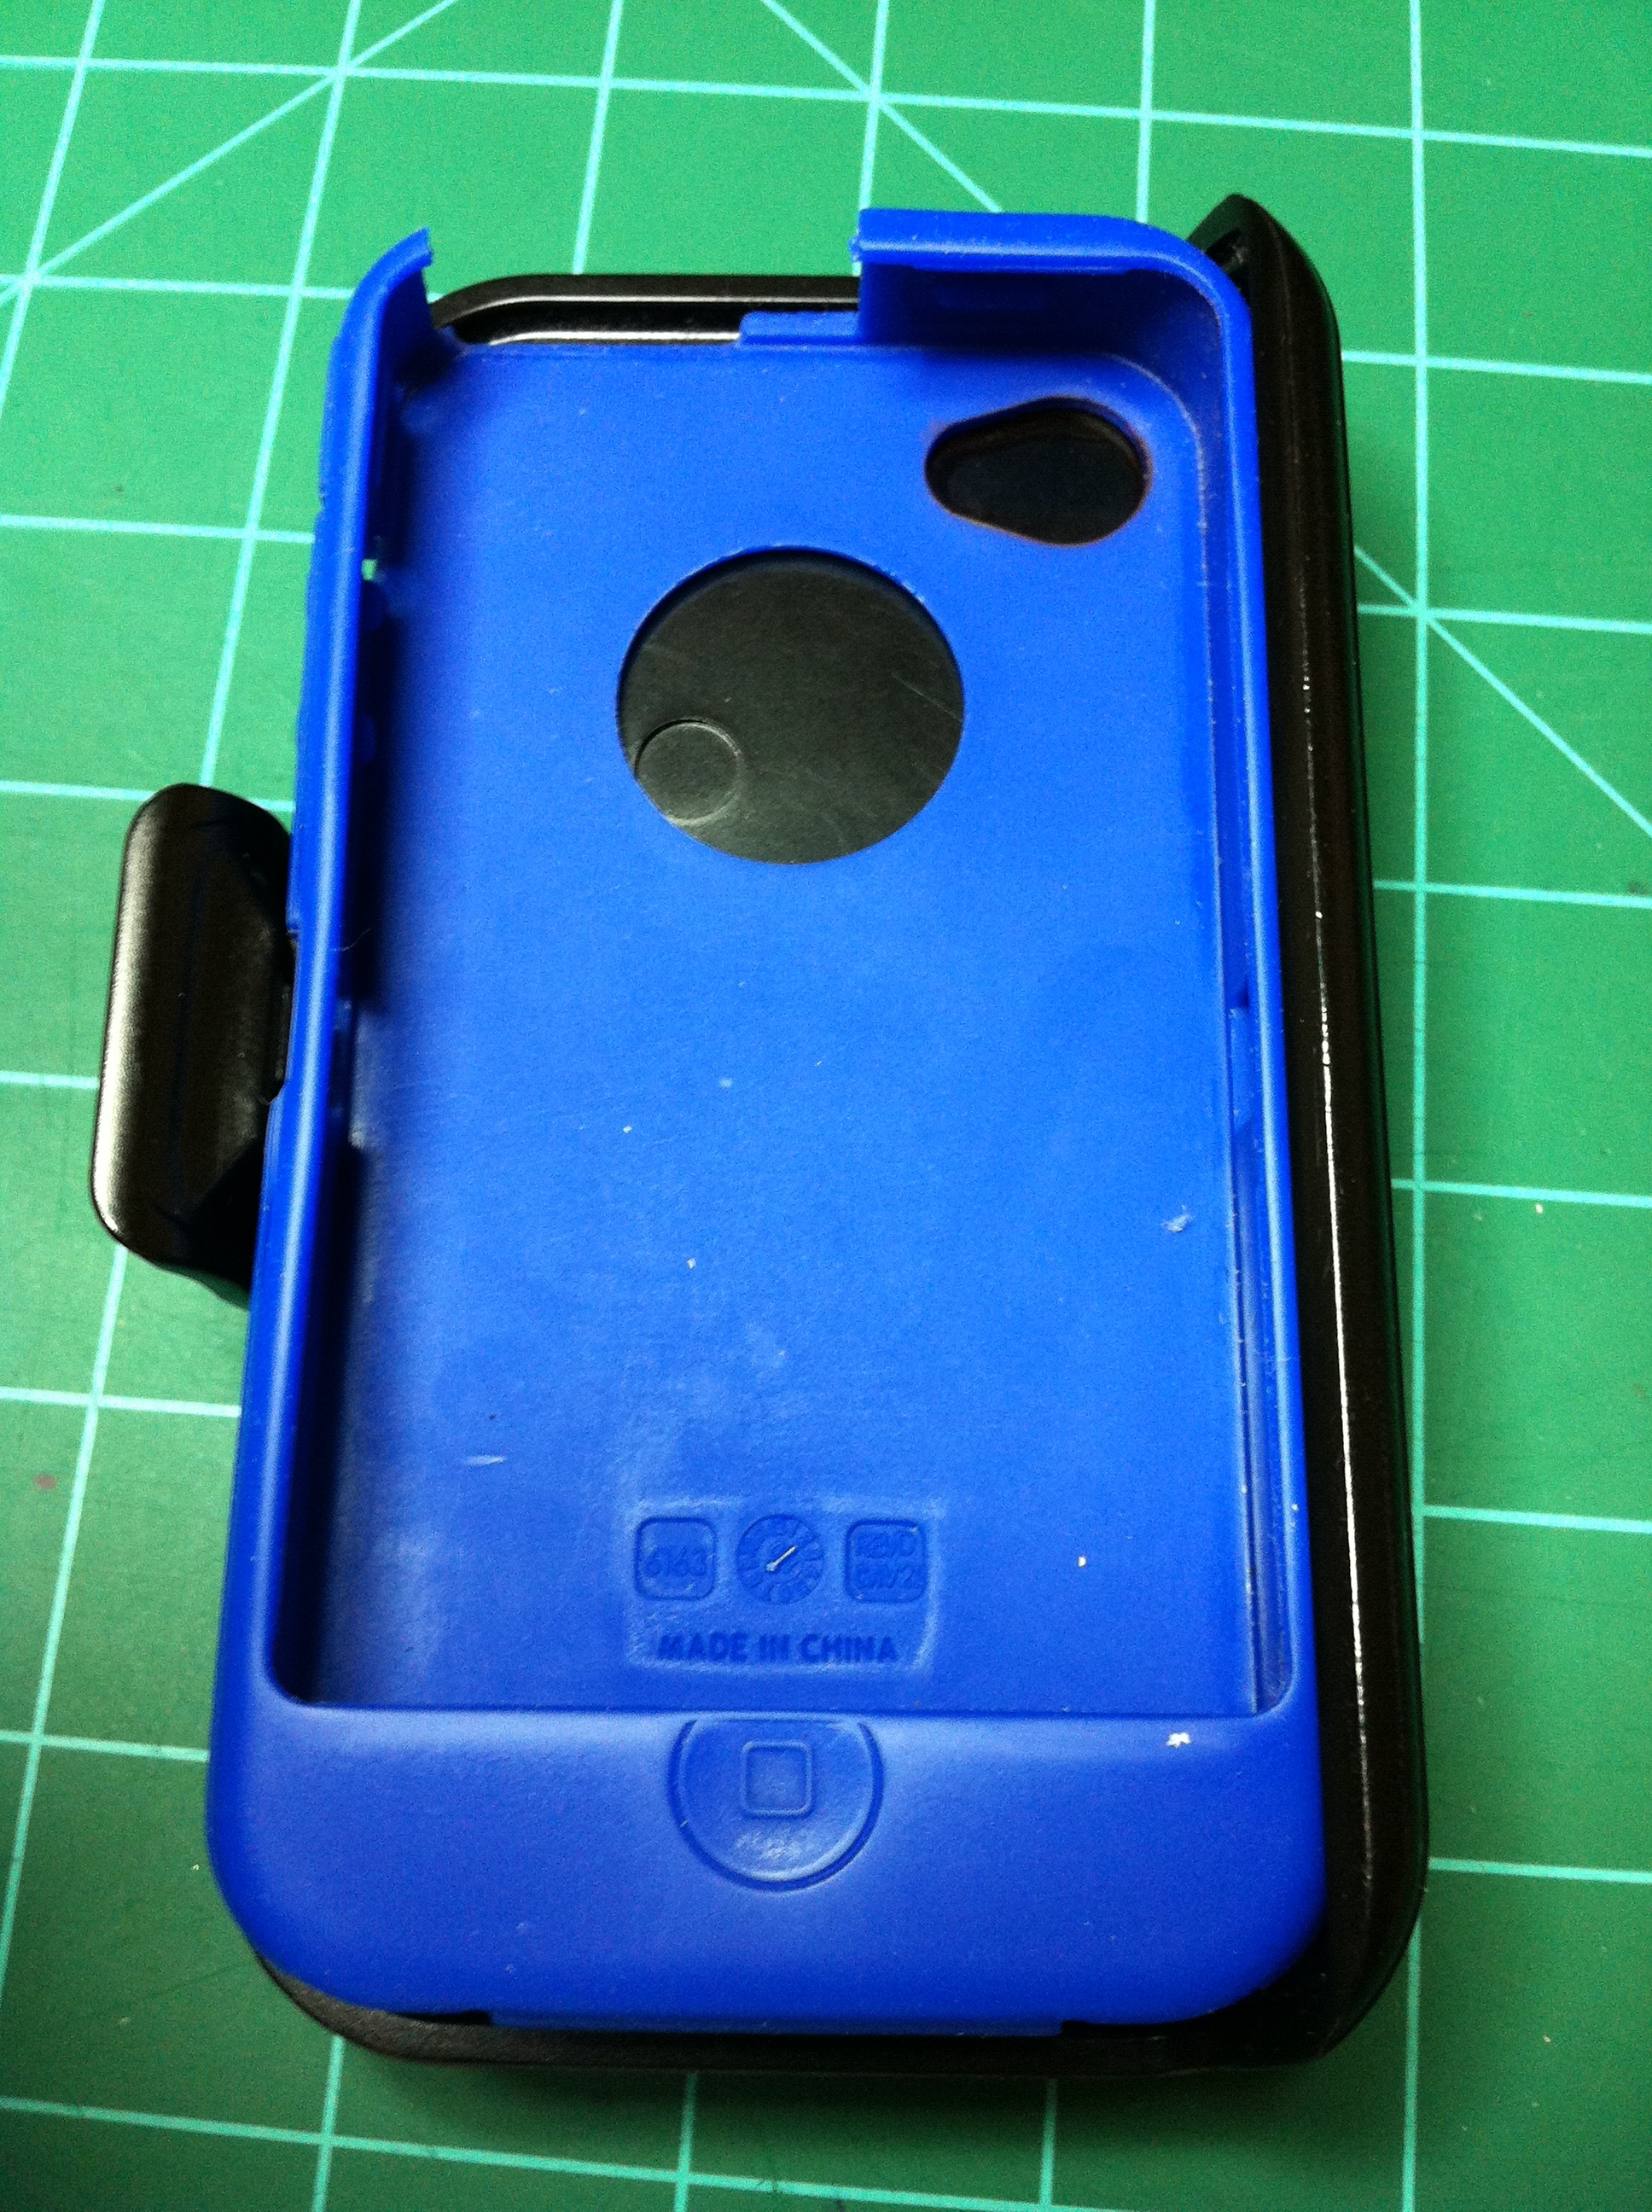
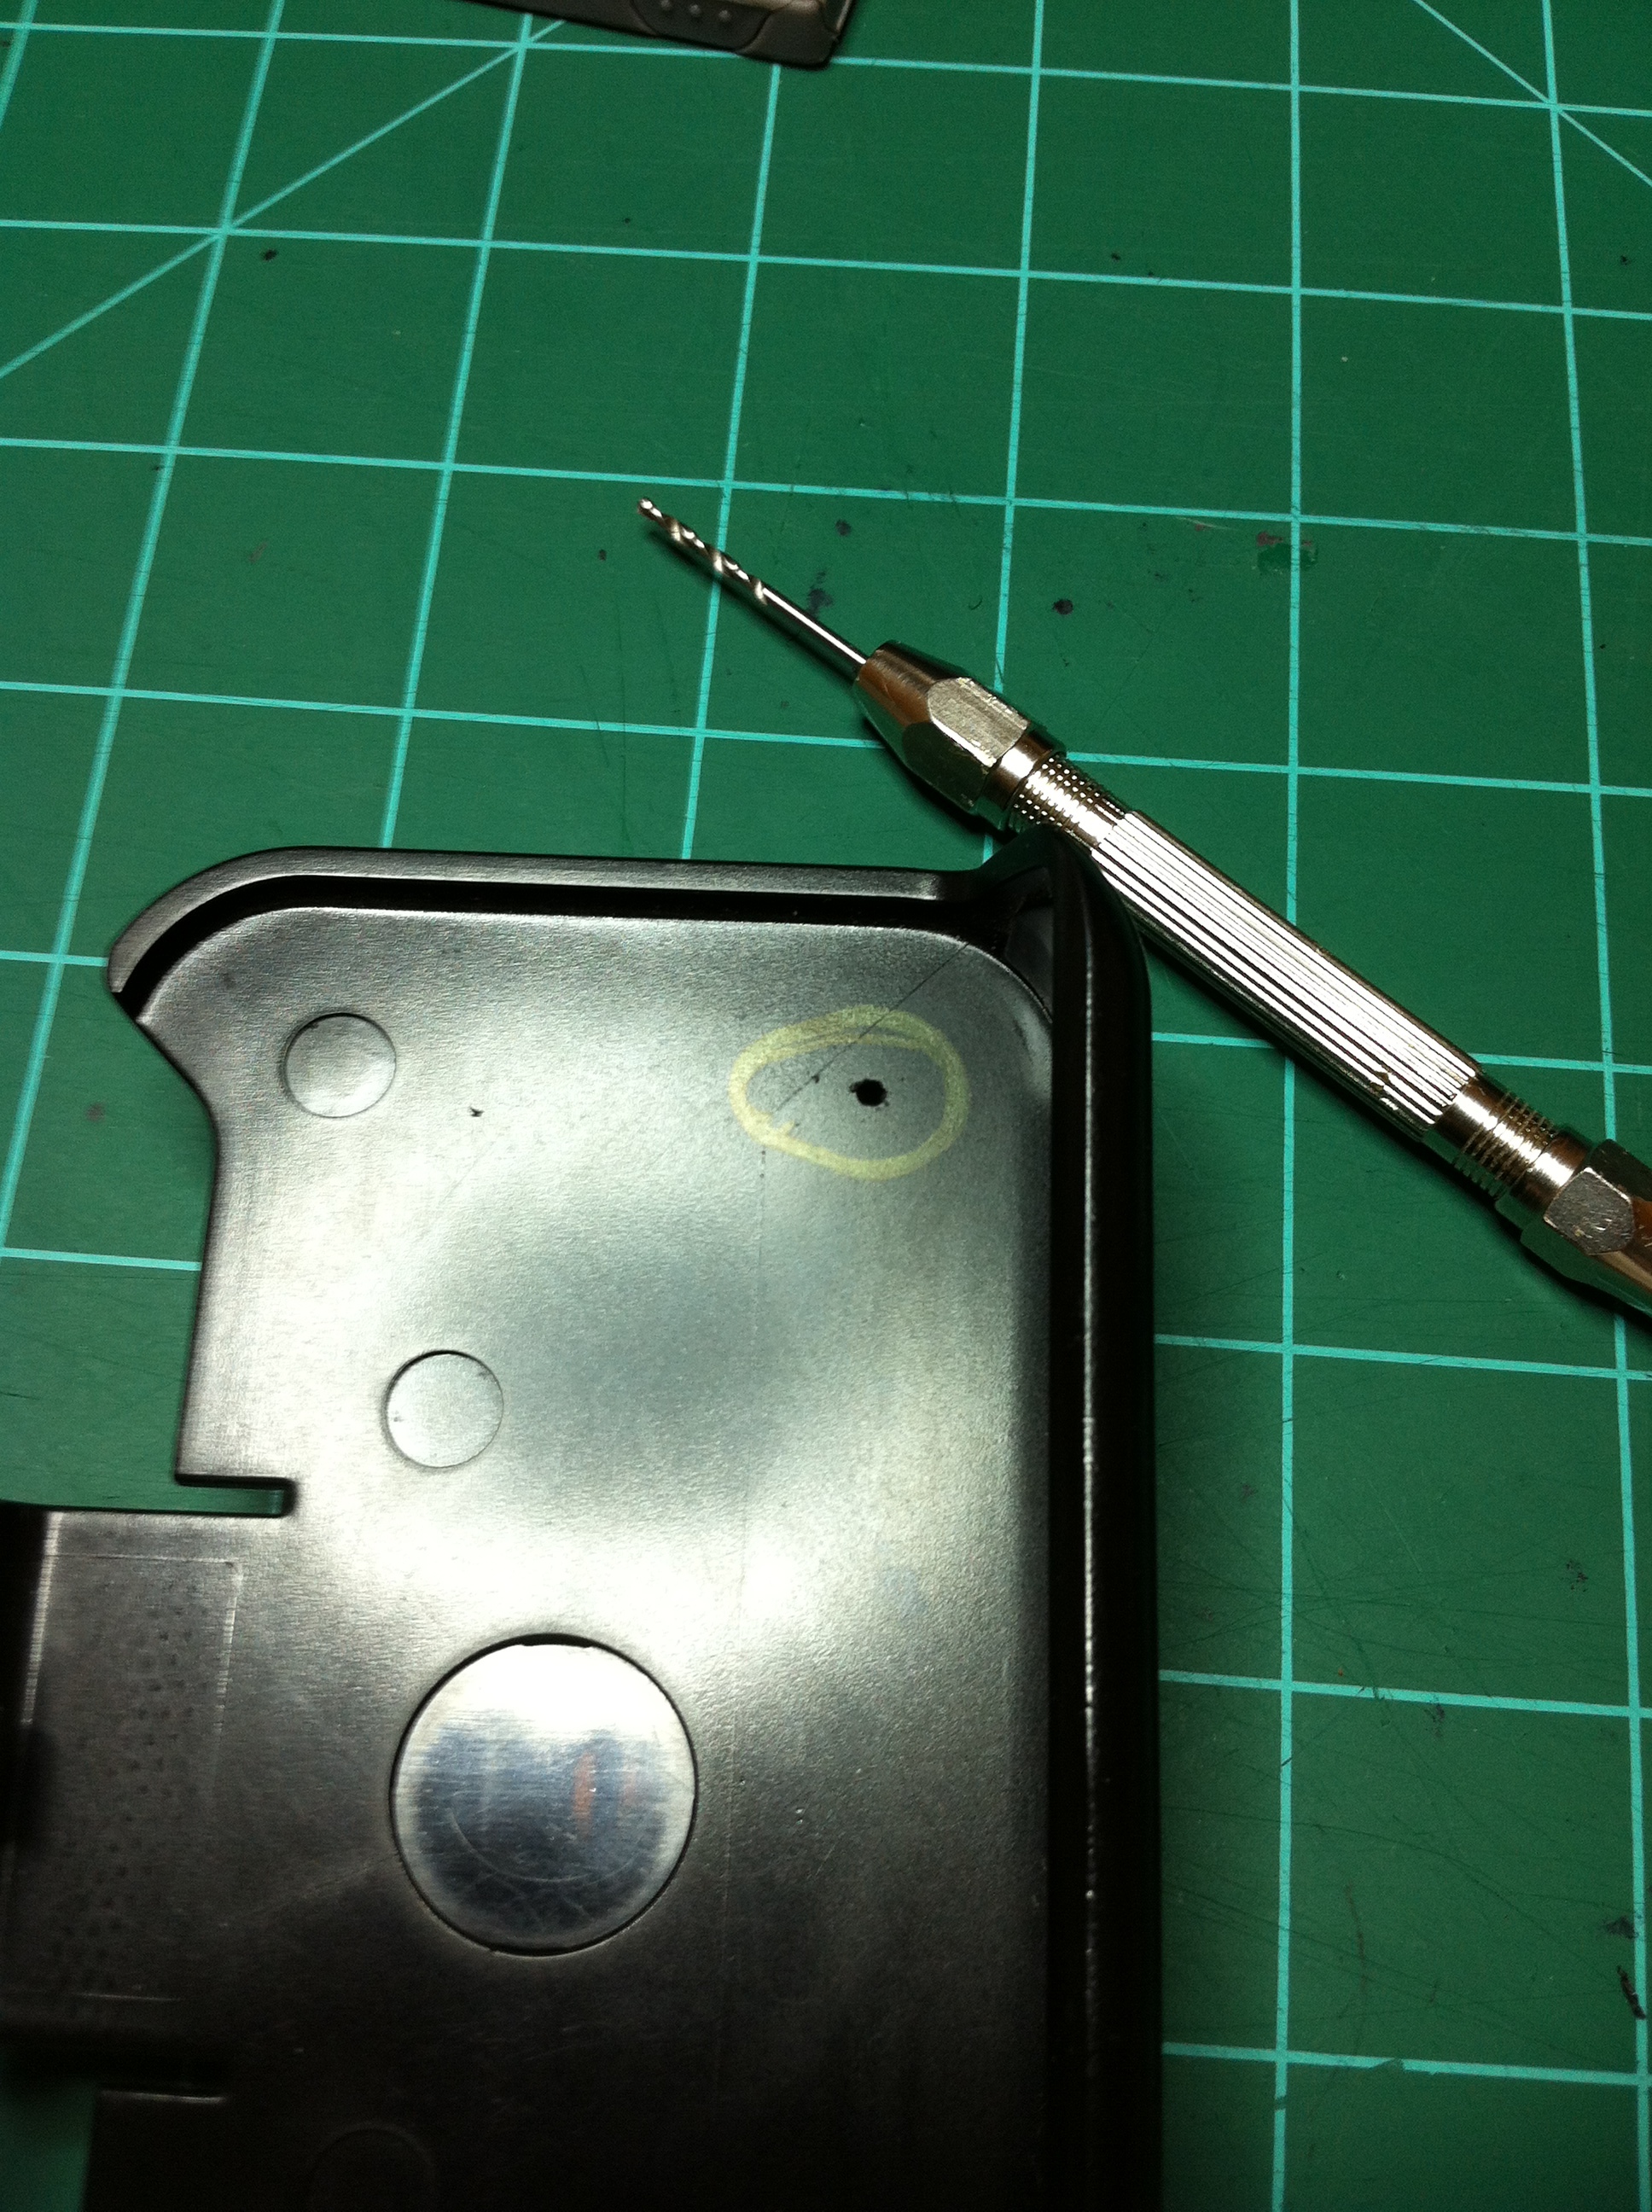
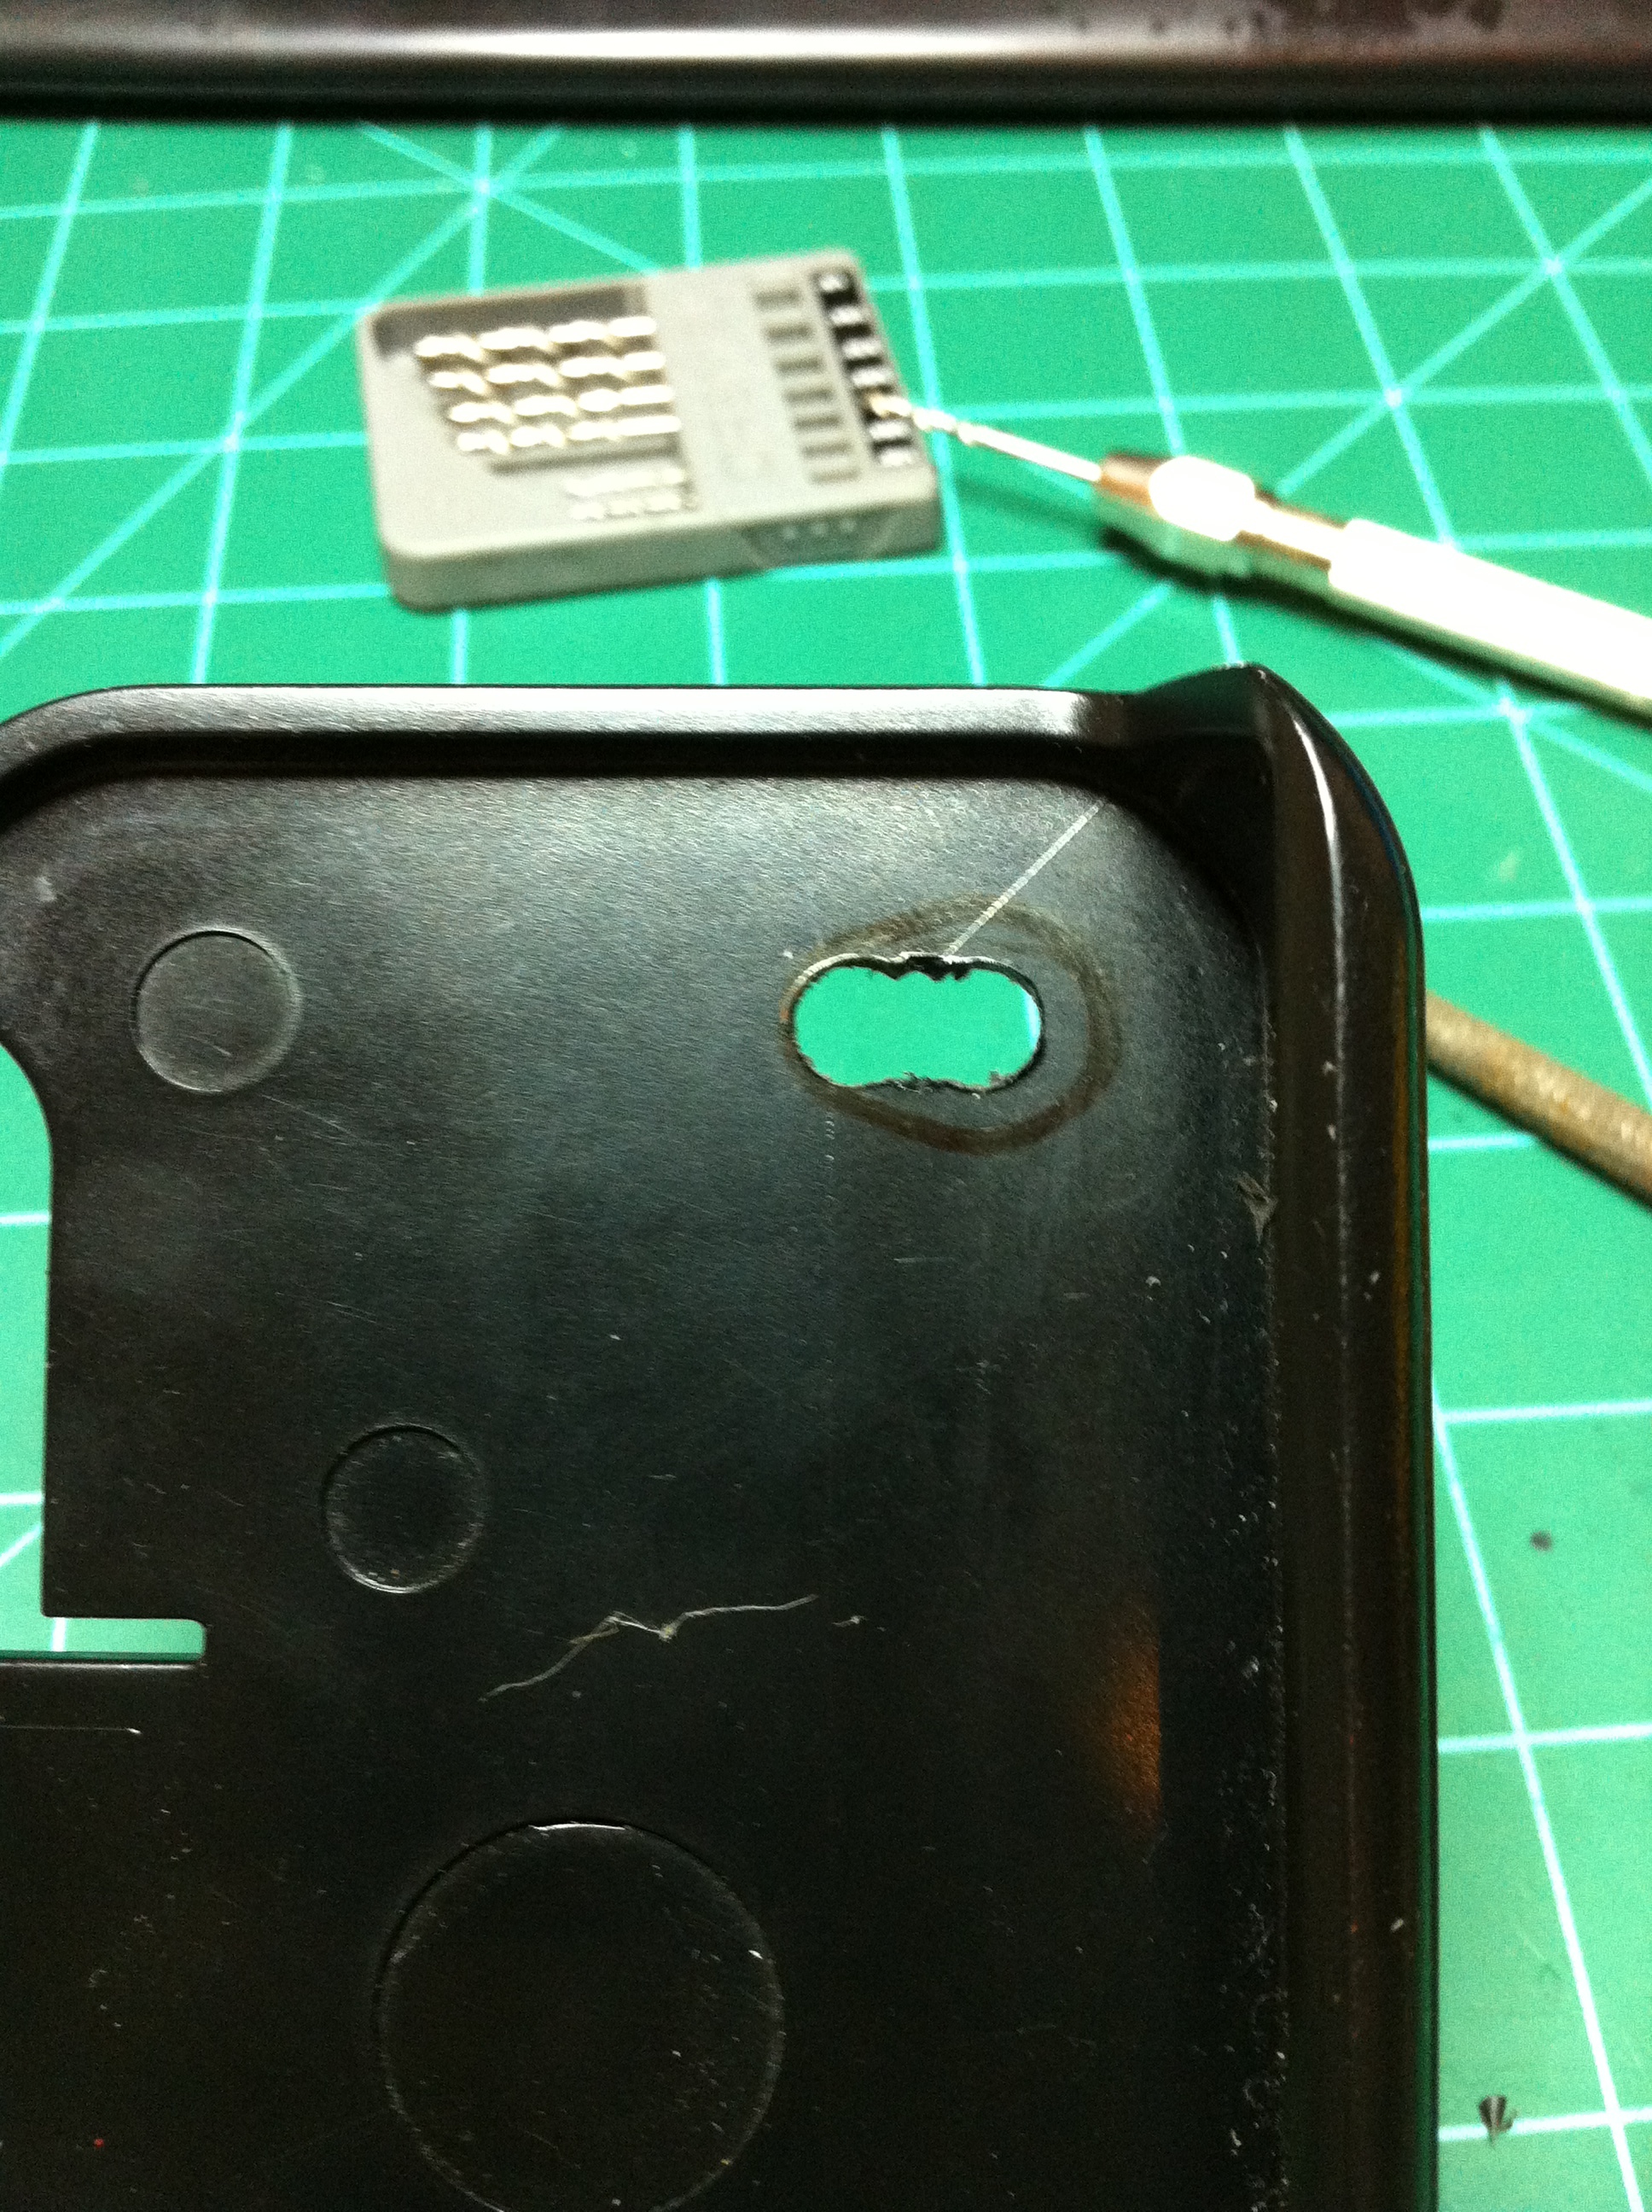
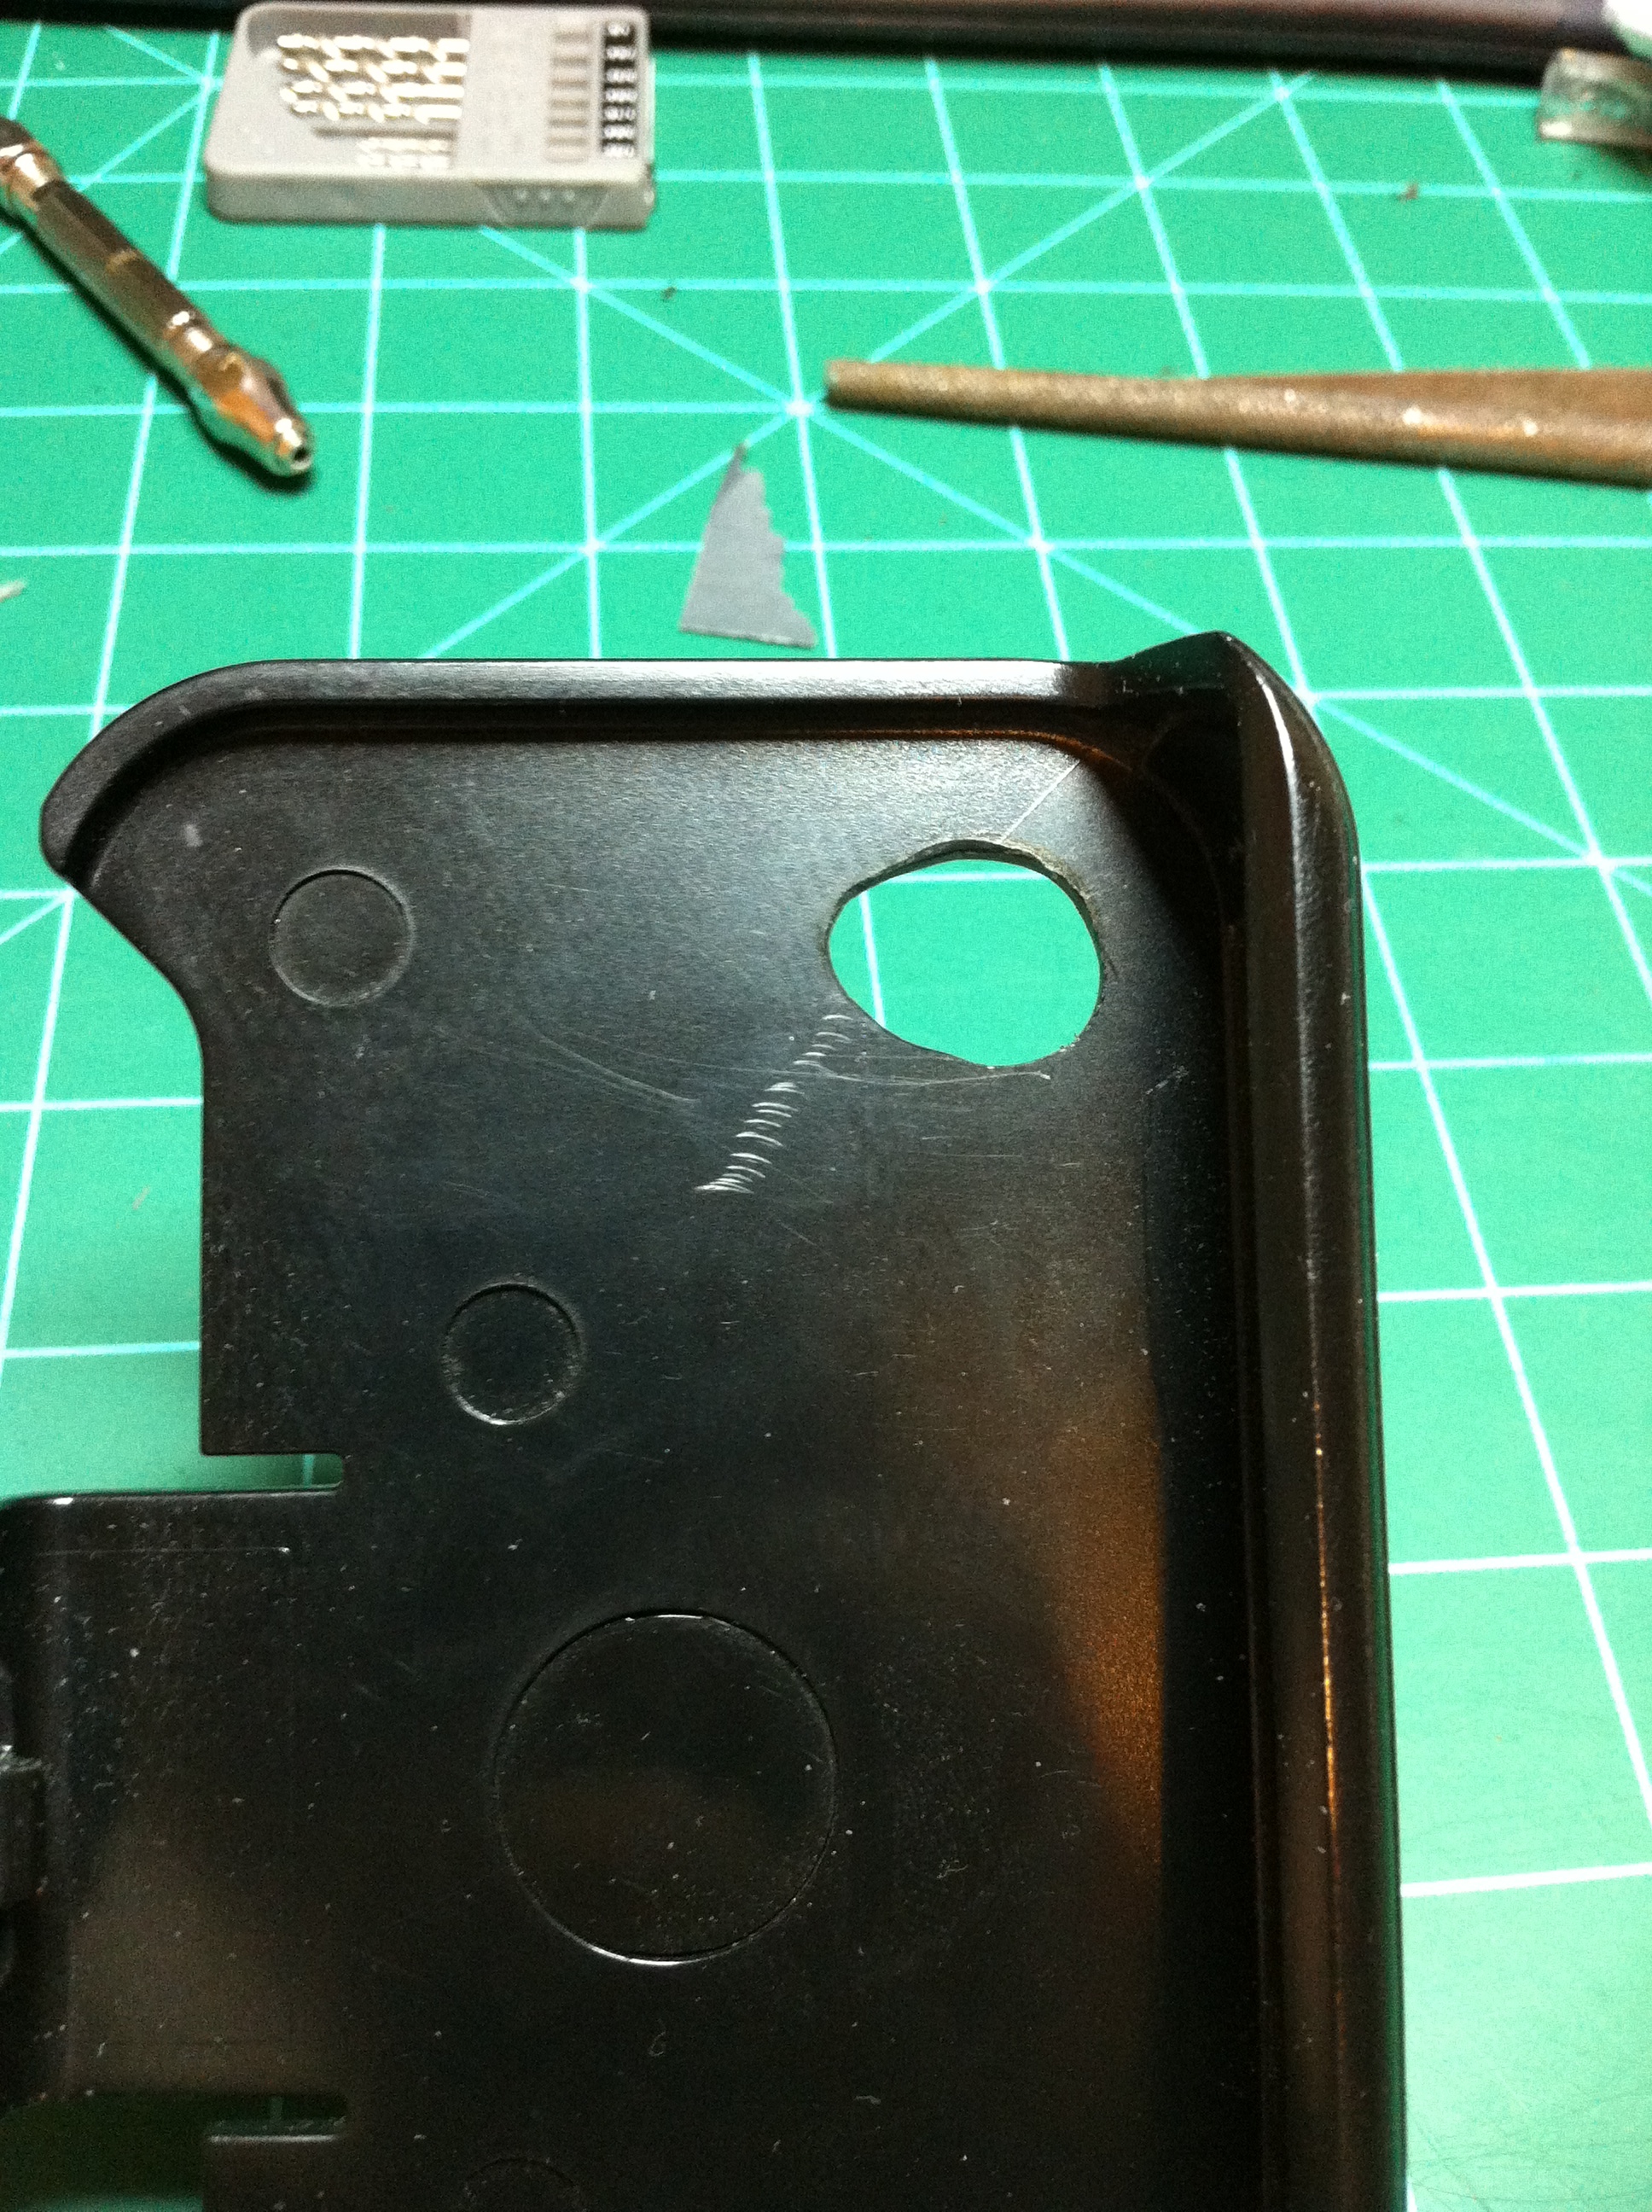
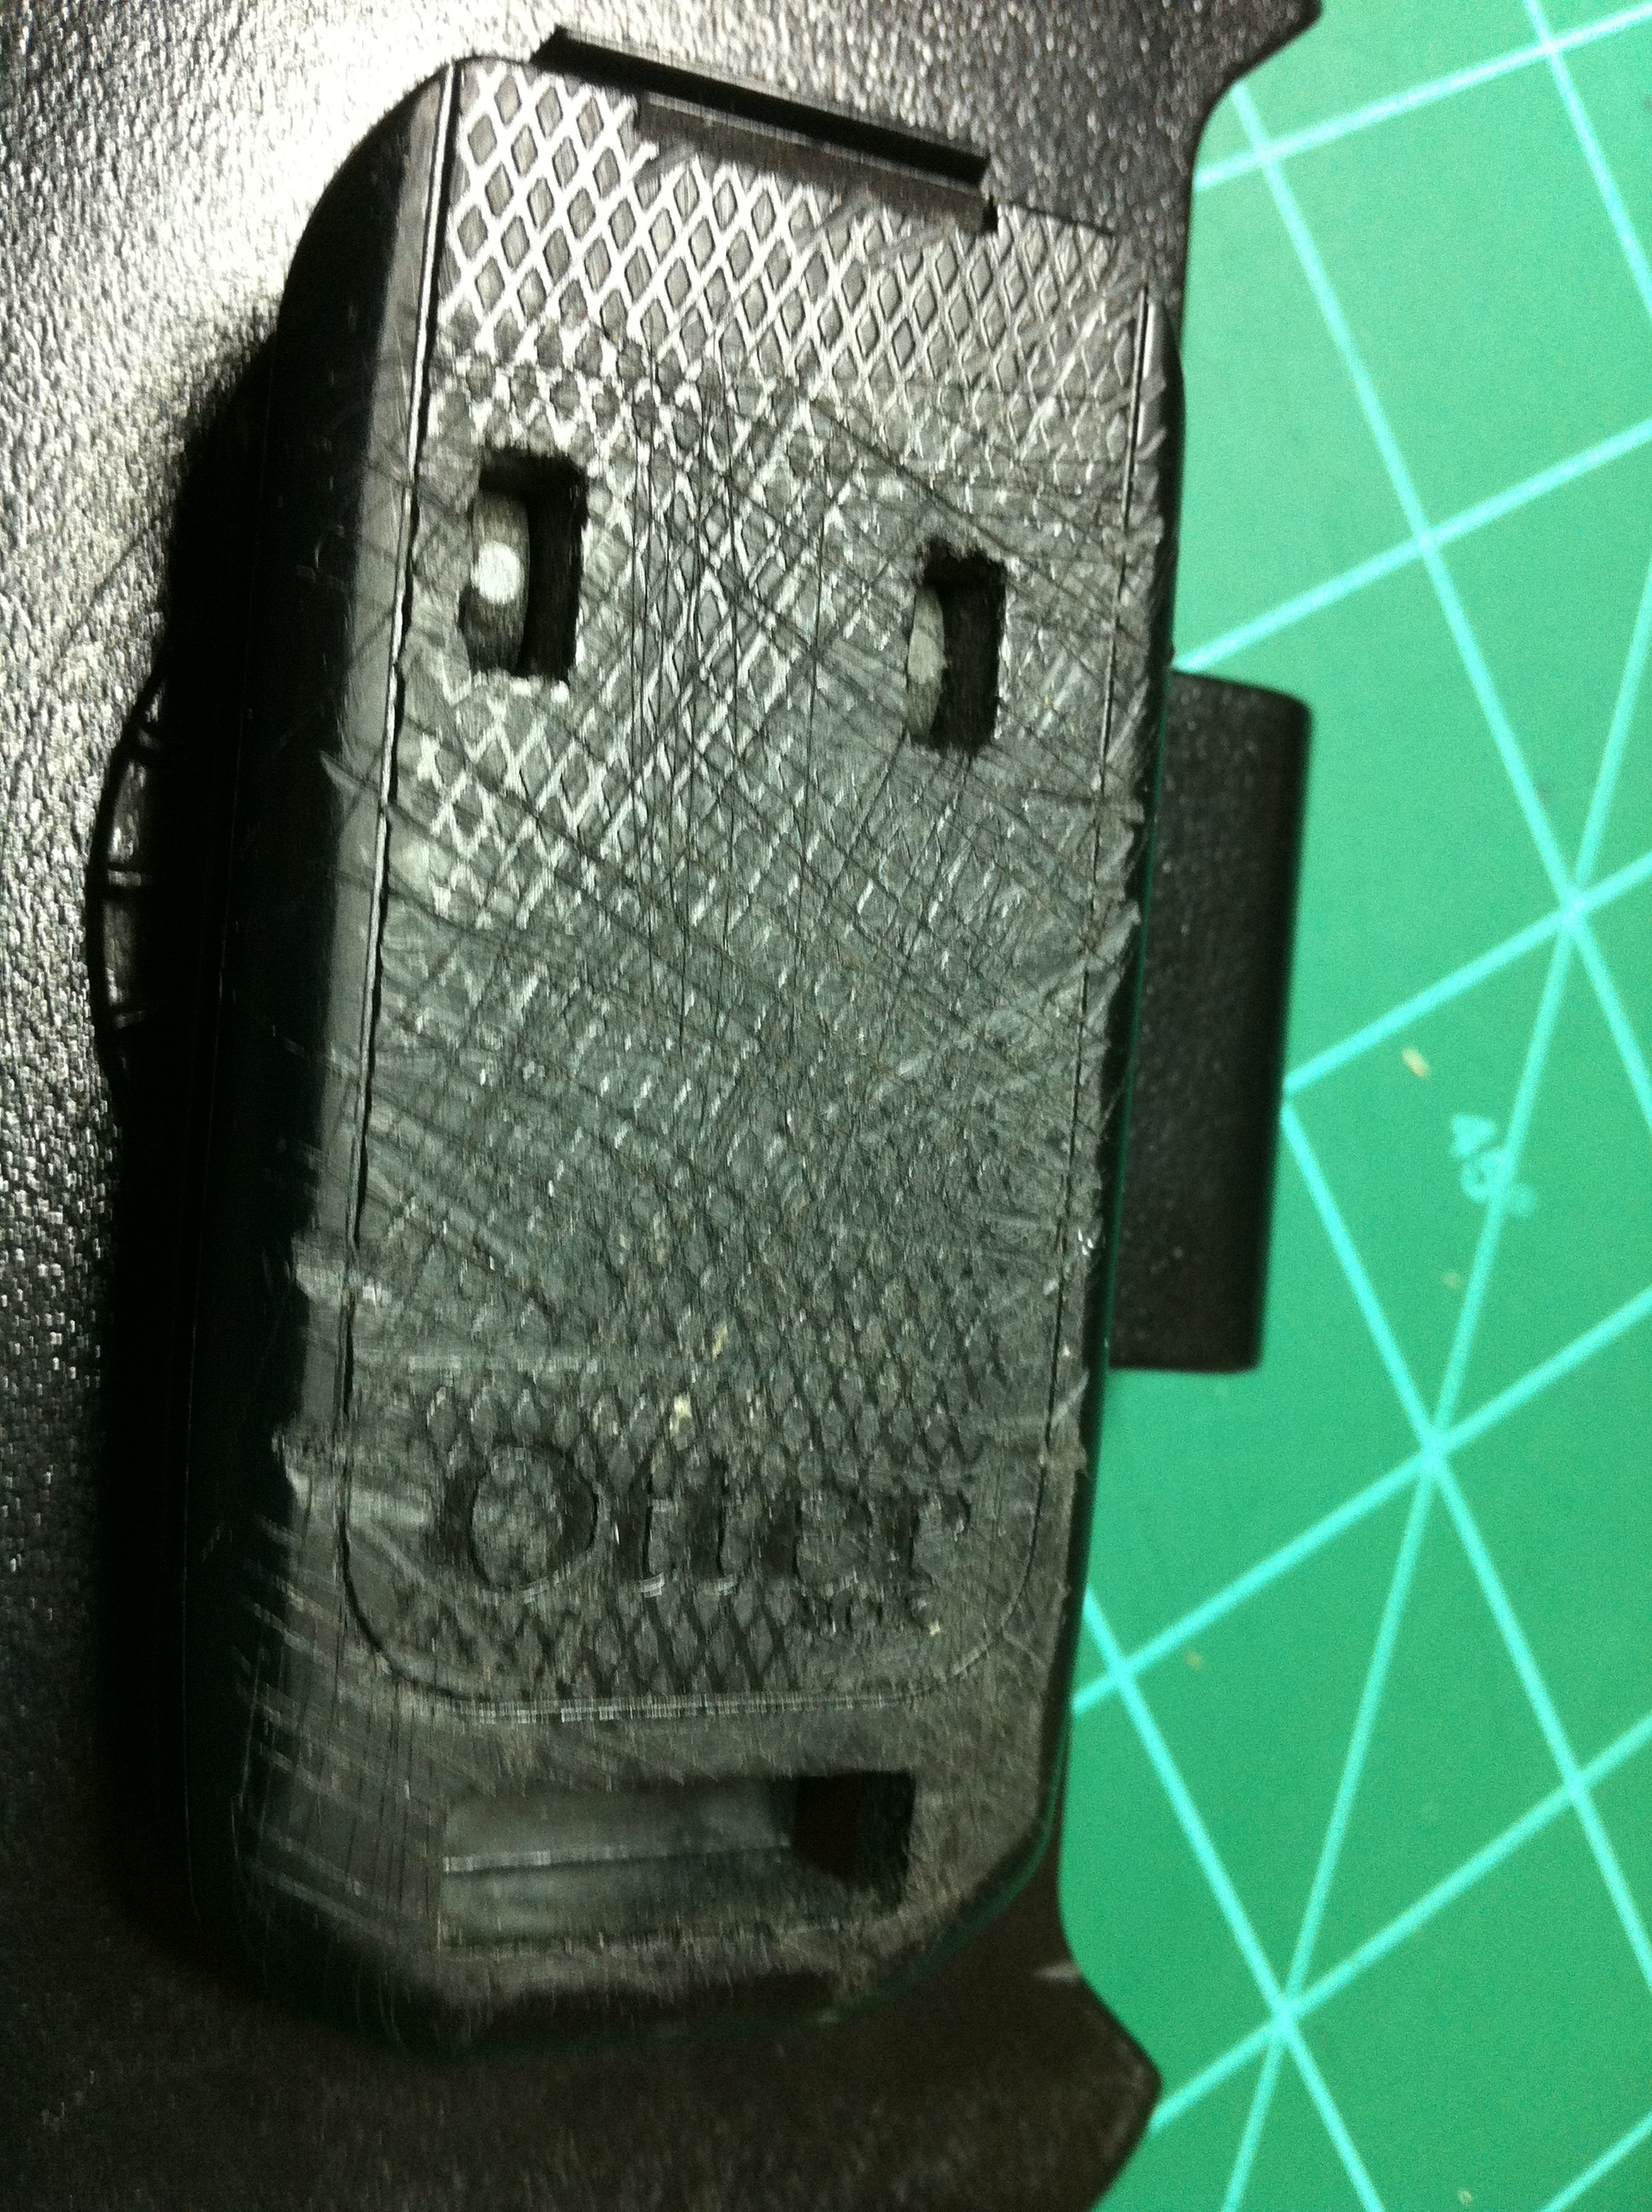
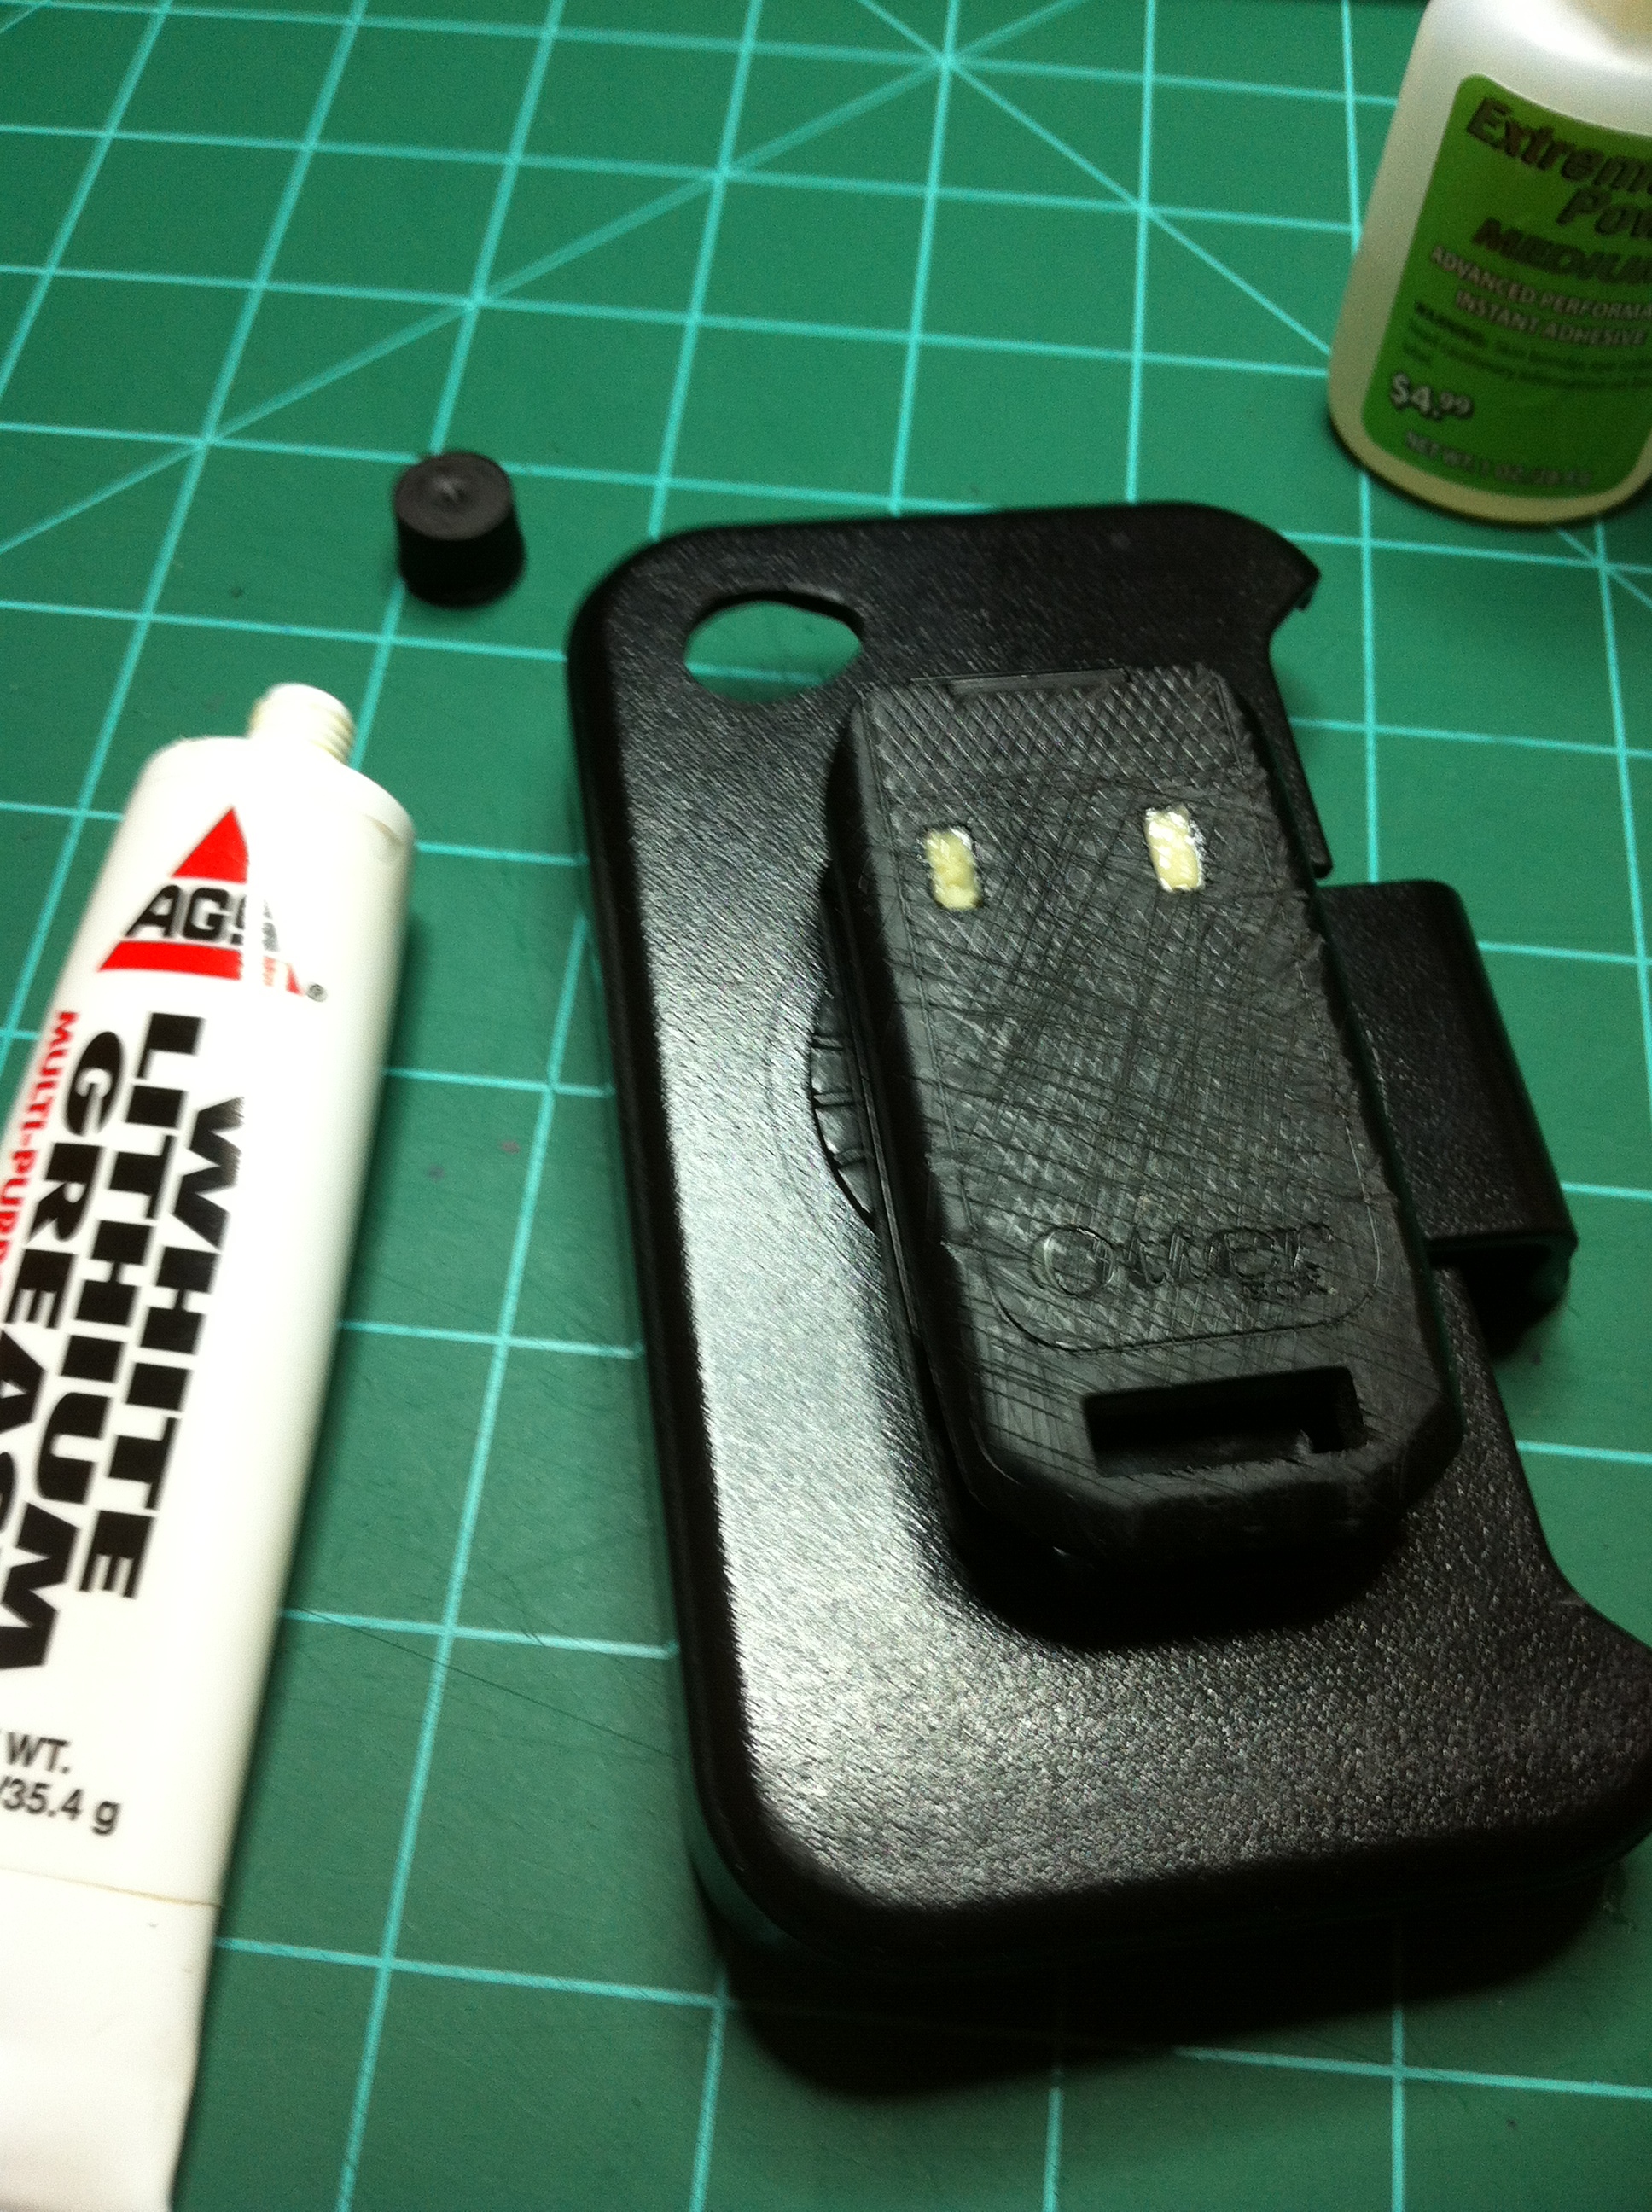
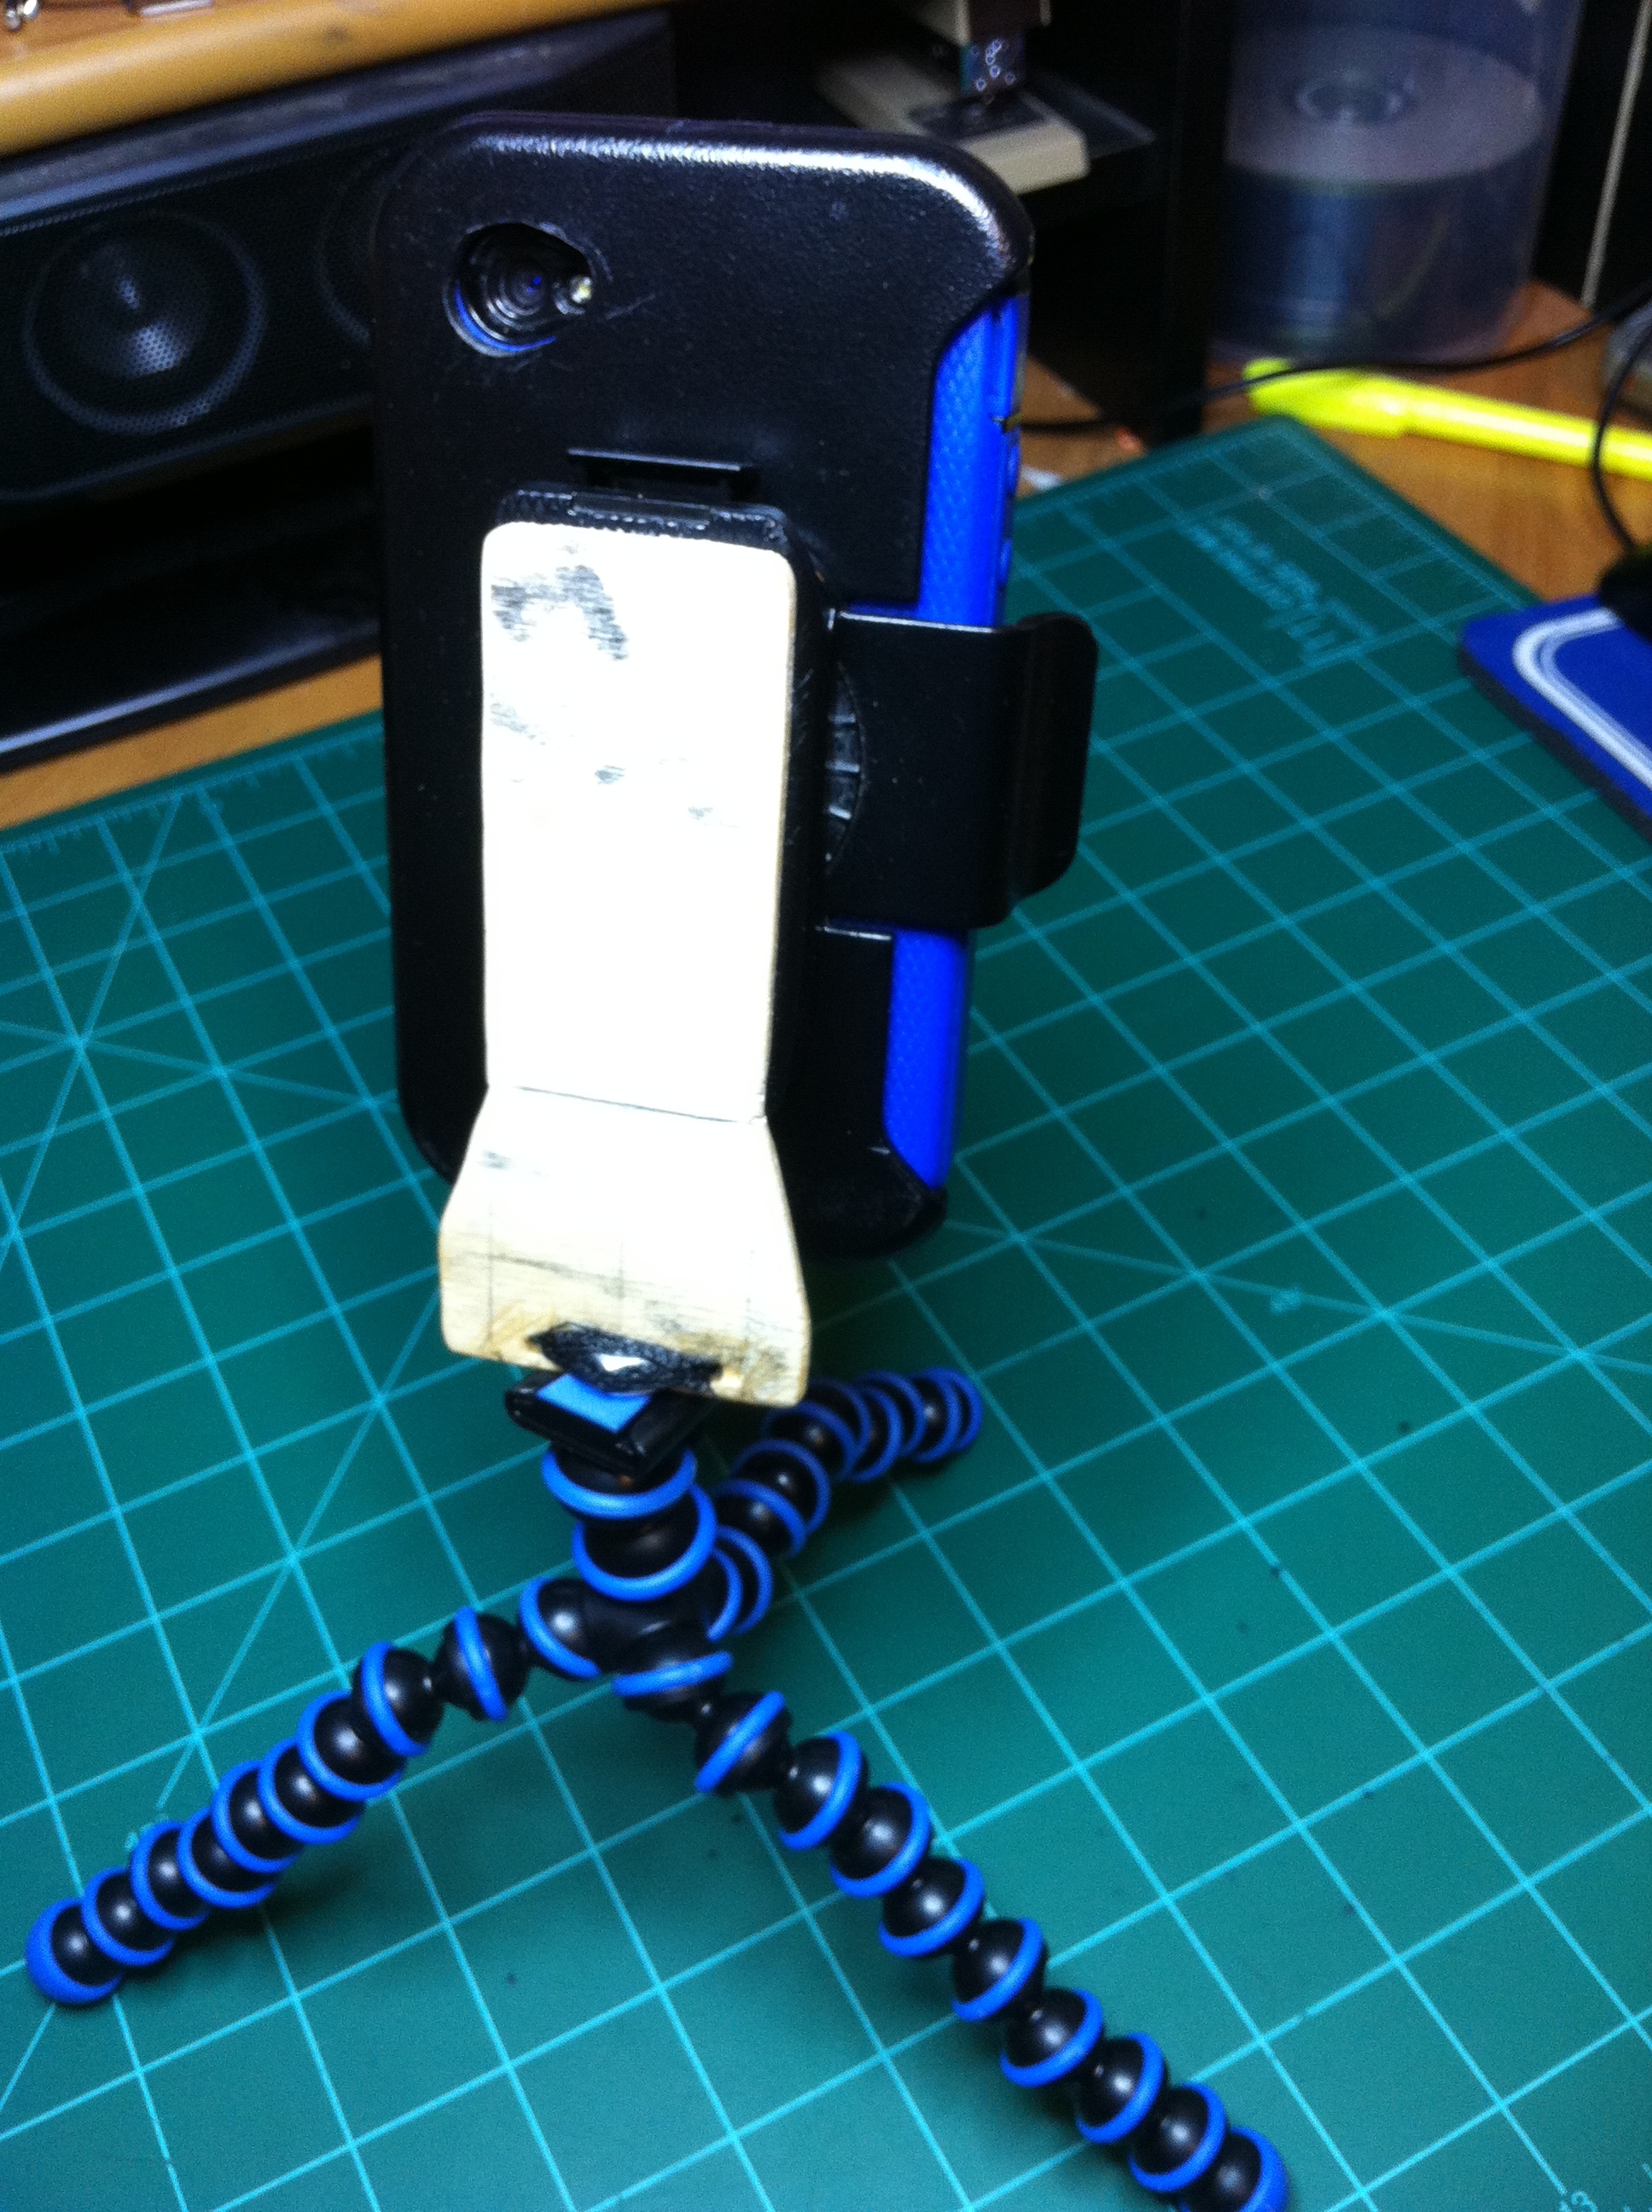
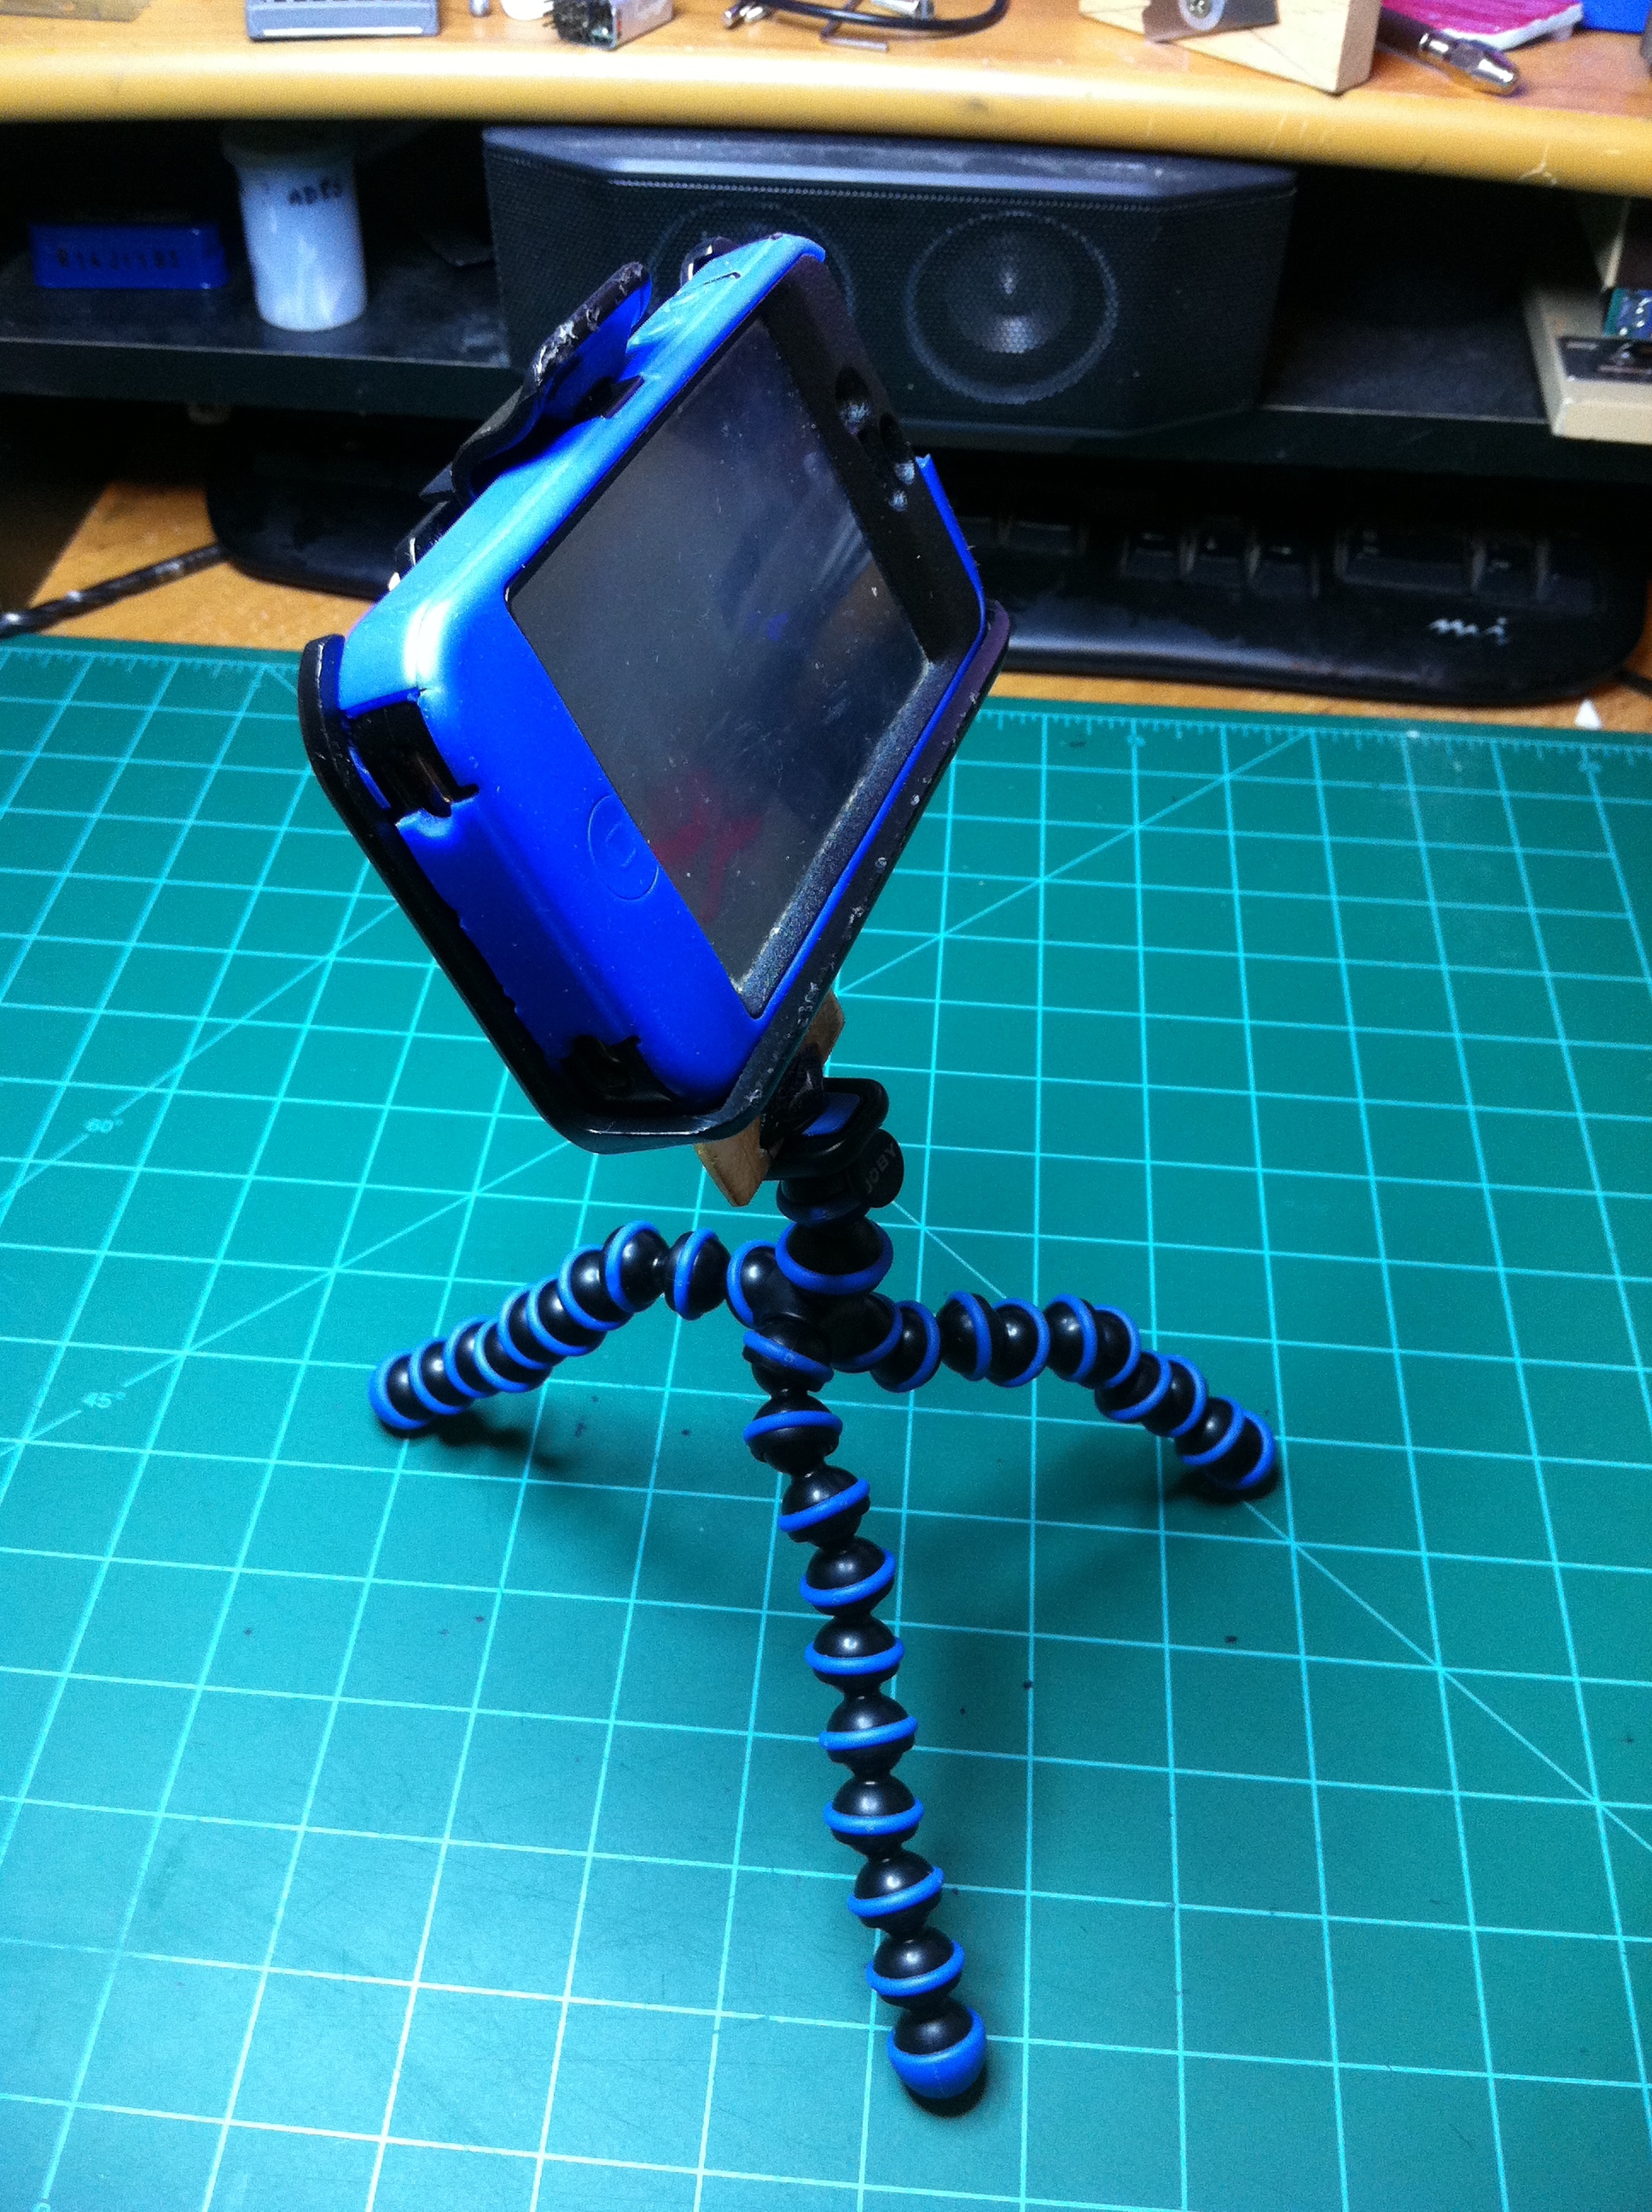
As I was sitting at my desk I was thinking how to go about building this tripod mount for my iPhone when I realized I could use the Otterbox belt clip. I use an Otterbox on my iPhone but I have never used the belt clip, nor do I ever plan on using it (at least for it’s intended purpose, that is). So the first thing I did was take the rubber off of my iPhone case and put it in the belt clip so I could mark onto the belt holster where the camera lens and flash are located. Using a pin vice, I drilled a small hole in the center of the mark where the camera lens is located to help guide the bigger drillbit I will use later. I then used a 1/4″ bit and a cordless drill to drill two holes in the camera lens mark. I wanted to get rid of all the plastic within this mark, but since I didn’t have a larger sized drill bit easily accessible, I used some rat-tail files to finish shaping the hole. I had to snap my iPhone into the clip when I got close to being done to check that there was no plastic in the way of the camera. When I got the hole to the right size, I used some 400 grit sandpaper to make it very smooth.
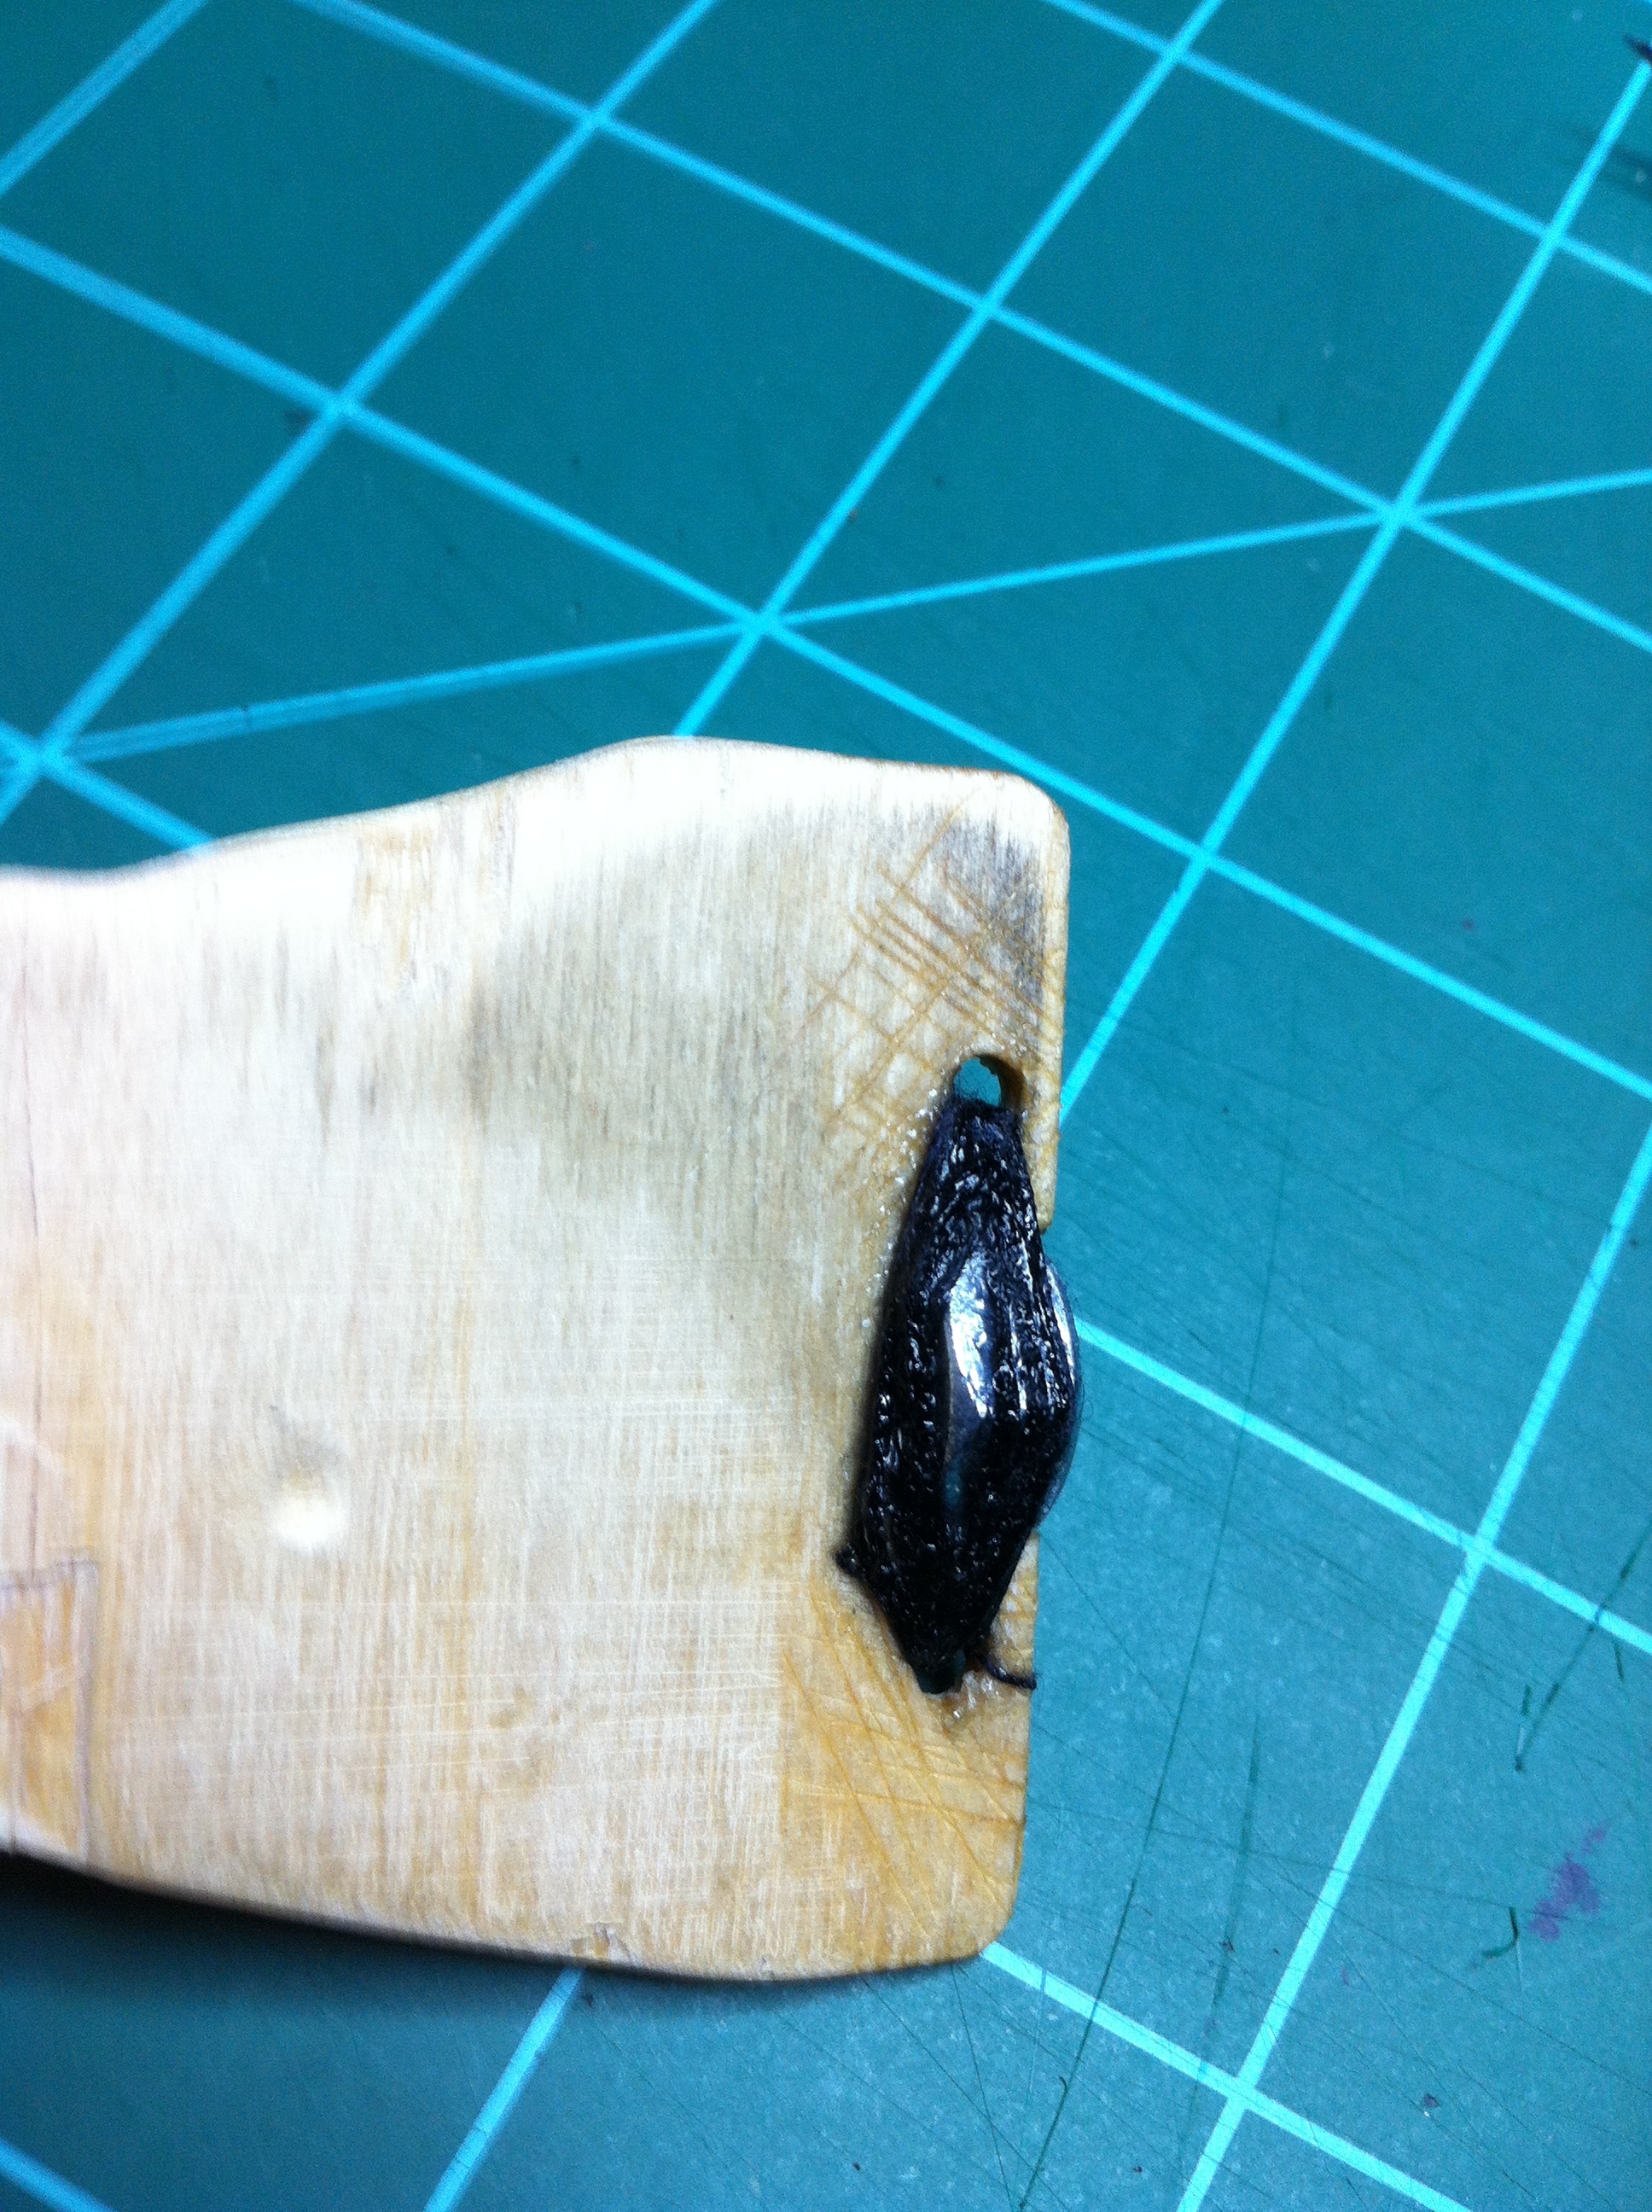
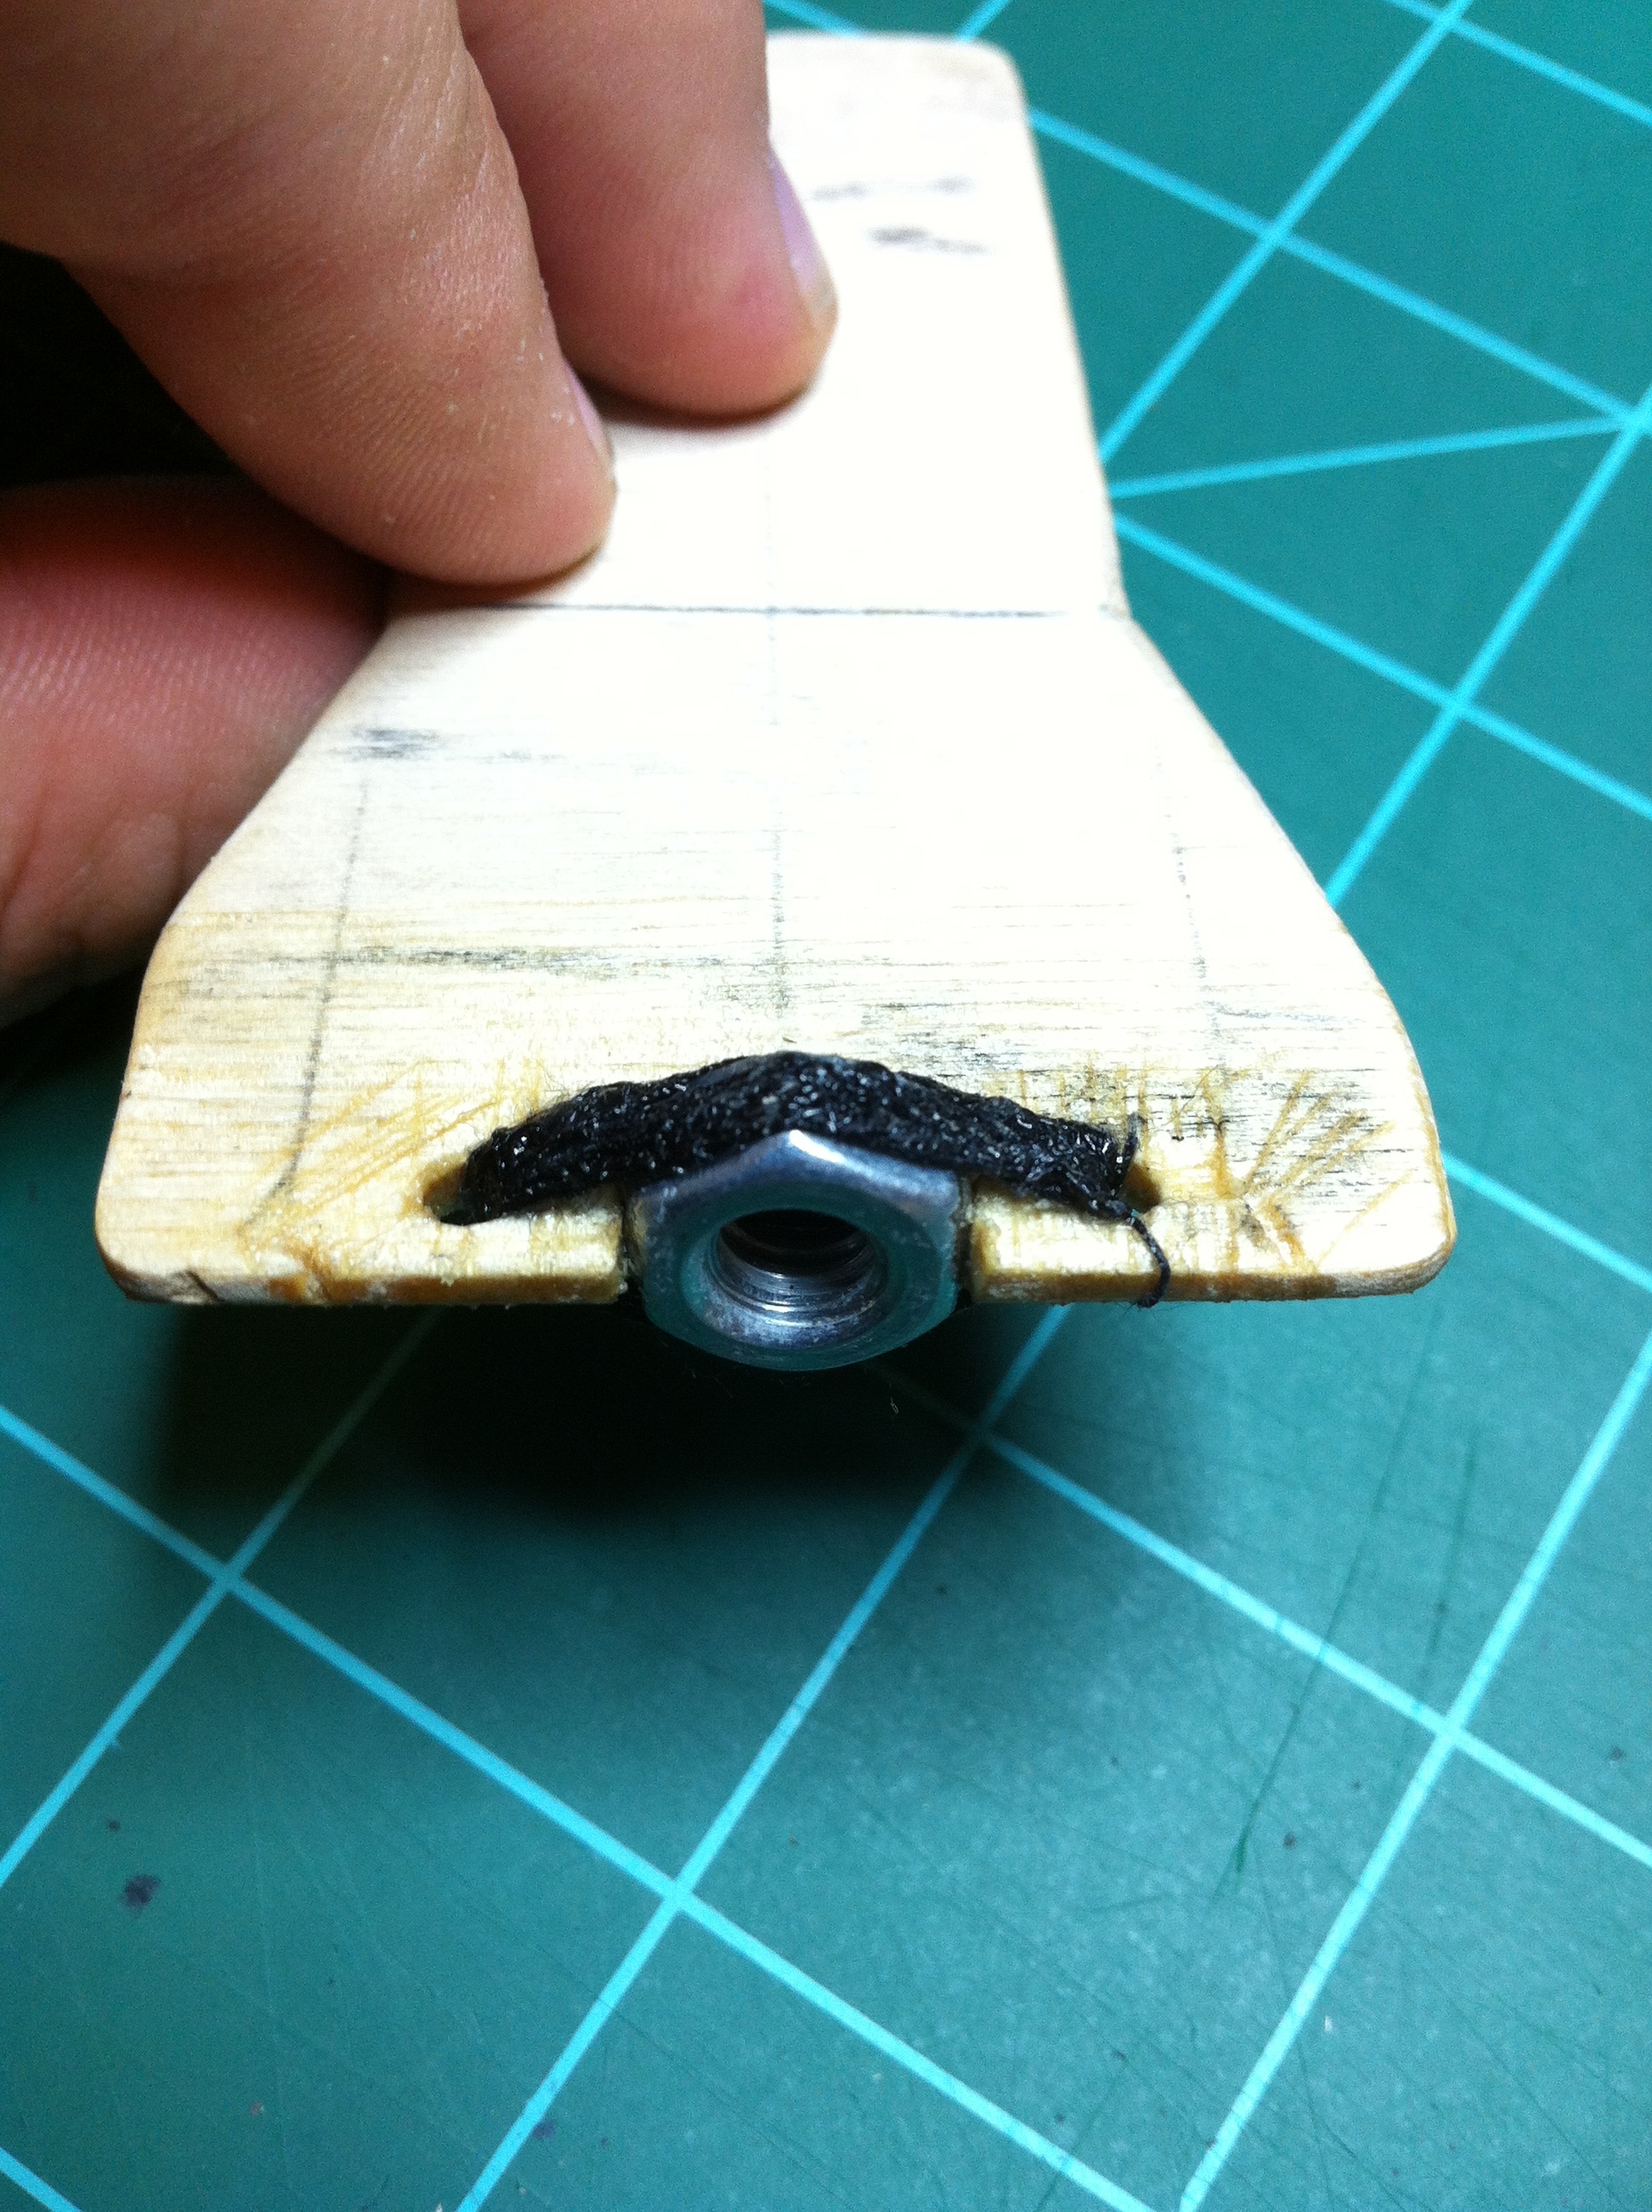
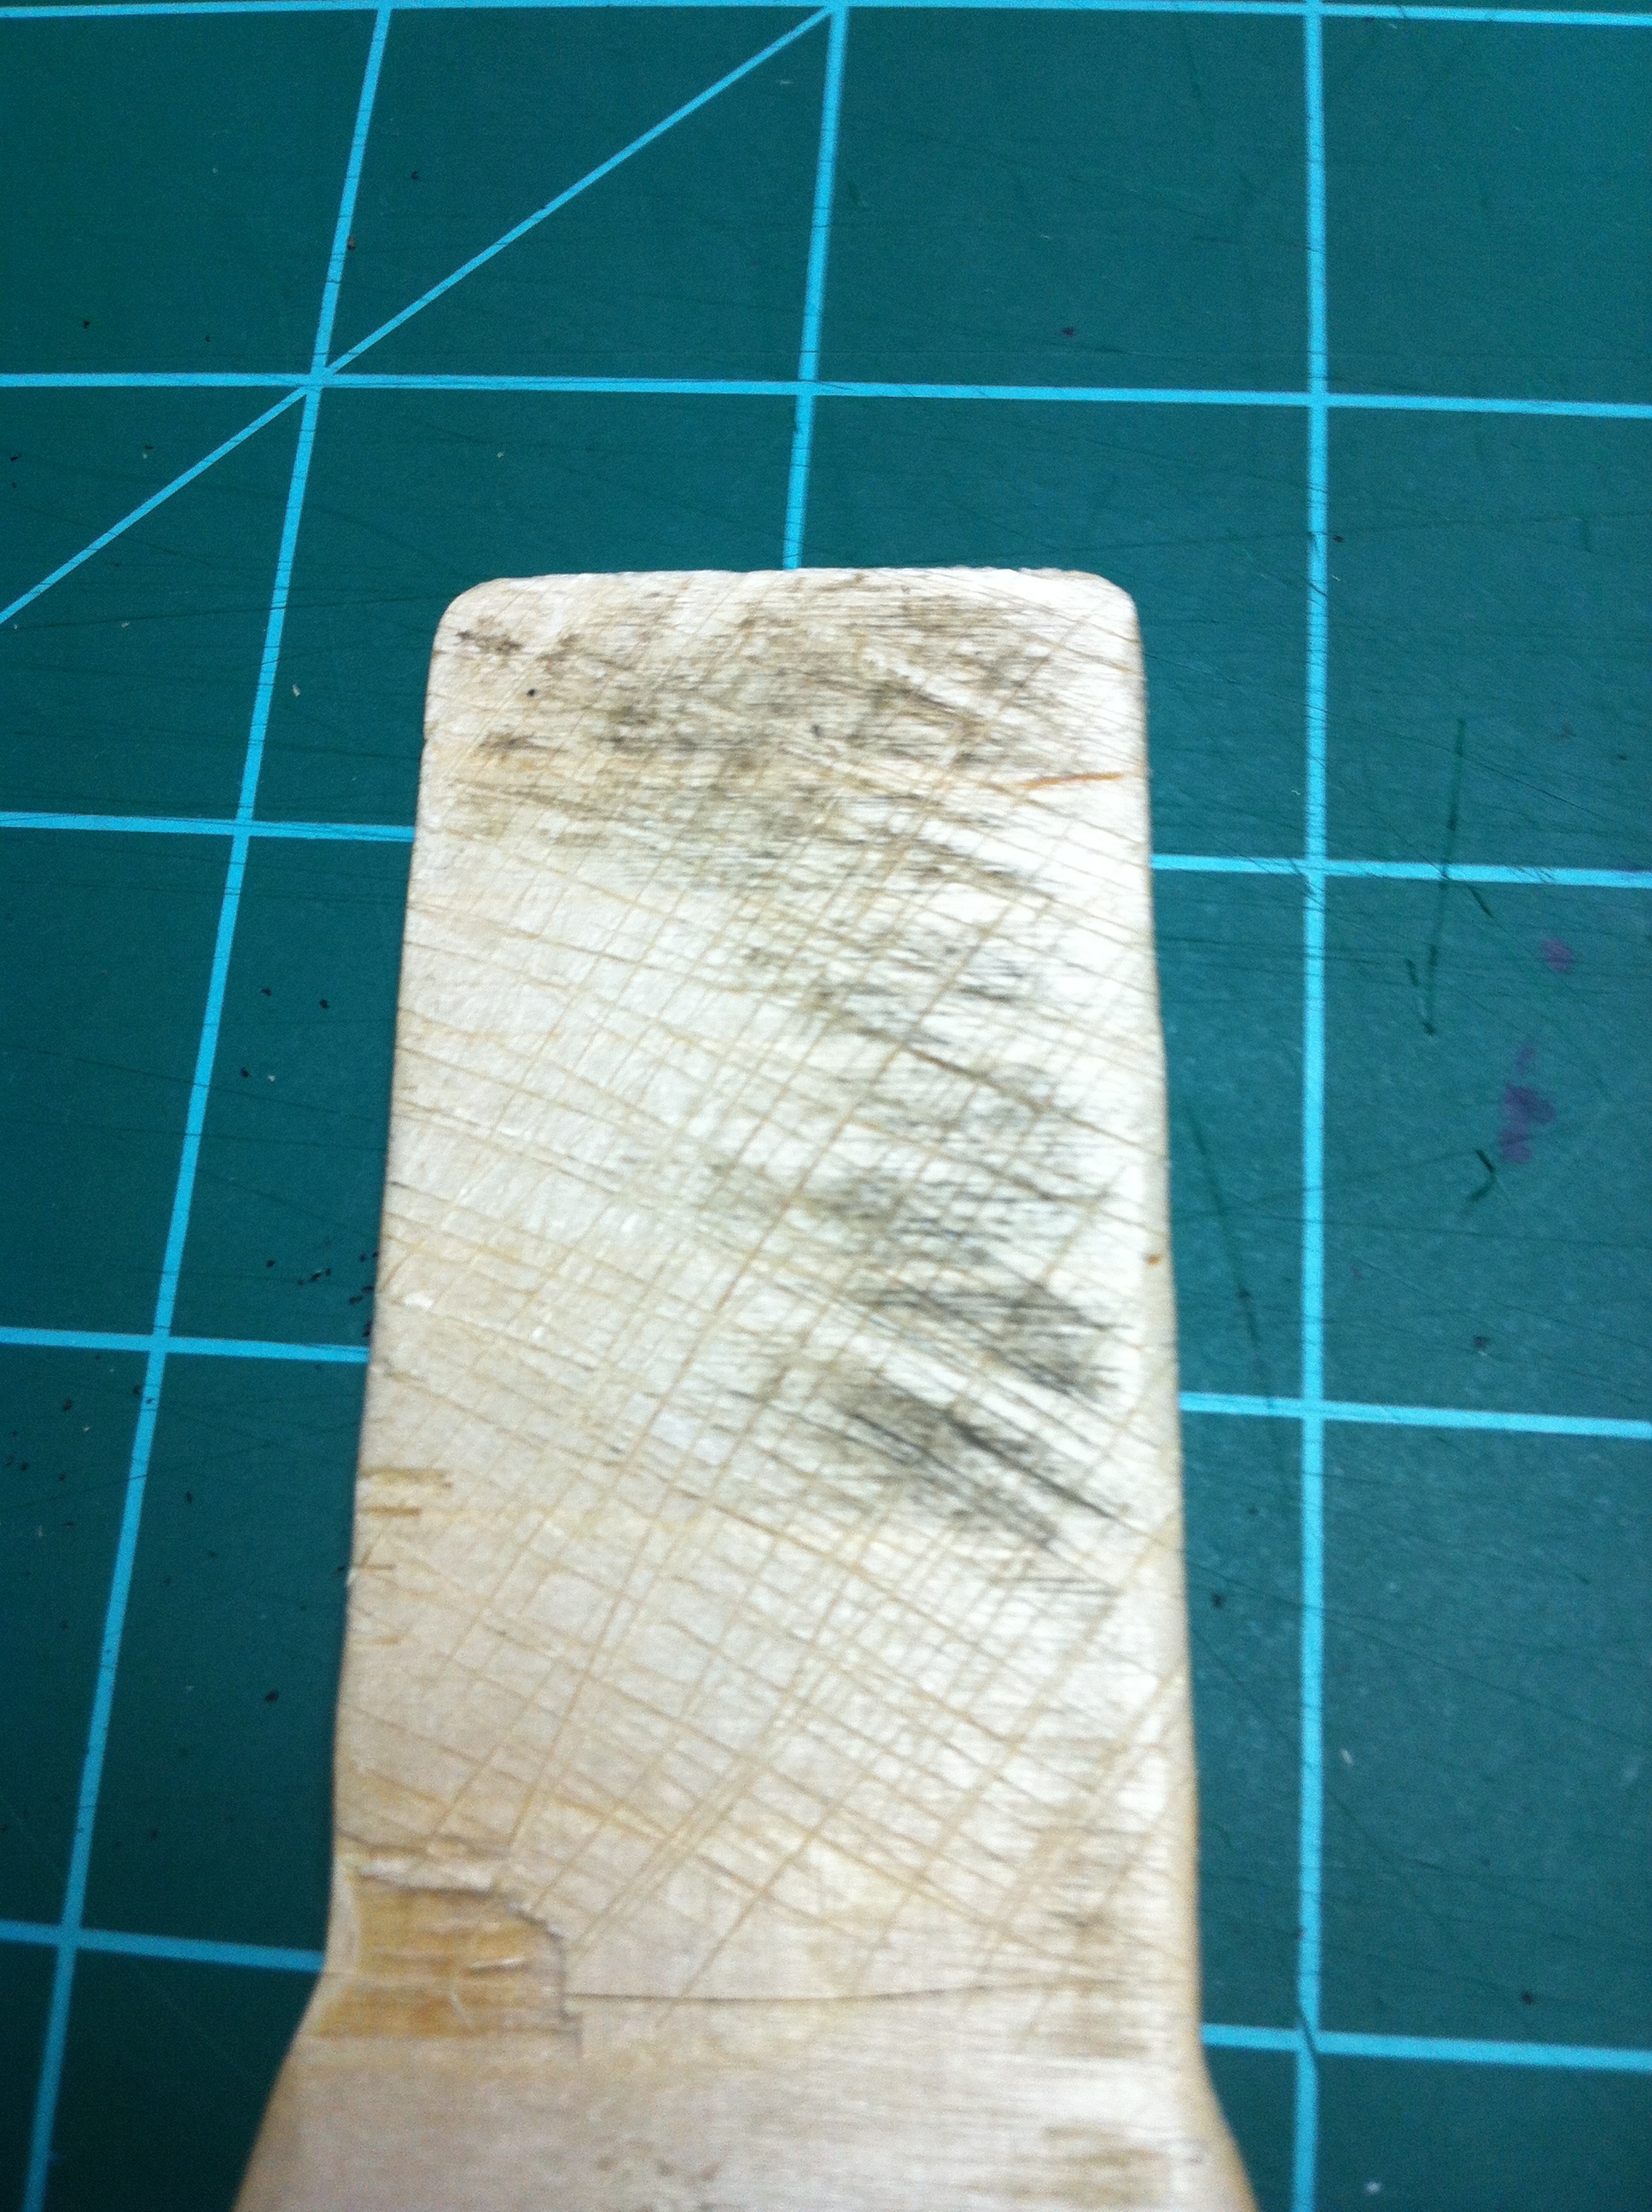
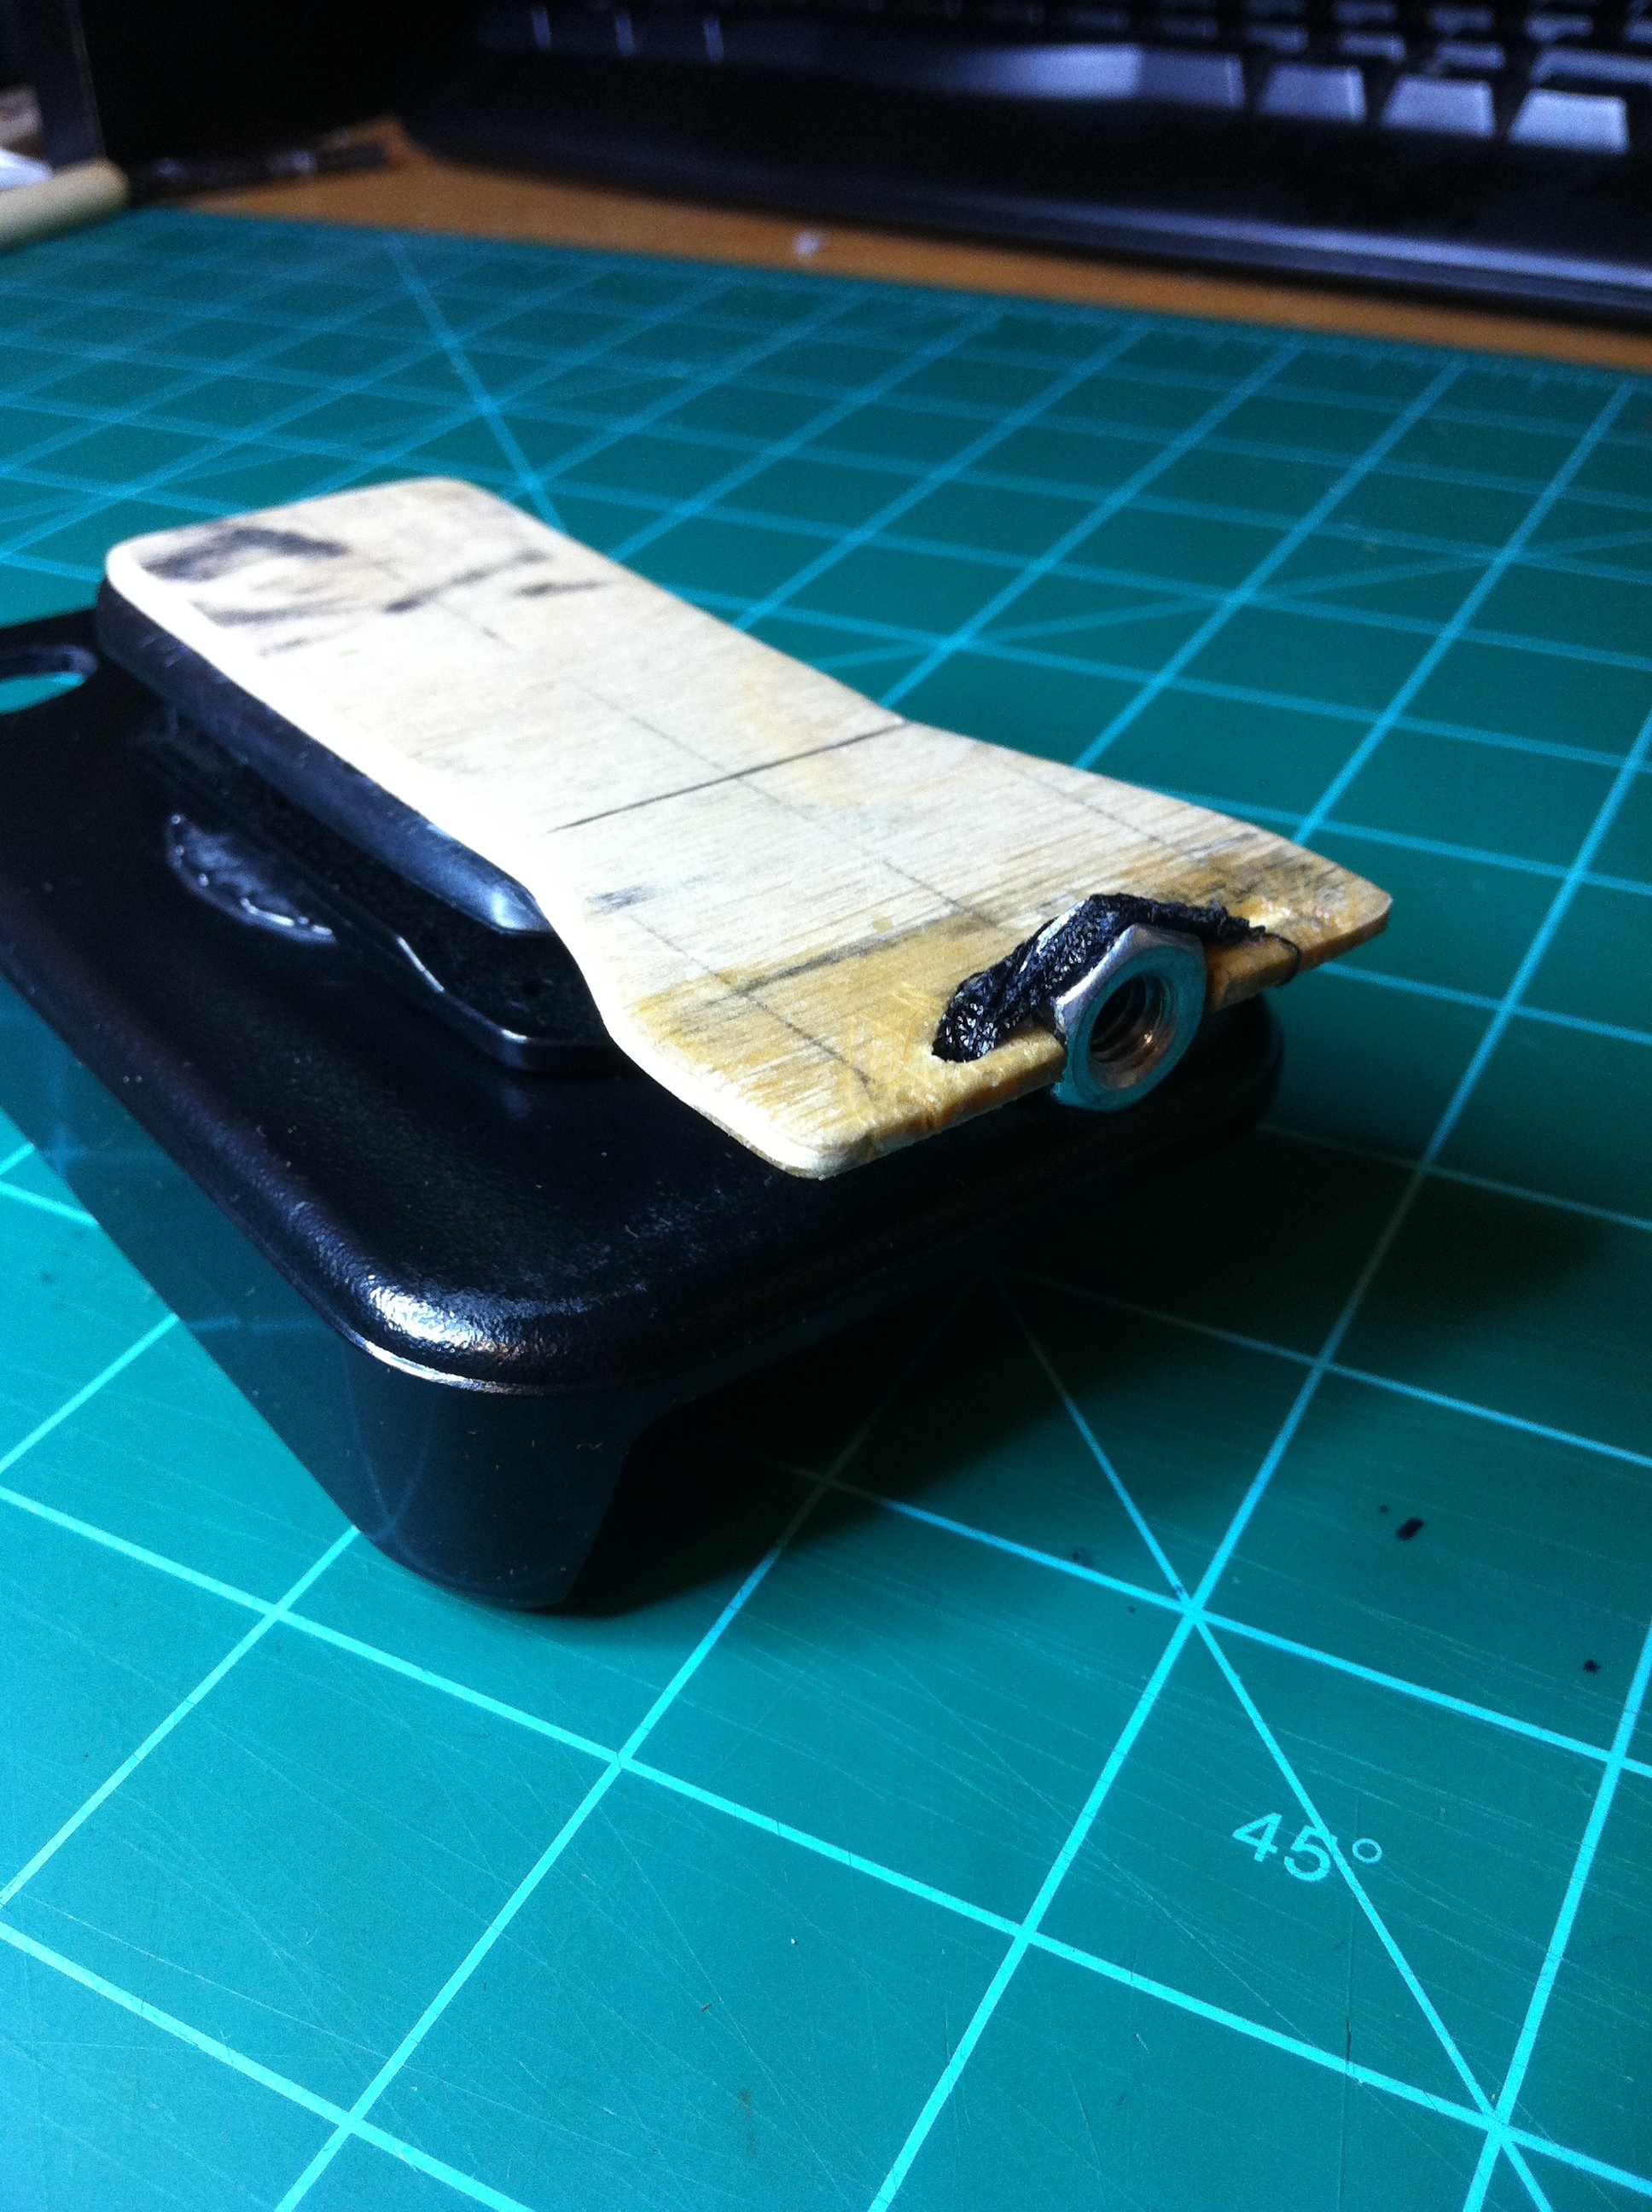
After finishing the hole, it was time to figure out a way to actually mount the thing to a tripod. My first inclination was to get rid of the actual clip part of the holster and maybe glue a 1/4-20 nut onto the back of the holster. –For the record, the standard tripod mounting bolt size is 1/4-20 — I then thought, “Hey, I could somehow mount the nut to the clip! That way I can take advantage of the fact that the clip rotates, which means I can mount my iPhone to a tripod in either portrait, or landscape!”. That is exactly what I did. I took a piece of 1/8″ plywood, cut it at 4″ long, 1-1/4″ wide, and near the bottom I had it flare out to 1-3/4″ wide. I had it flare for extra strength and I thought it looked nicer. I then cut a little notch for the nut to sit in and on either side of the notch I drilled a 1/8″ hole. I then roughed up the wood around where the nut will go and then super-glued the nut in place. I came back with my trusty thread and superglue trick to ensure that the nut wasn’t going anywhere soon. I ran the thread through one of the holes I drilled, then around the nut, through the other hole, and kept repeating this till I felt I had enough thread. After soaking it in superglue and letting it completely dry, I moved on to mounting the wood to the clip. I roughed up the clip pretty good using some sandpaper, a file, and most importantly I used an exacto knife. I used the knife to do a crosshatch type pattern to make sure the glue will have a lot of material to bite to. I then did the same to one of the sides of my 1/8″ ply. Before I superglued the ply to the clip I put some grease in the two holes on the clip. The two holes is where the clip pivots at and I do not want this to be superglued stationary. I then proceeded to cover the clip with superglue, stuck on the ply, let it completely dry, and then I was ready to take some steady tripod footage with my iPhone.
It has been by goal for a few years to design and build a machine that will hold multiple firecrackers, dispense them one by one, and then light them. Not only would this be really cool to just set on the ground and let it run, but my end goal with this idea will be to have it on an RC plane and drop them from the air. Maybe do some ‘bombing runs’ in the field behind my house from like a scale B-25 or something. I recently had an idea of one way to go about it and I have built a very rough prototype.
Before I go any further, I have a note on safety – First, I know this has the potential to be very dangerous. I would never use this device at an AMA sanctioned field, or any other field other than mine for that matter. Like I said, I will only ever use this in my field in a controlled environment. I also know that the plane could catch on fire mid-air, the firecrackers go off in the plane, and more importantly, if not done correctly, a firecracker could land on somebody. I do believe though, that with all the safety measures in place that this can be done safely and responsibly.
Now on to my idea/design . . .
First, this is not the final machine. It has many bugs that need to be worked out, it needs to be built lighter, and most importantly I need to figure out a way I can light the firecrackers in the air. For now I am going to forget the lighting of the firecrackers and I am just going to find a way that I can dispense the firecrackers with no errors.
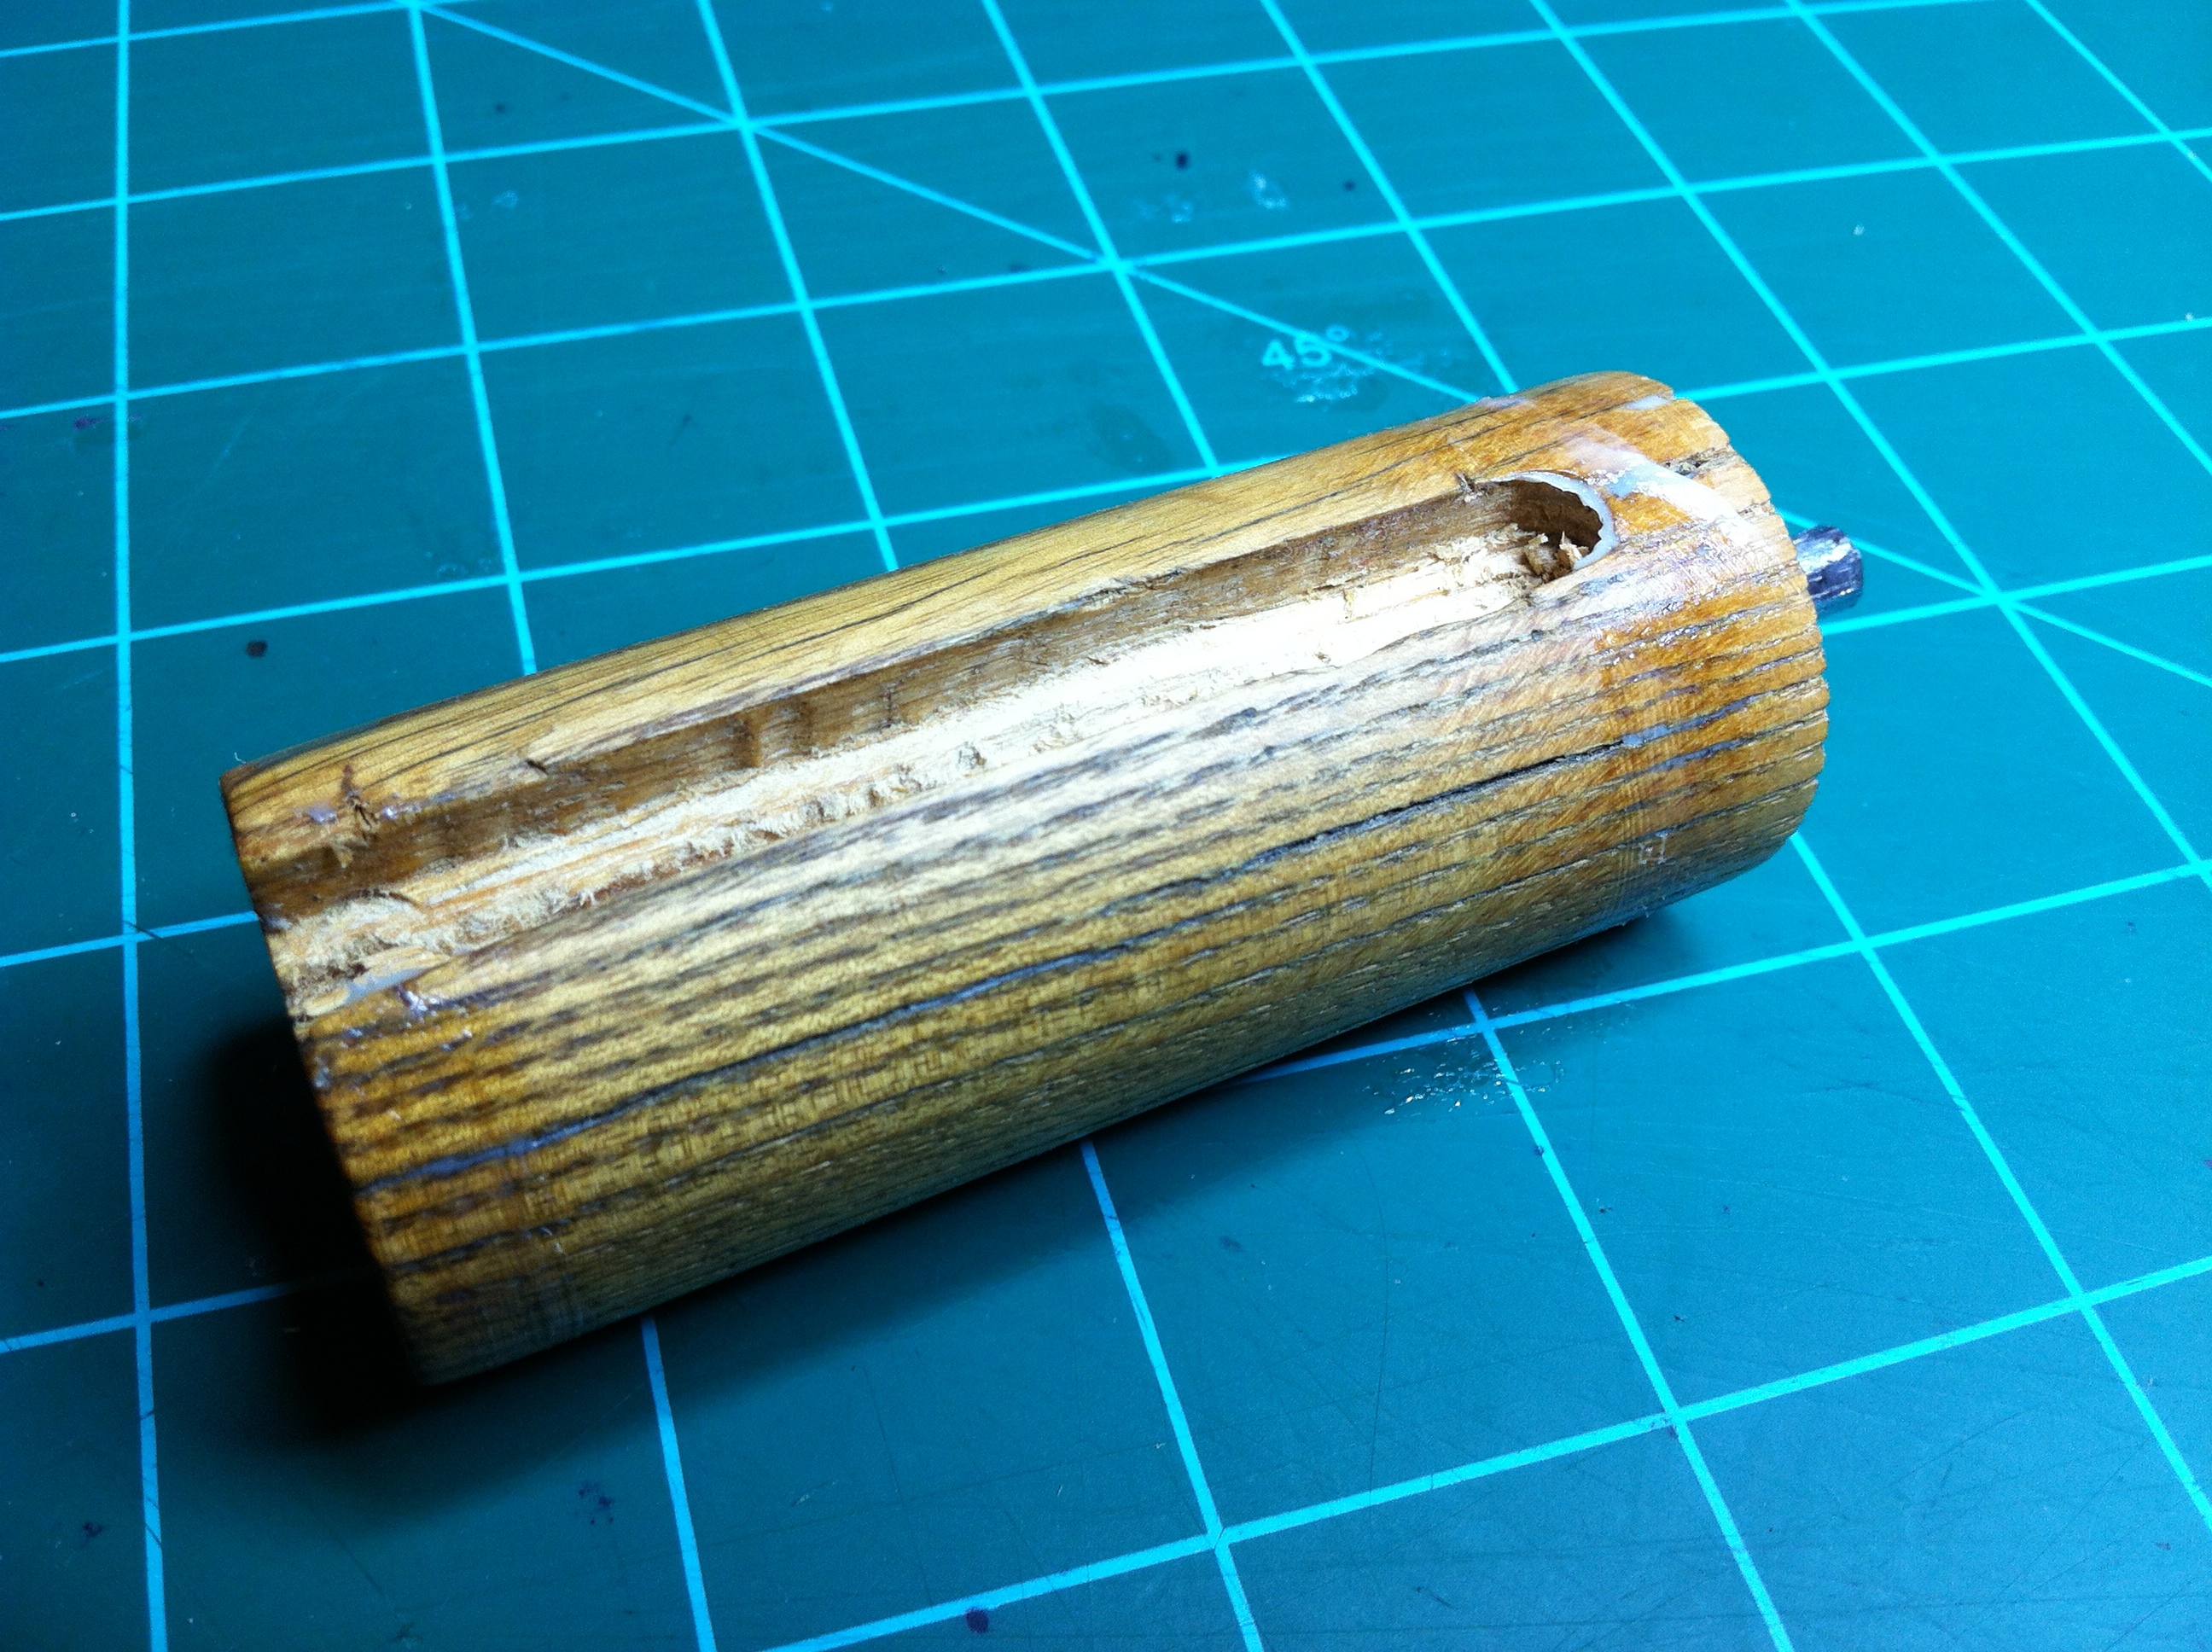
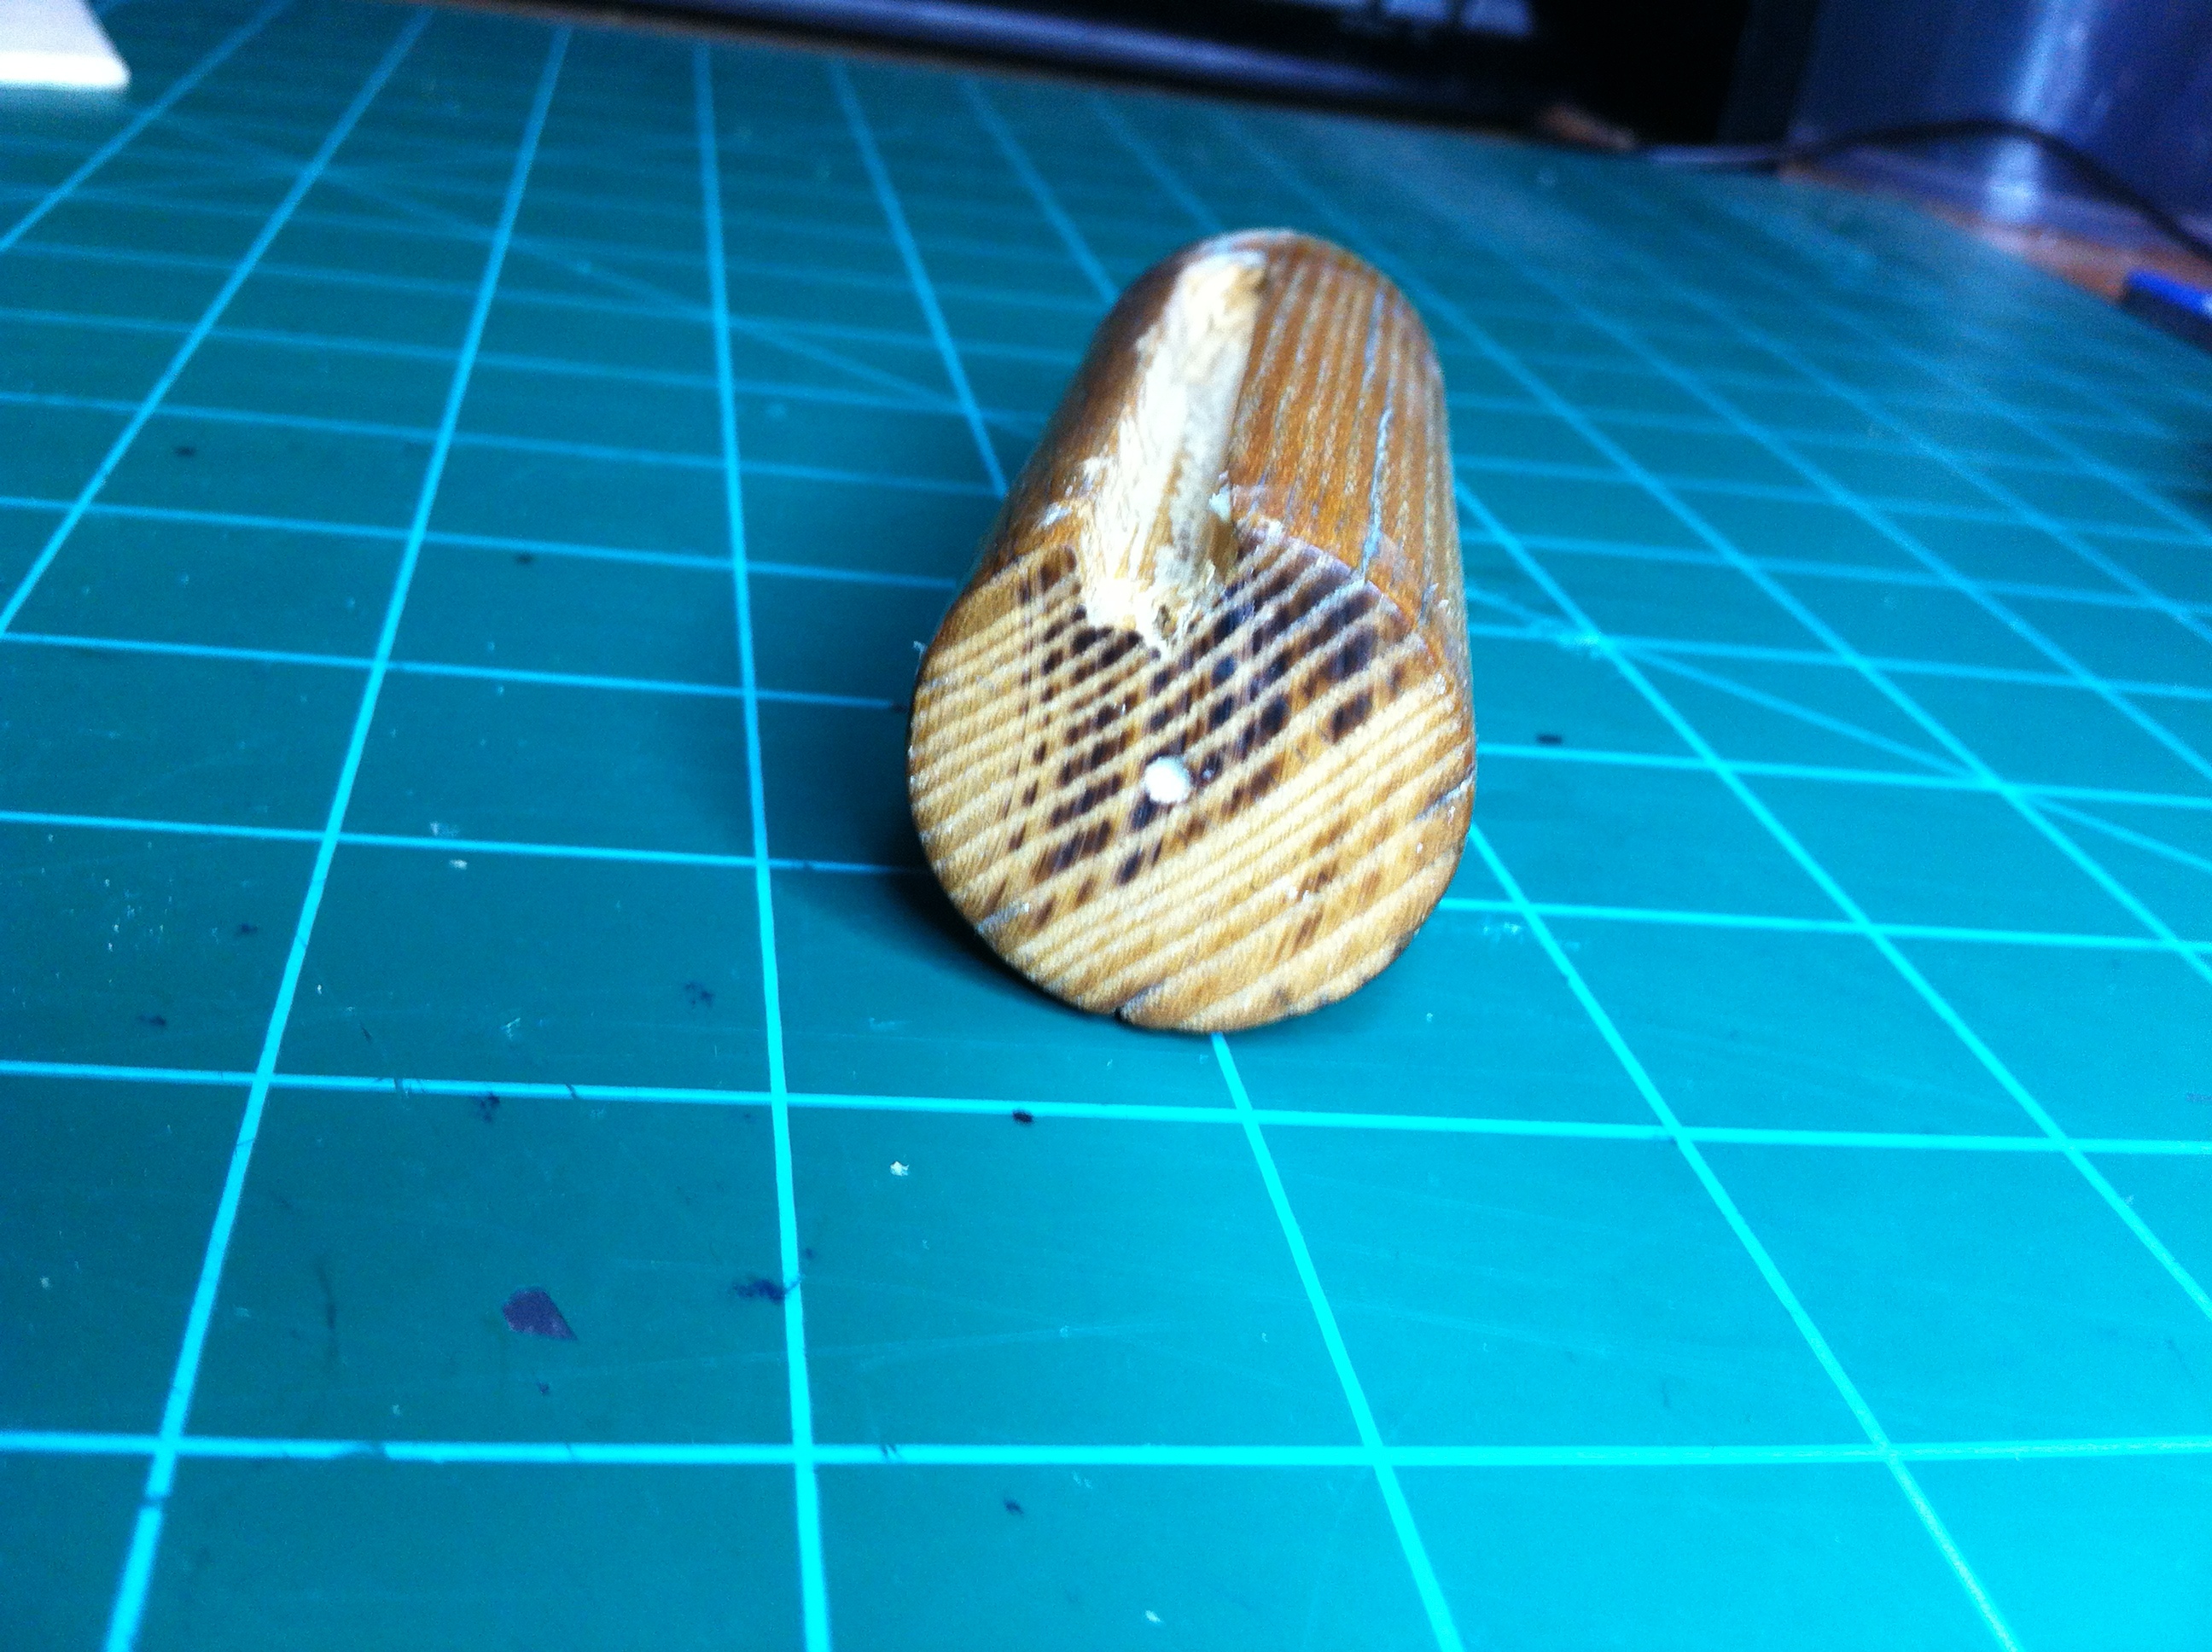
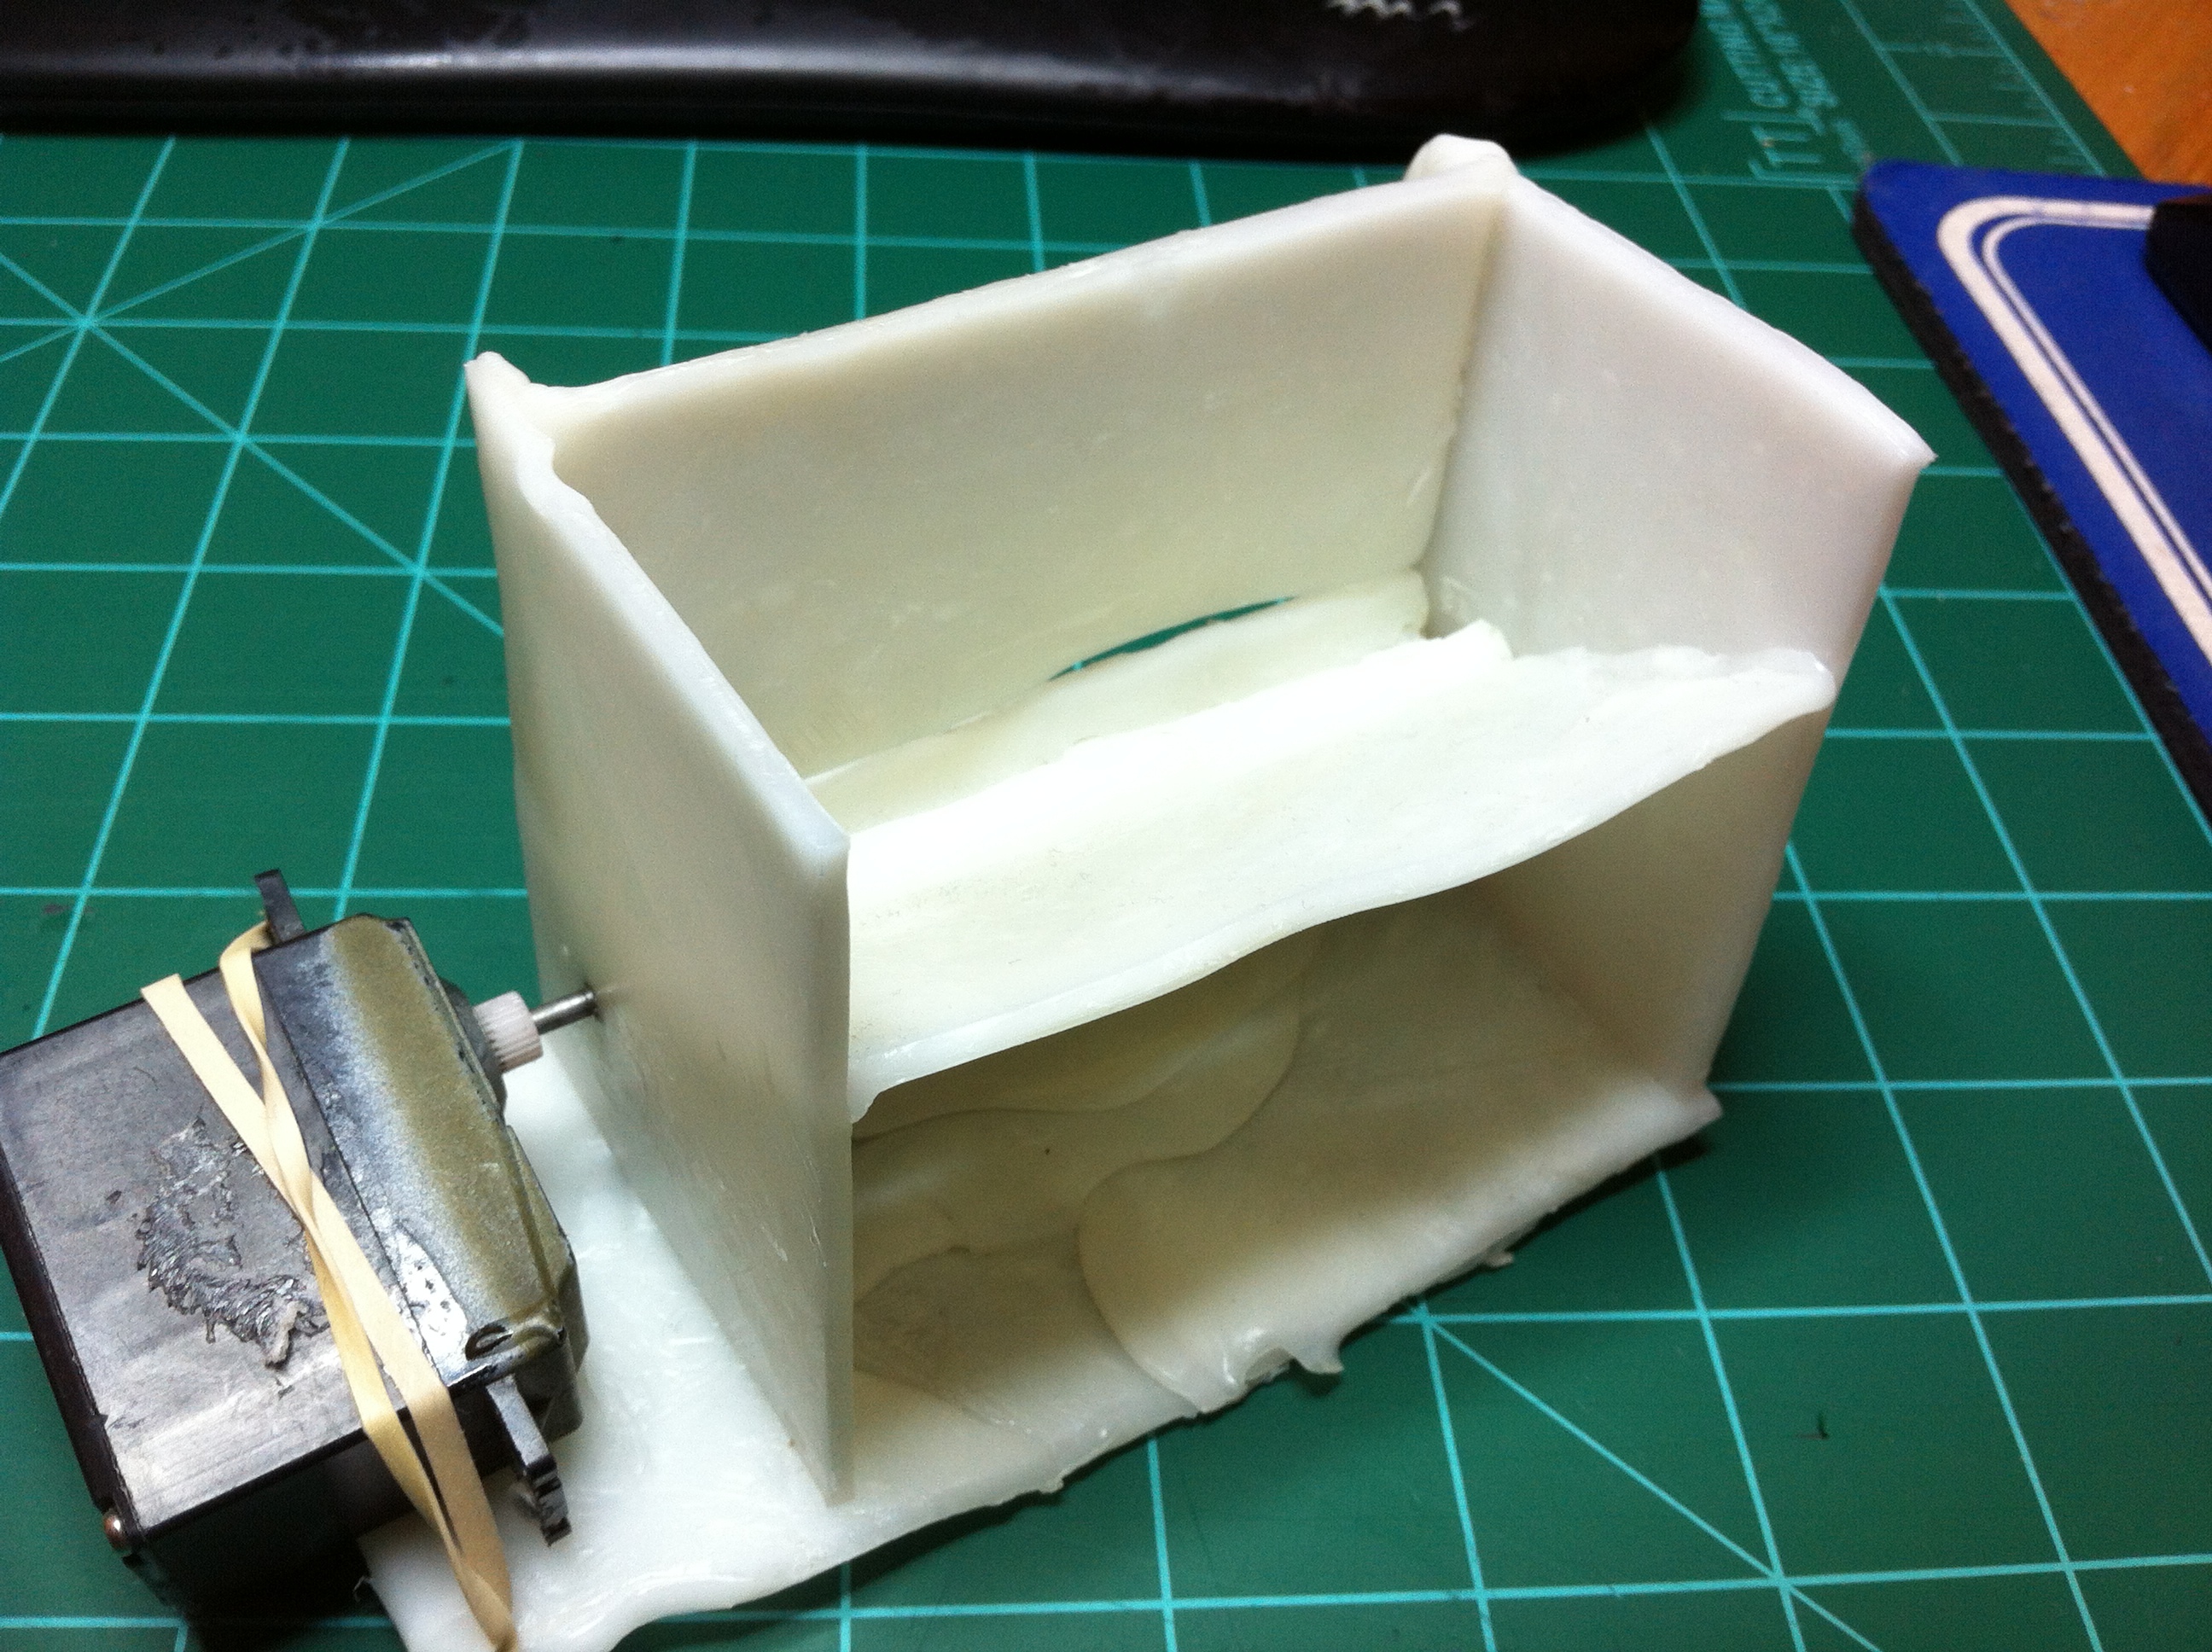
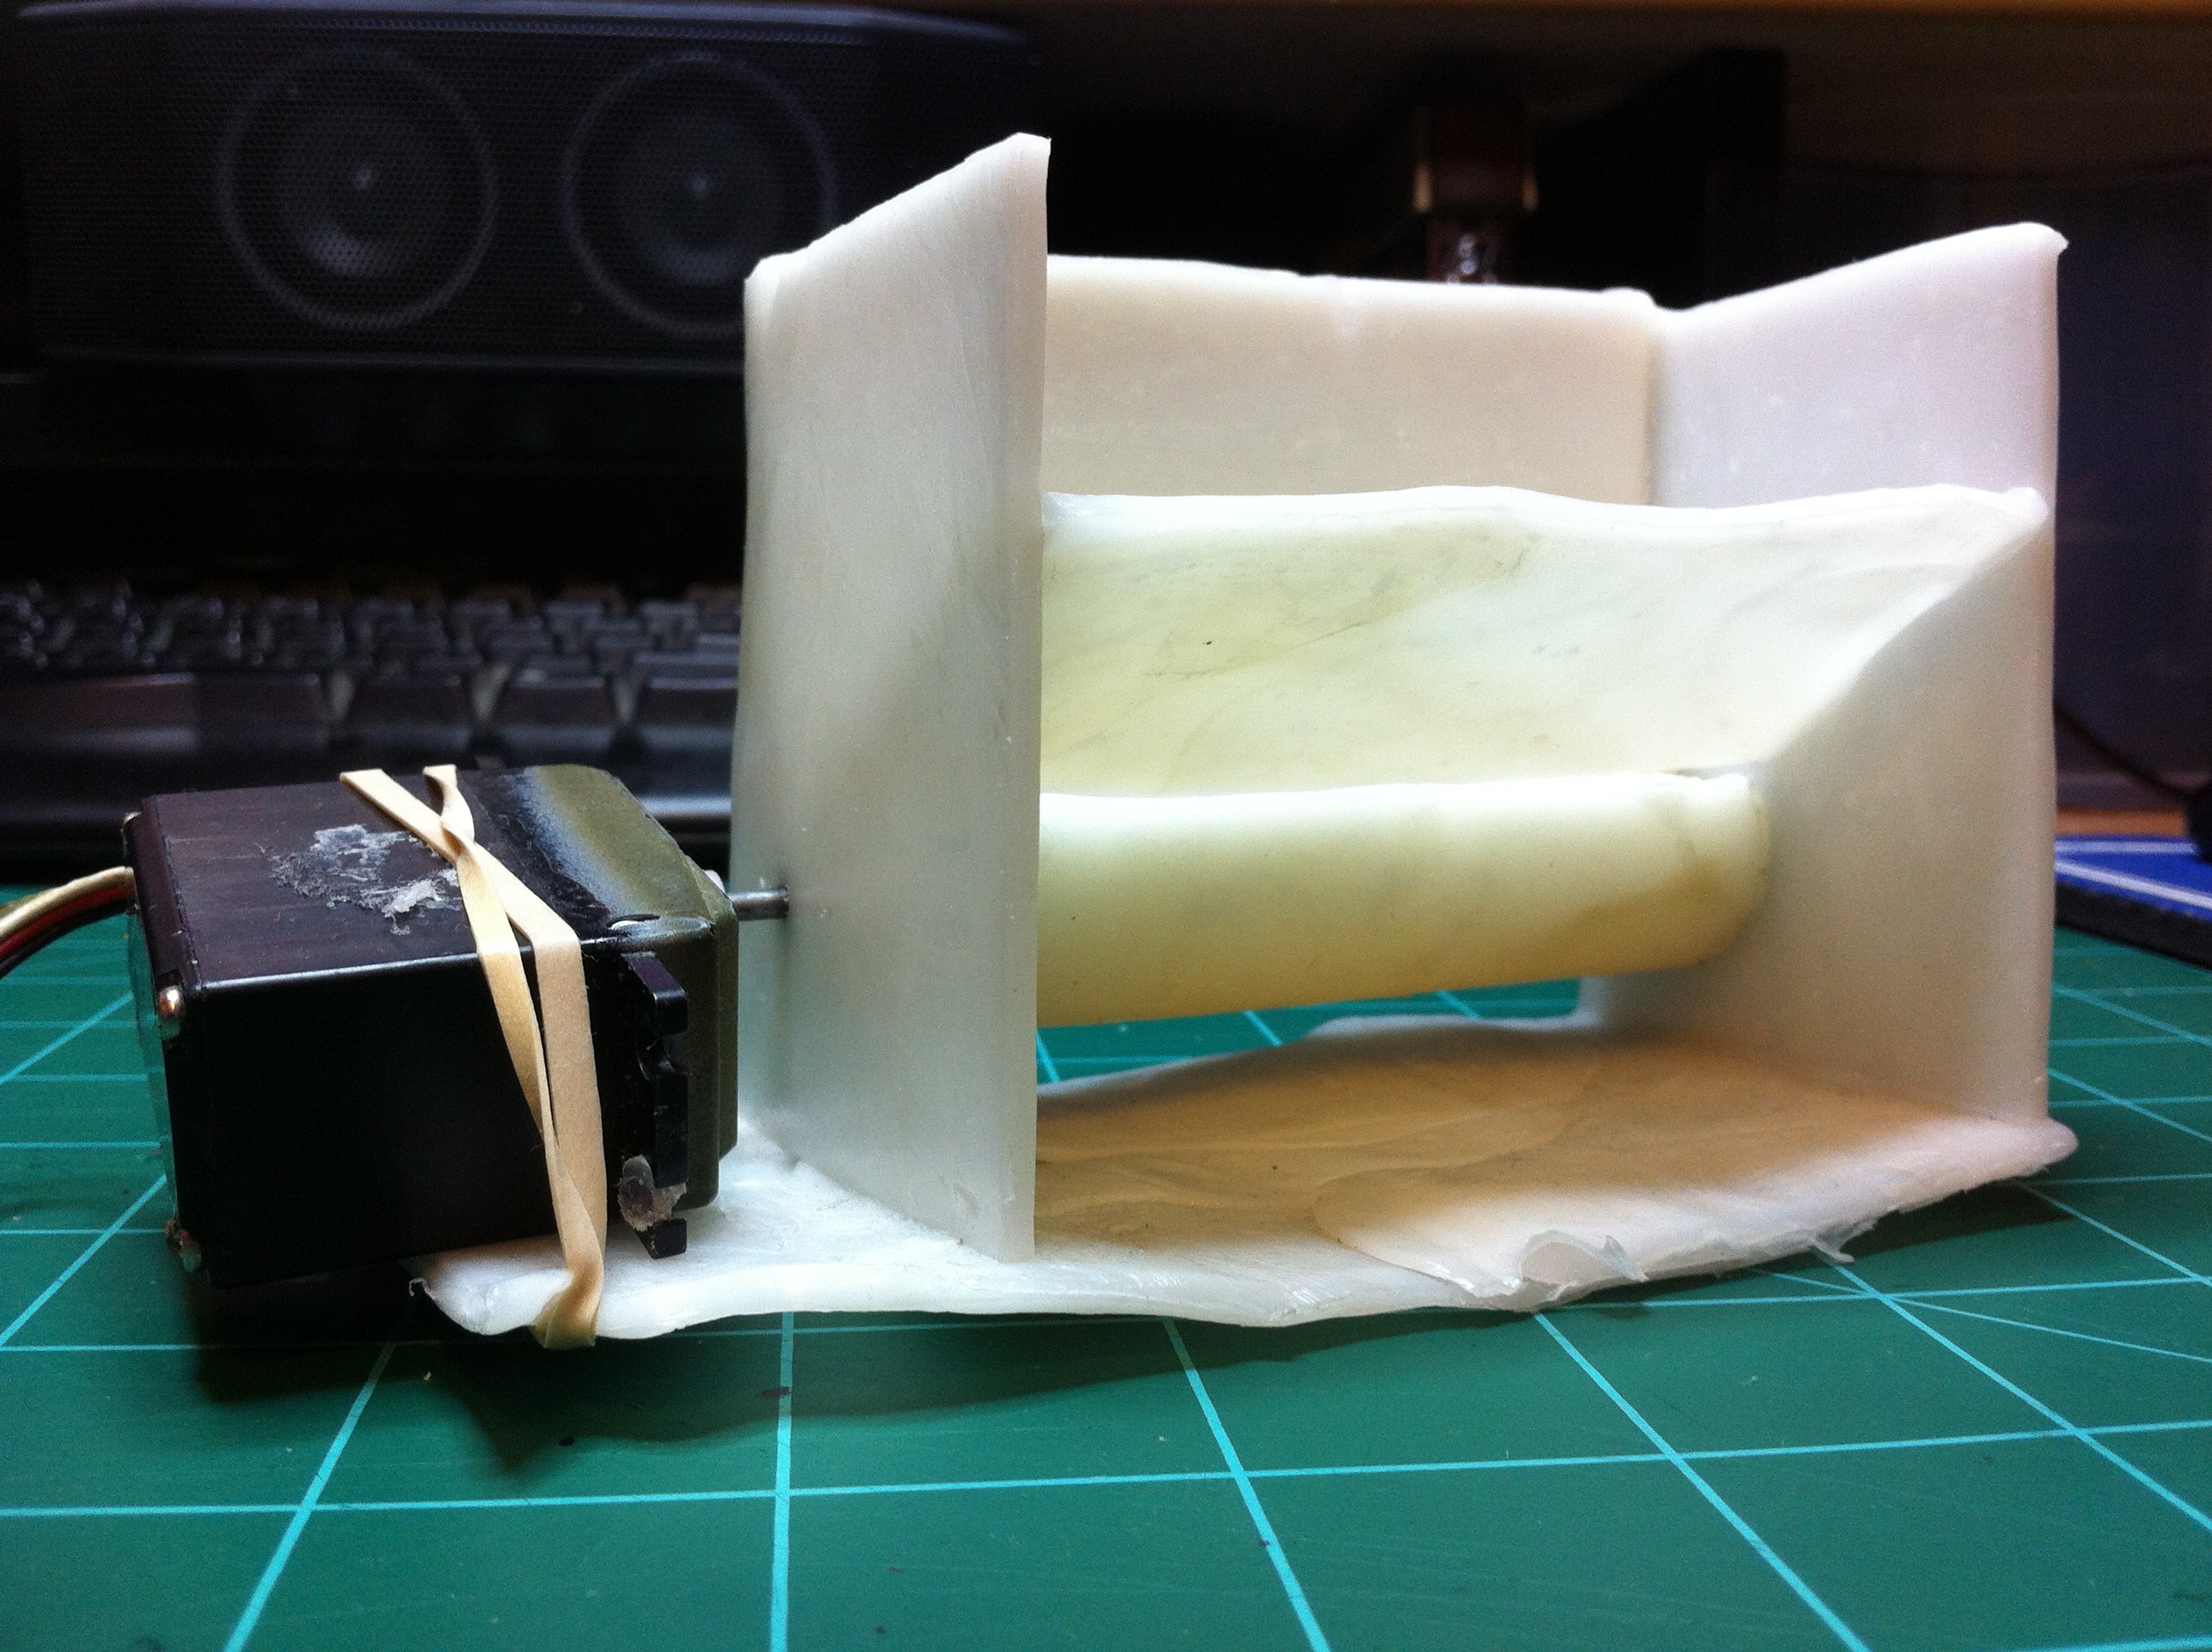
My design is to build a machine that will dispense the firecrackers in the same way that toothpick holders dispense the toothpick. There will be a rod (most likely wooden) with a groove in it the same depth and width as a firecracker. For now, I am going to say that the firecracker’s diameter is 1/4″ (it is slightly bigger than that though) . So this wooden dowel will have a groove running parallel to the length of the dowel with dimensions of 1/4″ x 1/4″ . This dowel will be placed on the bottom a hopper of sorts in which the firecrackers are stored. As the dowel rotates, one firecracker will fall into the groove. As the dowel continues to rotate, the firecracker, which is in the groove, will fall out of the groove. The dowel will rotate by means of a servo modded to rotate 360 degrees.
So the other night I built my first prototype. Although this will be eventually made of wood, I made a version out of InstaMorph plastic. I did this because it was late at night, it is easy to work with, it gave me a good idea if this design is feasible, and most importantly, it is reusable. If I don’t like the design or something I can melt down the InstaMorph plastic and build something else with it.
Pictures . . .
Problem: Jamming. So far I am having trouble with the firecrackers jamming while trying to dispense. They get lopsided in the hopper and/or get jammed in between the hopper wall and the rotating ‘dowel’. I think my problem is I didn’t build this prototype precise enough – there is too much of a gap in between the ‘dowel’ and the hopper wall. I will build a wooden version with tighter tolerances and hopefully that will help.
Any engineering advice would be greatly appreciated!
I heard about this trick a while back and have found it very useful. If you want a strong joint between two objects, thread and superglue can be a great way of doing it.
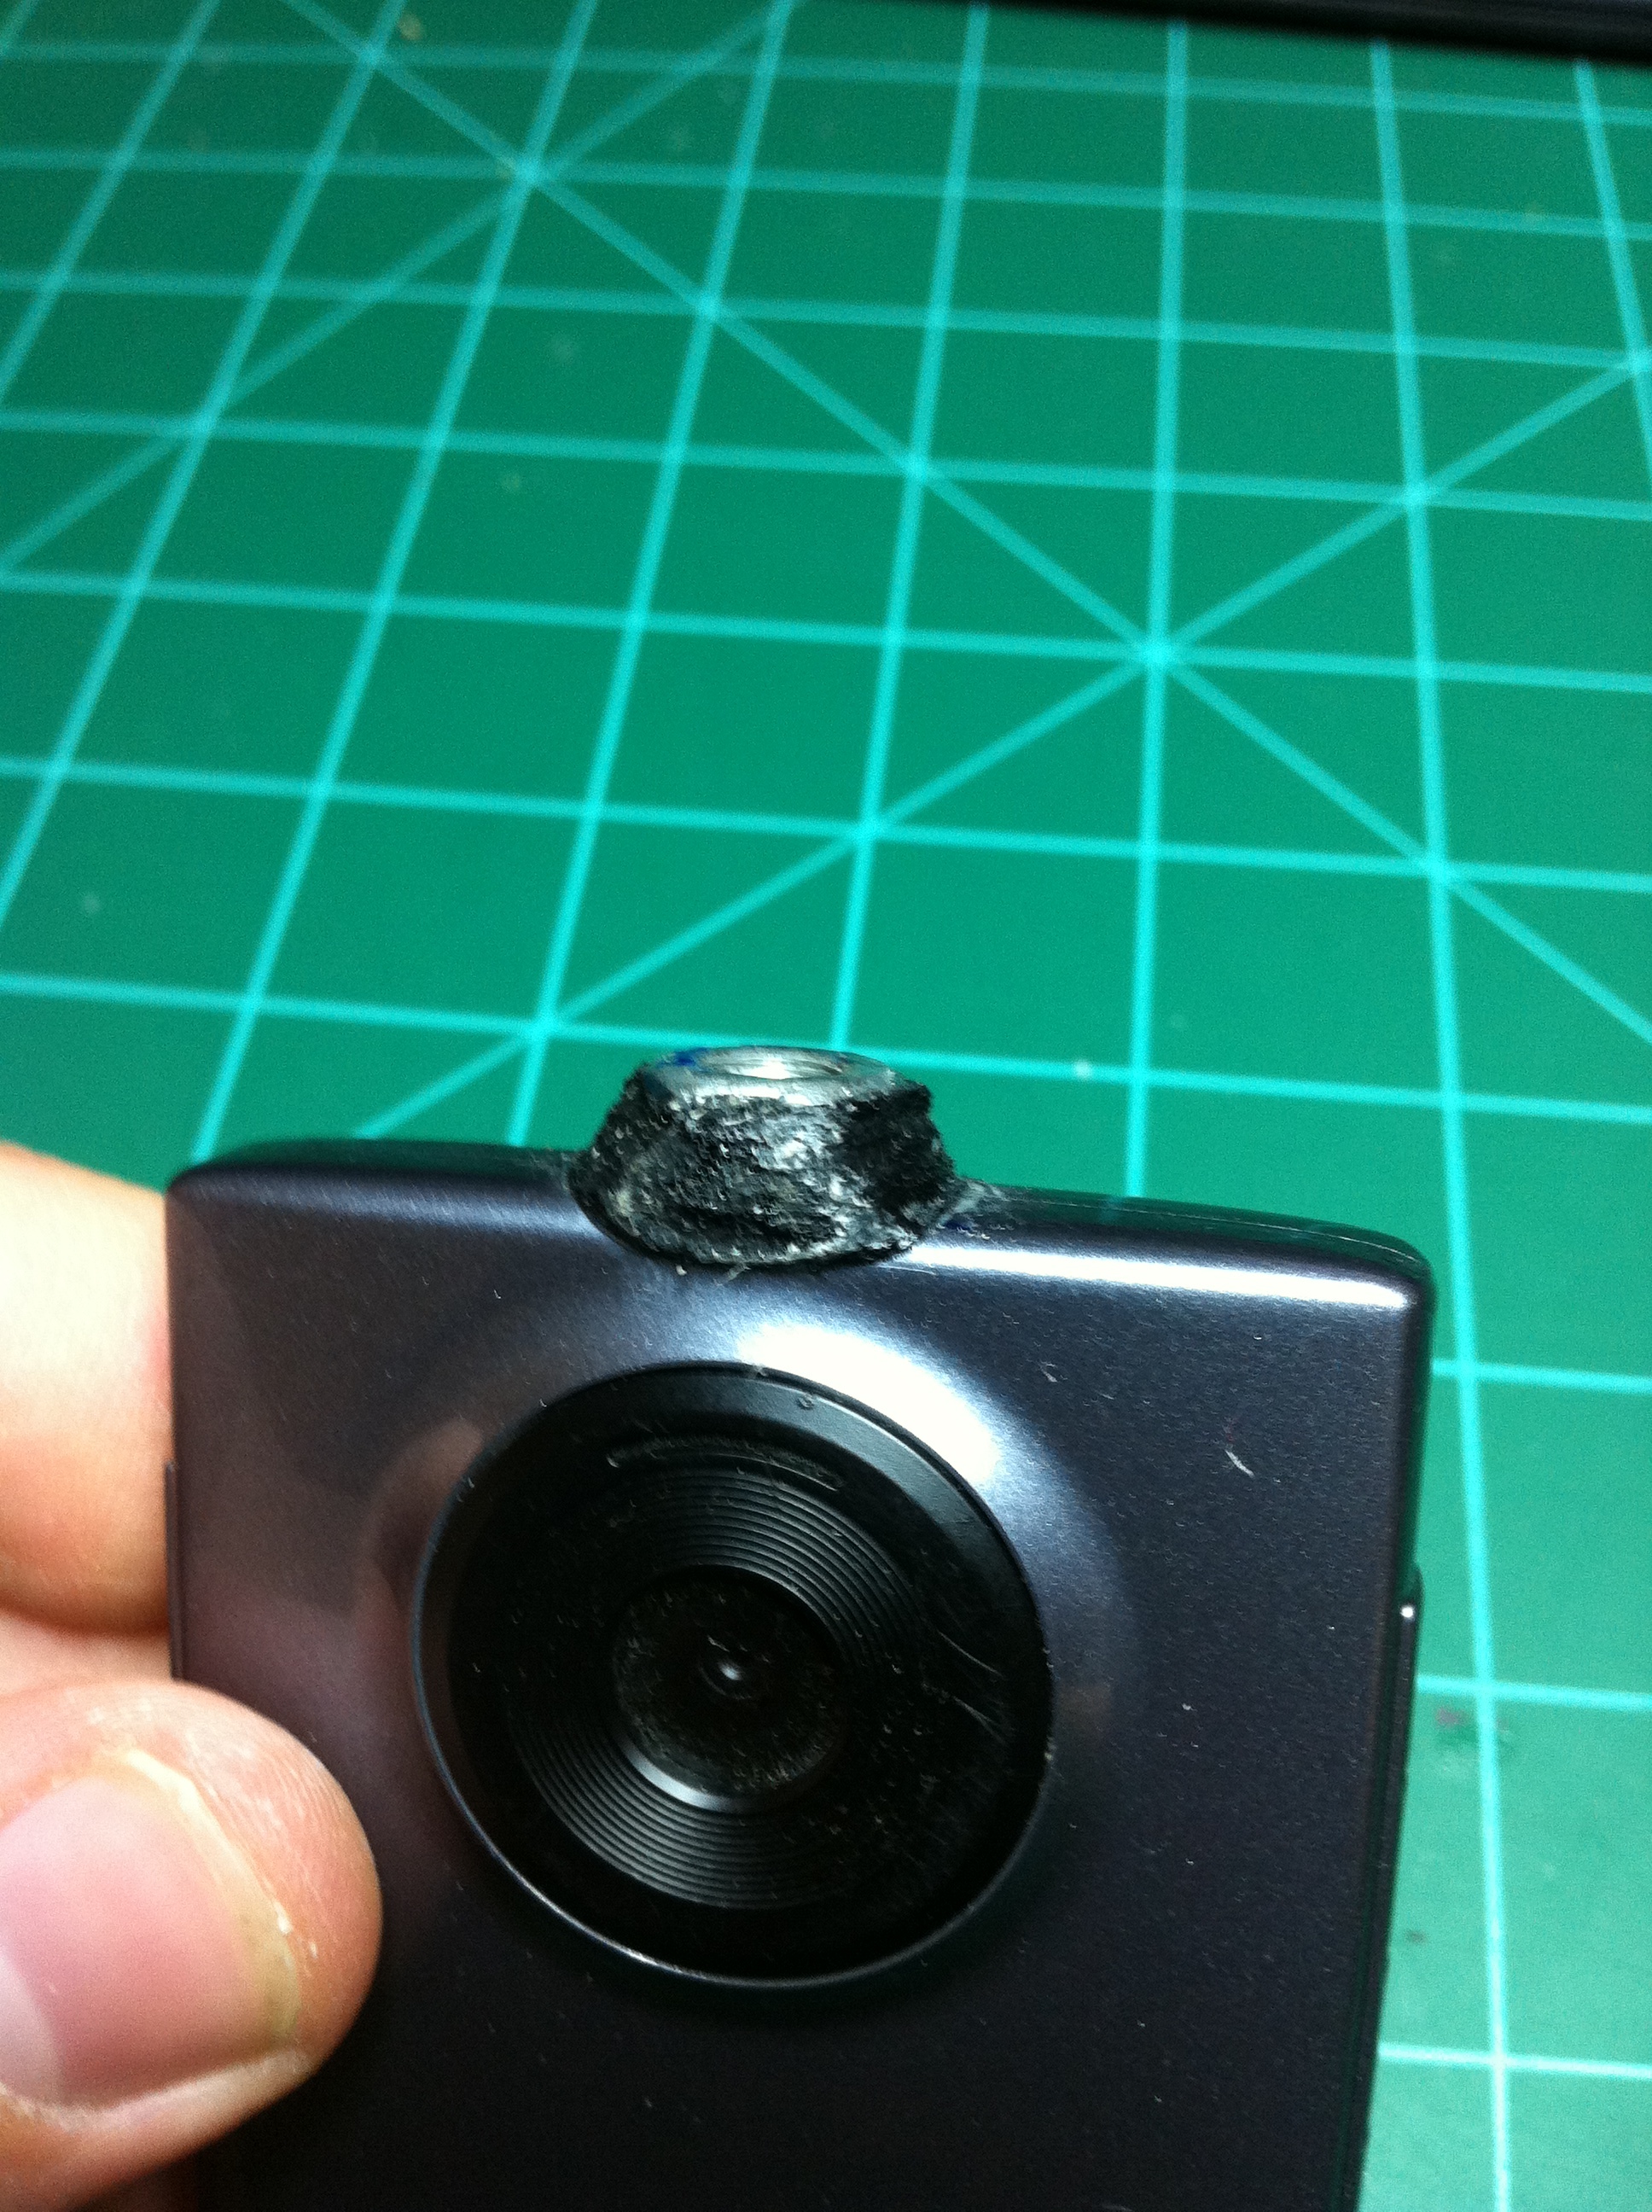
For example, the other day I wanted a way to mount my small video camera to my RC plane. My camera didn’t come with a tripod mount, so I added my own. I used thread and superglue to give an extremely strong joint between a 1/4-20 nut and my camera. Now I can hang the camera from my plane and I don’t have to worry about the glue joint coming apart mid-air.
To do this properly, it is best to rough up the two surfaces you are gluing. Then wind/wrap thread around the joint of the two surfaces – I use roughly 36 inch lengths of thread and then soak in superglue. I like to do it in layers because it makes it easier for me. So, I wind the 36″ piece, soak in superglue, wind another 36″ piece, soak in superglue, etc. I do this till I feel there is a sufficient amount of thread and super glue. The windings of thread and superglue creates a super strong, plastic-y, fiberglass-like material.
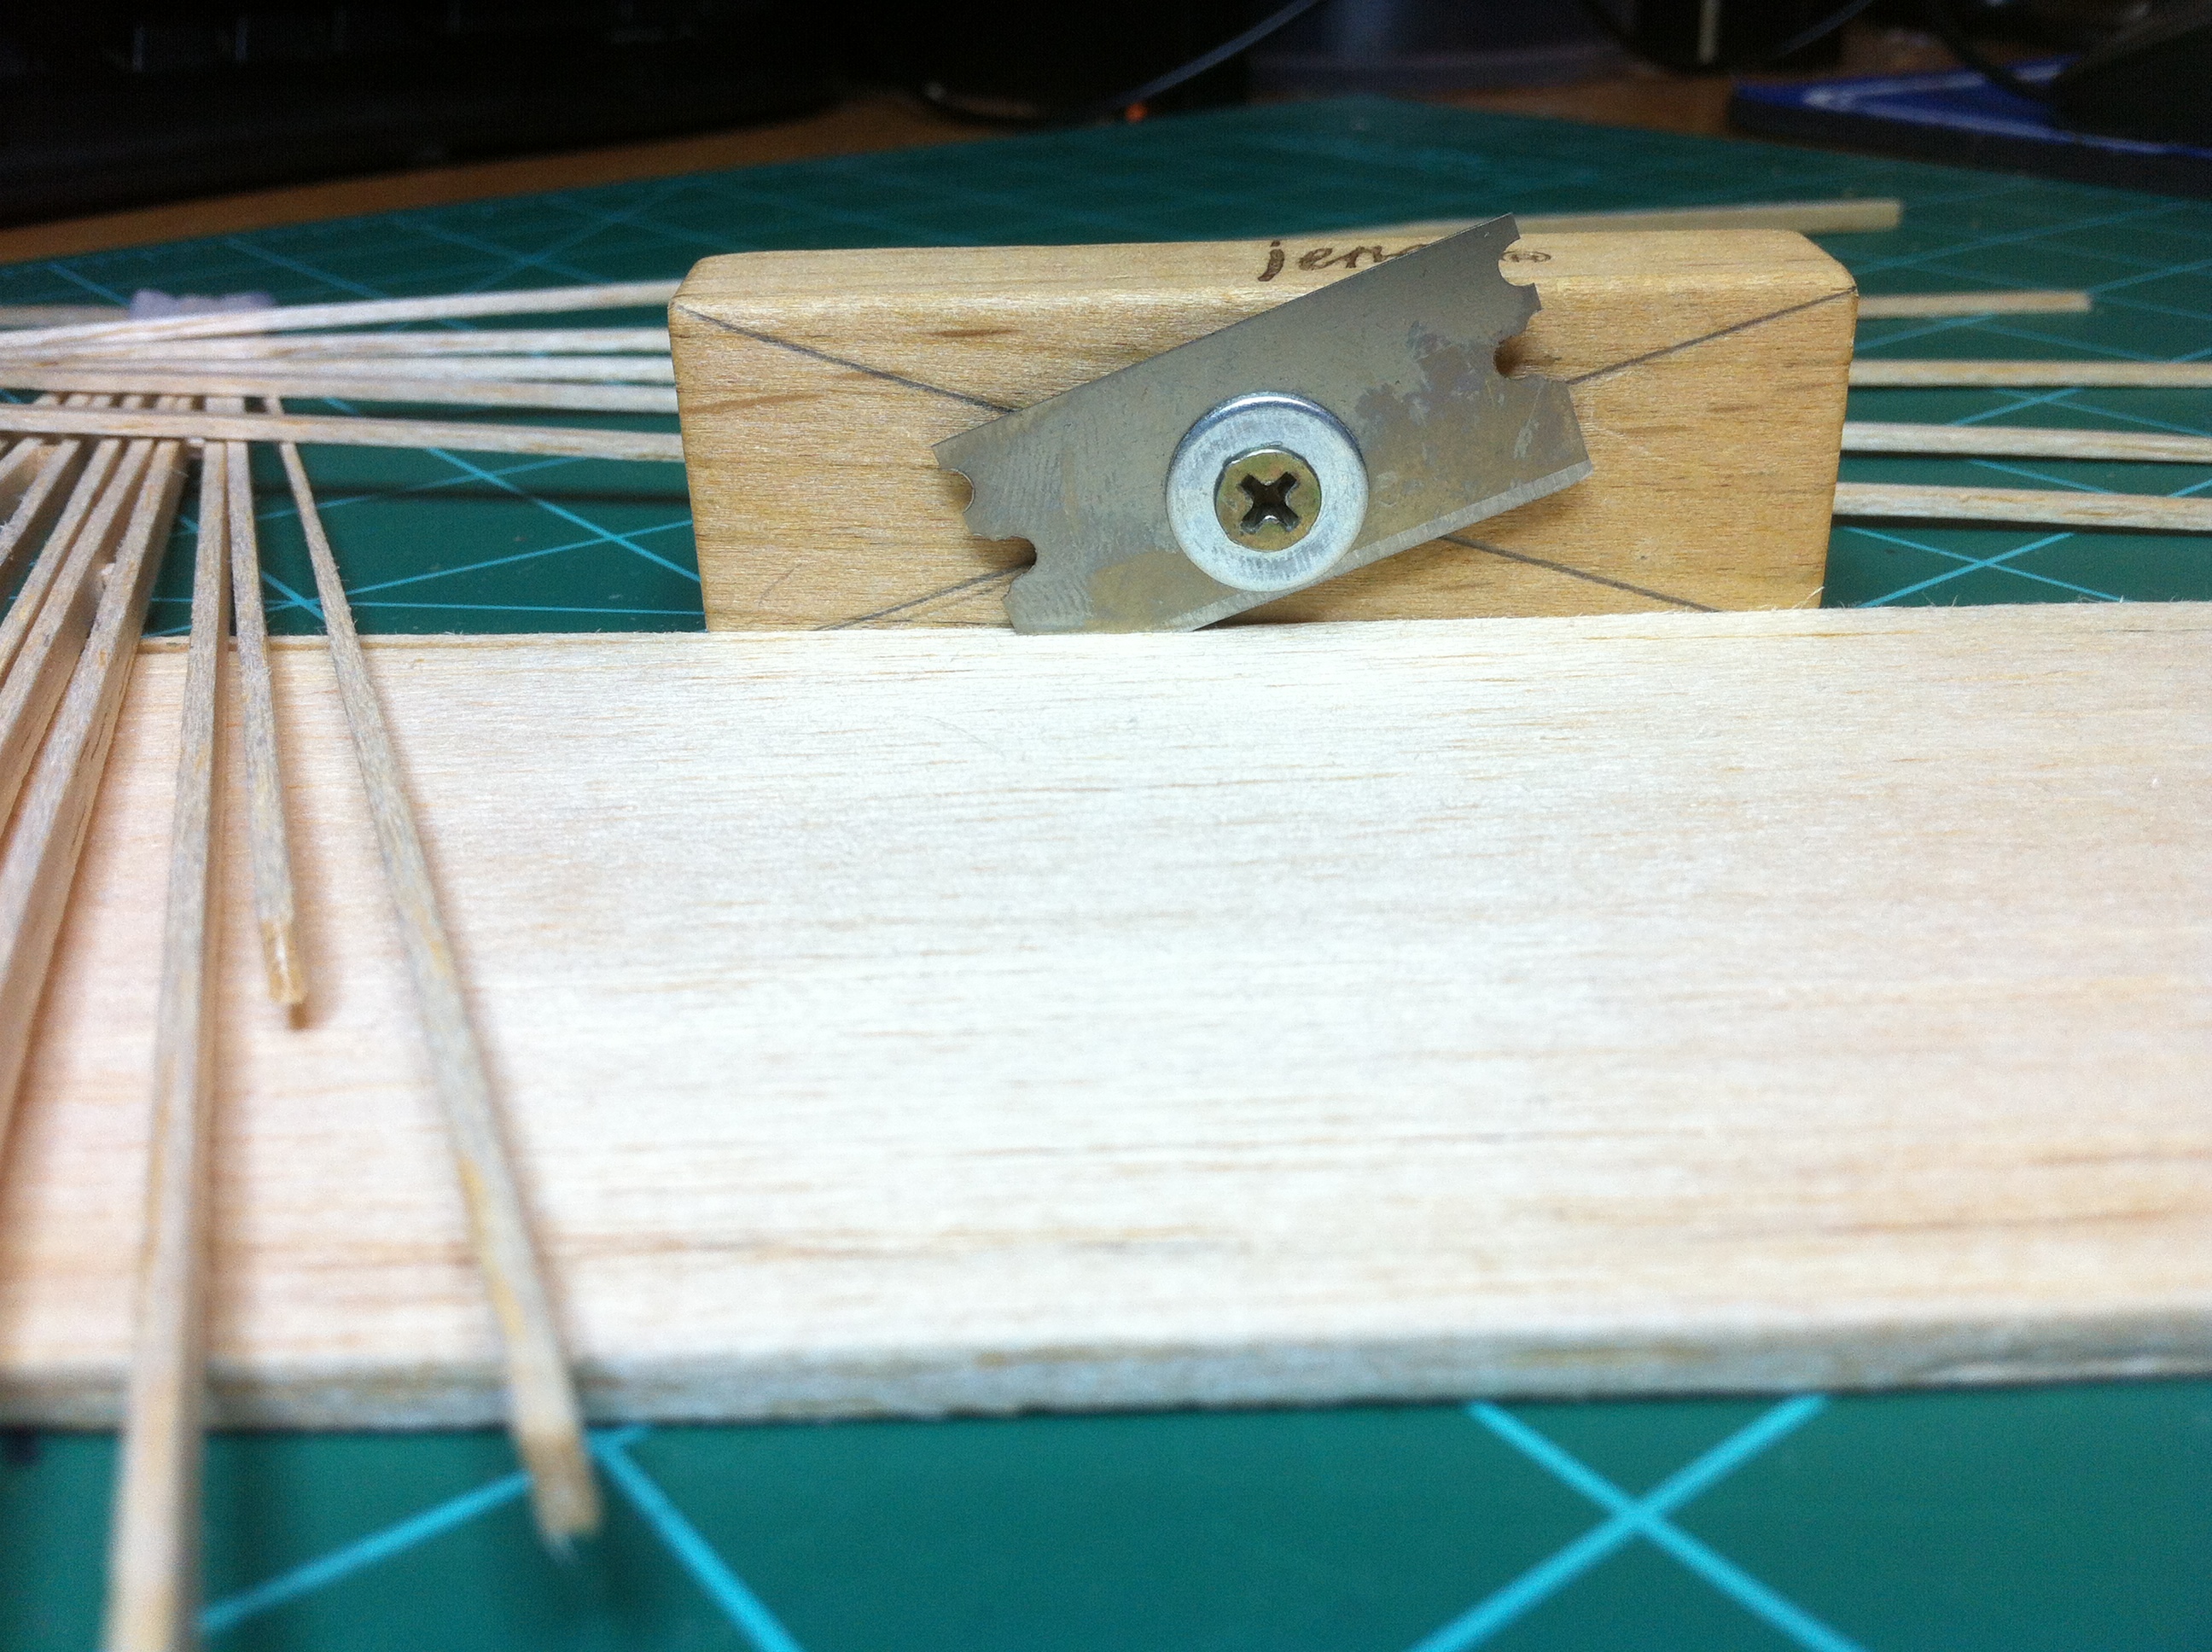
I normally try to save my money where I can. If I can build my own of something for cheaper than I can buy a commercial one for, I most often will. In this case it is a balsa stripper. I needed one of these tools the other evening but
I didn’t want to spend the $5-$7 on it and more importantly, I didn’t want to have to wait for it. This tool is very simple, it is just a blade held a specific distance away from a flat edge. I knew I could make one within 10 minutes. . .
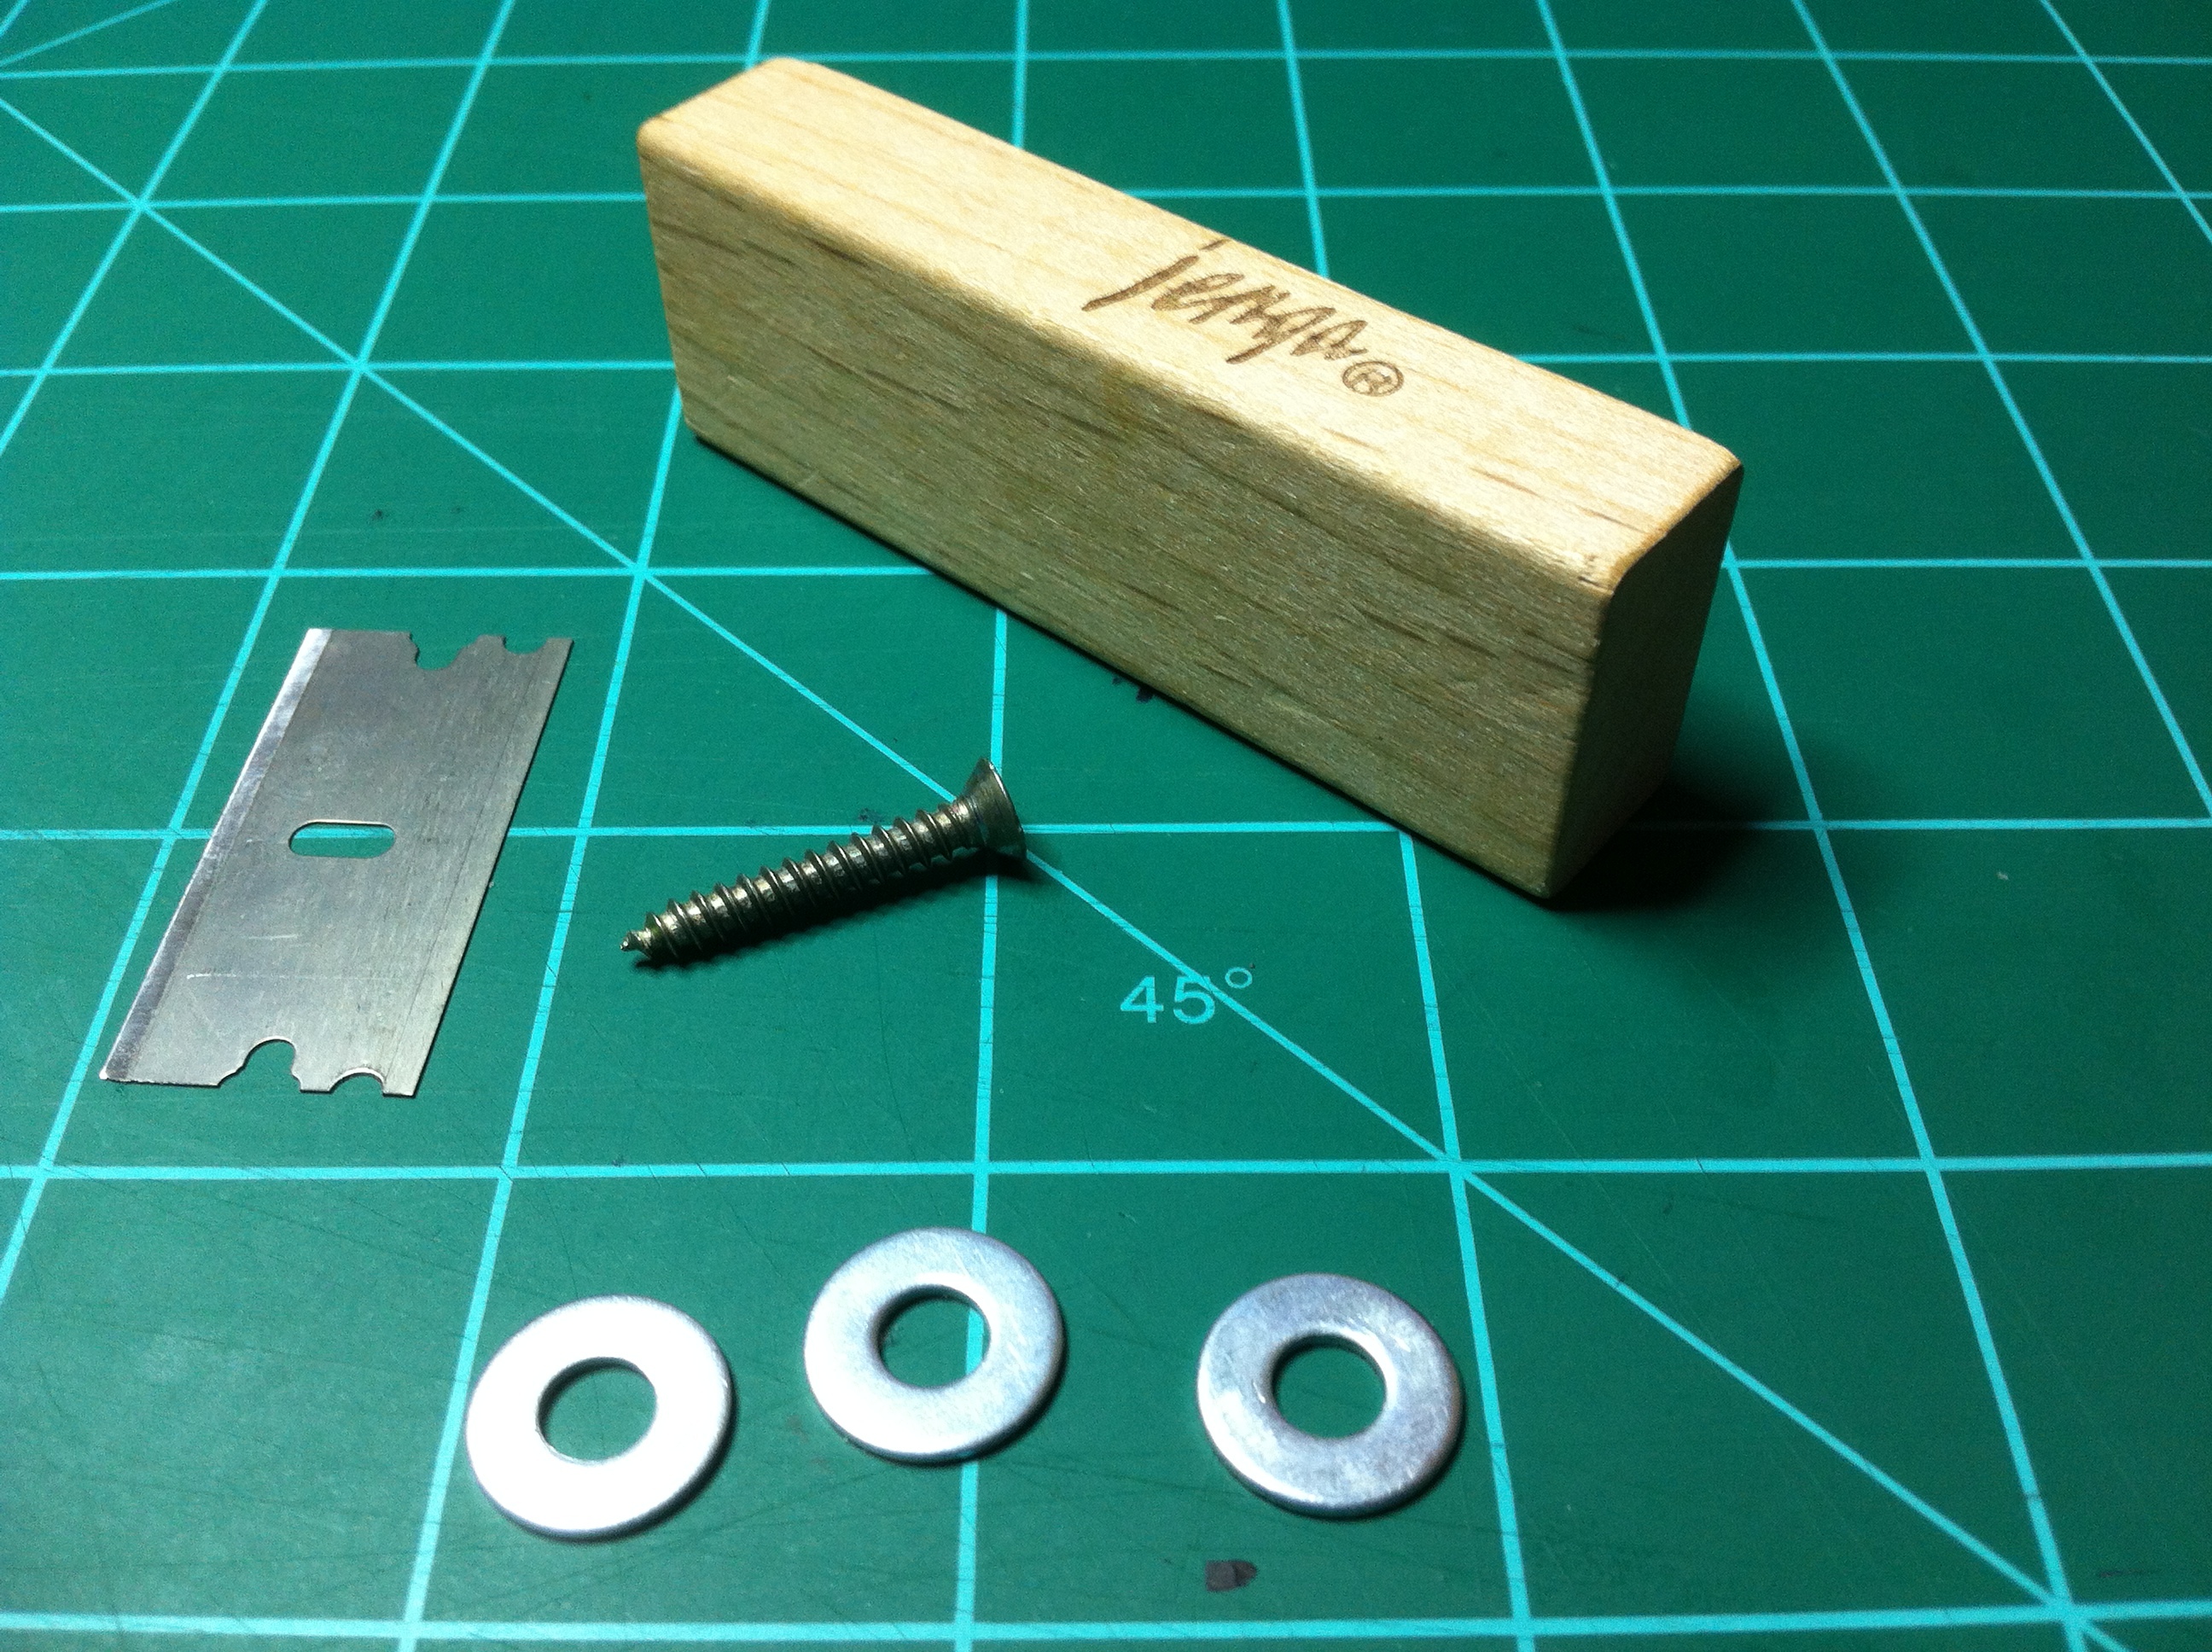
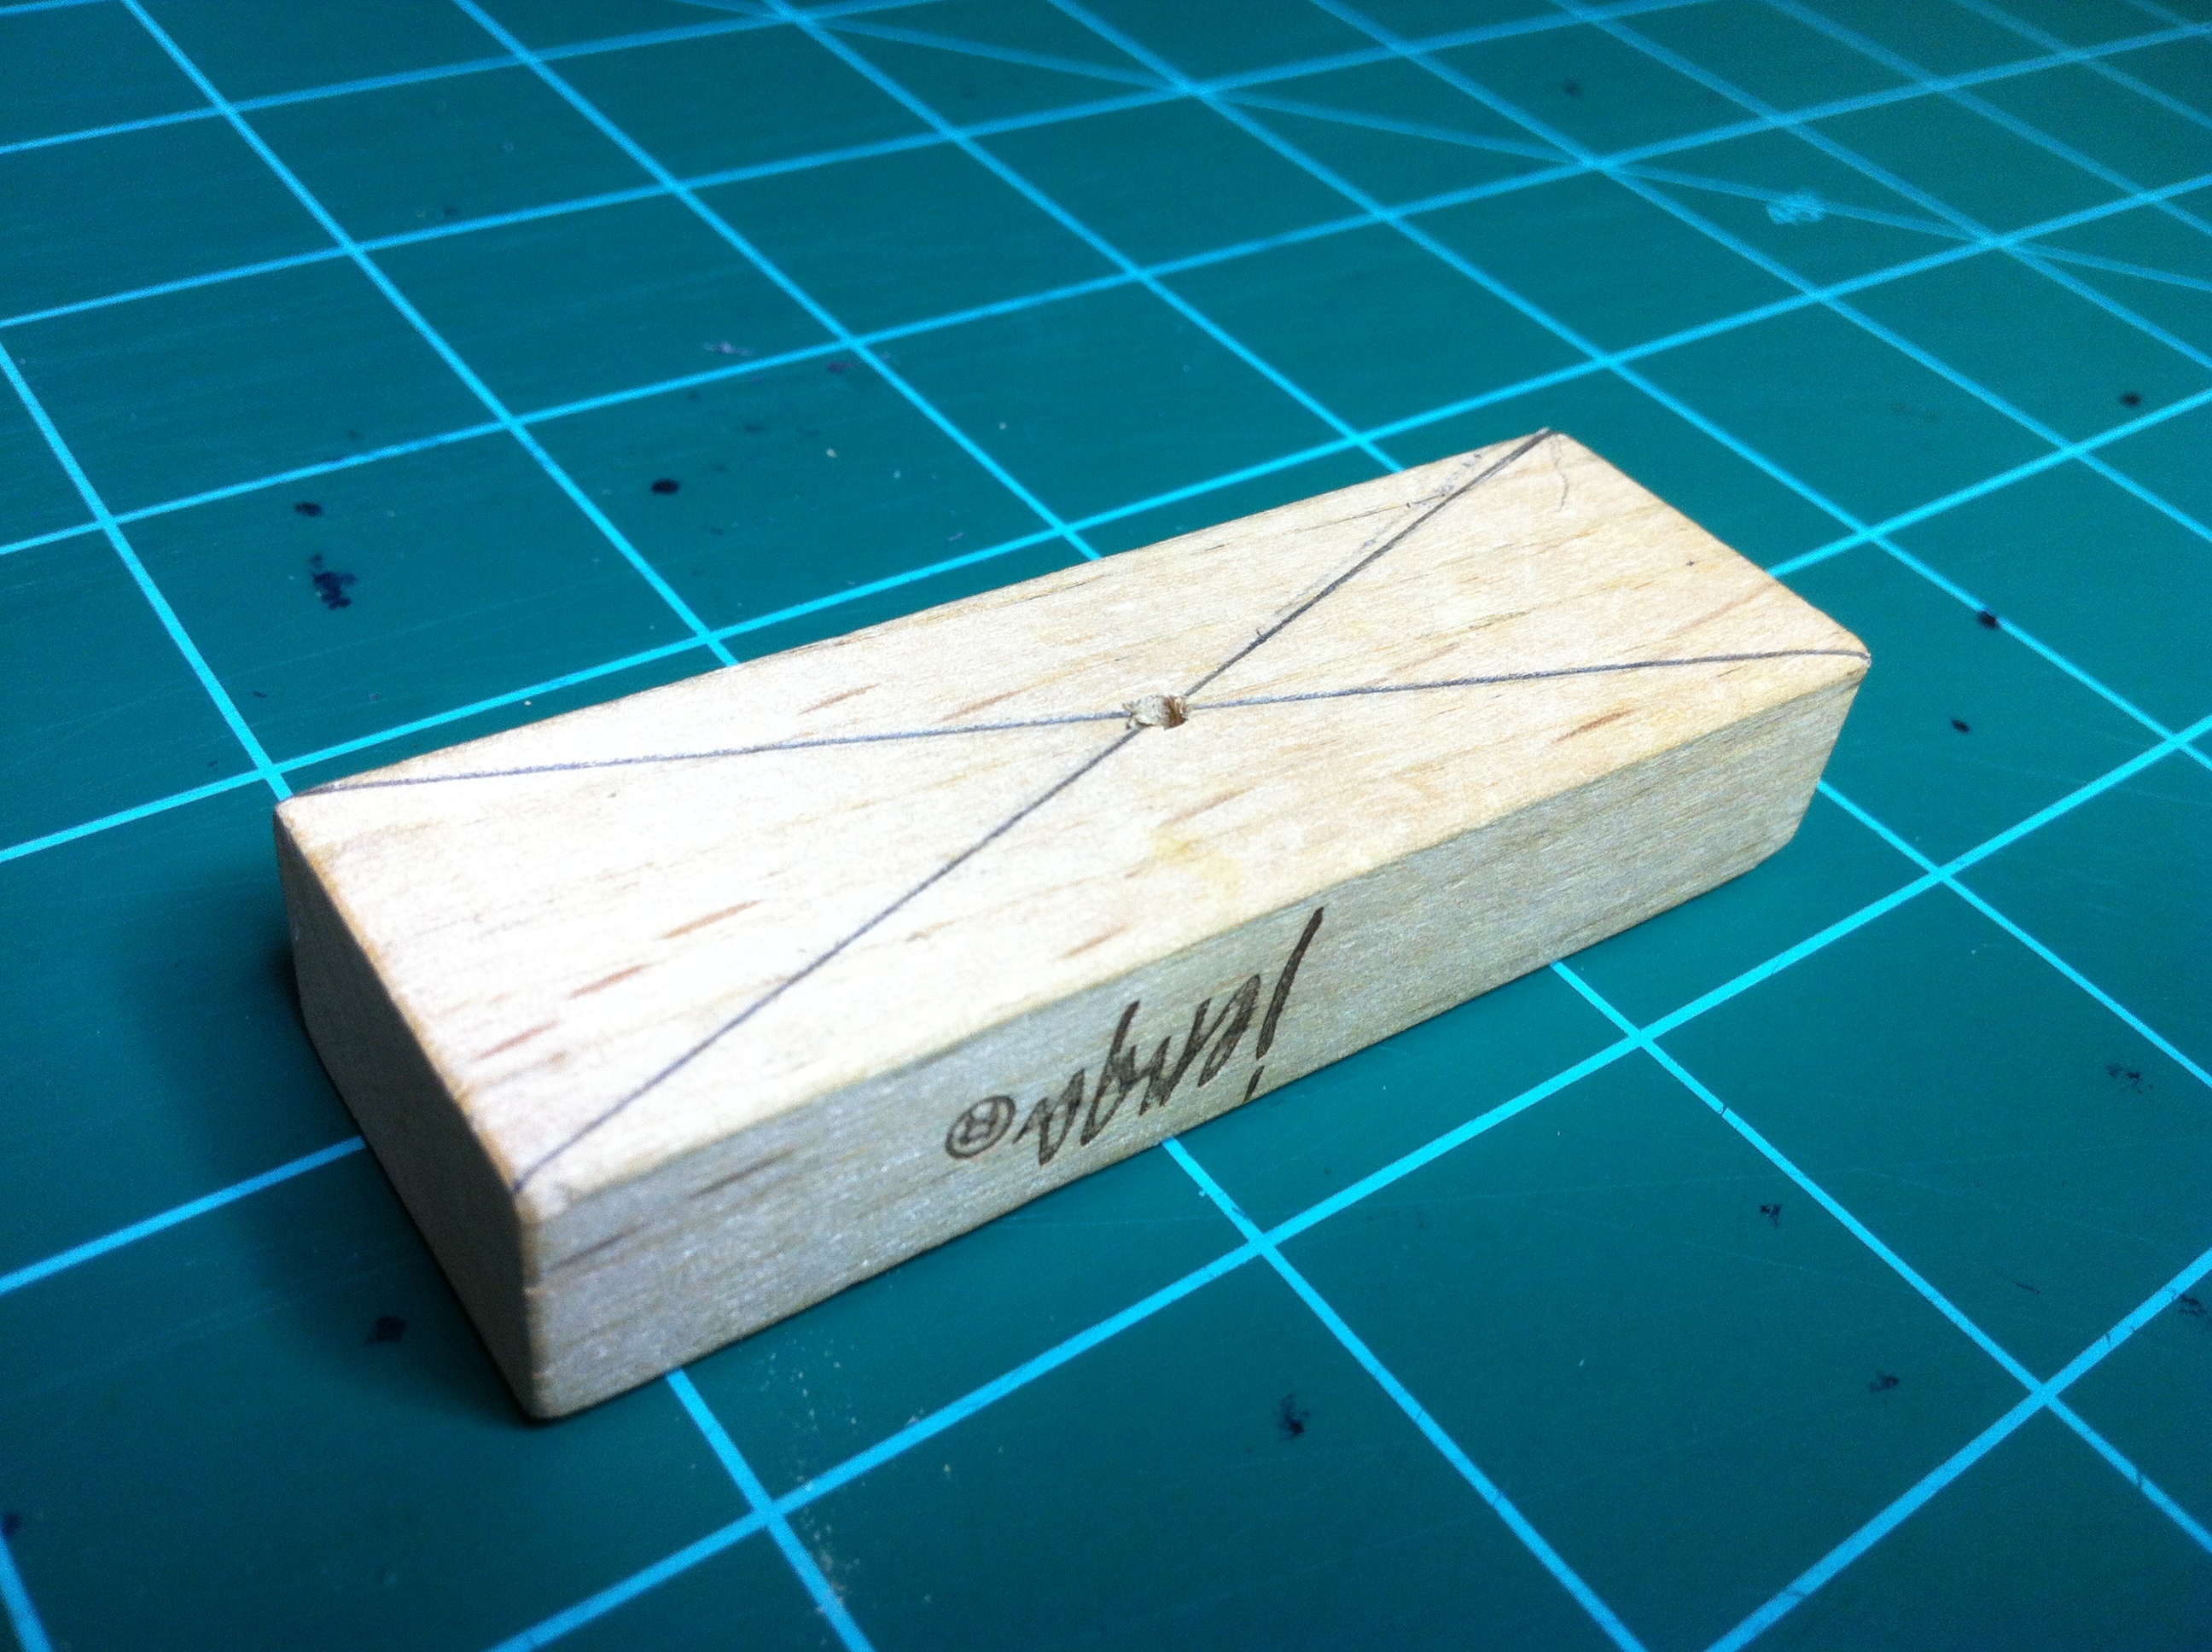
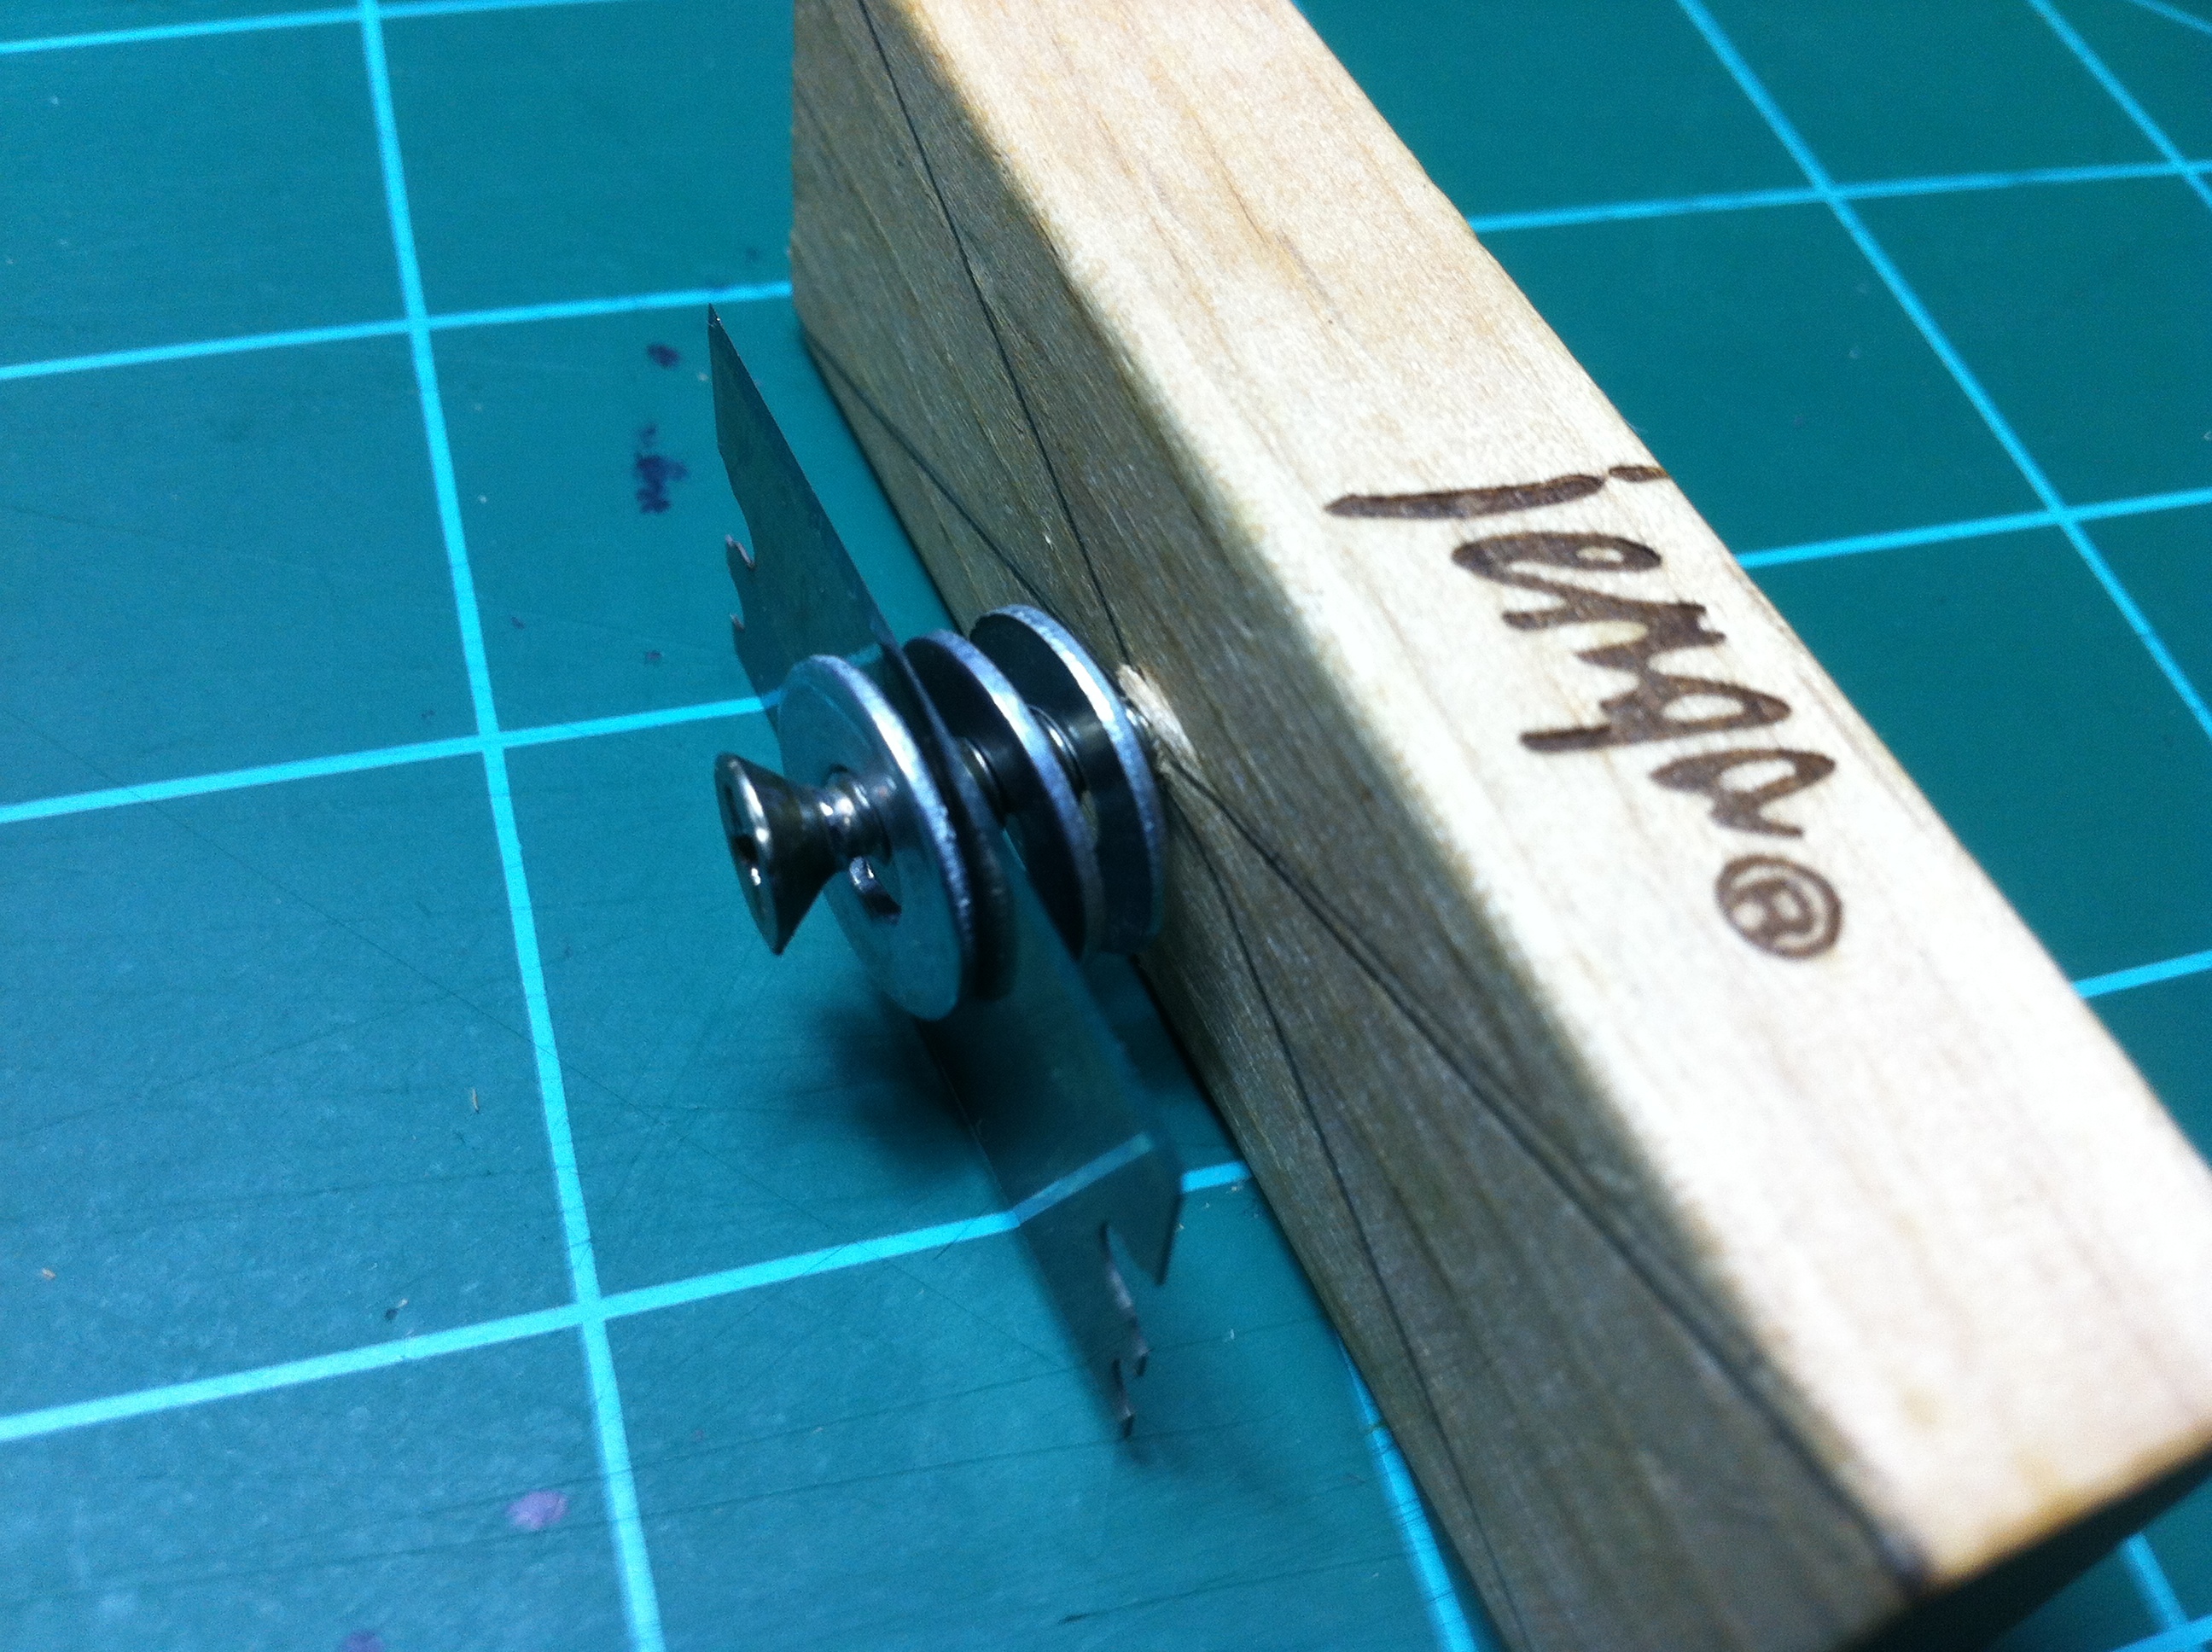
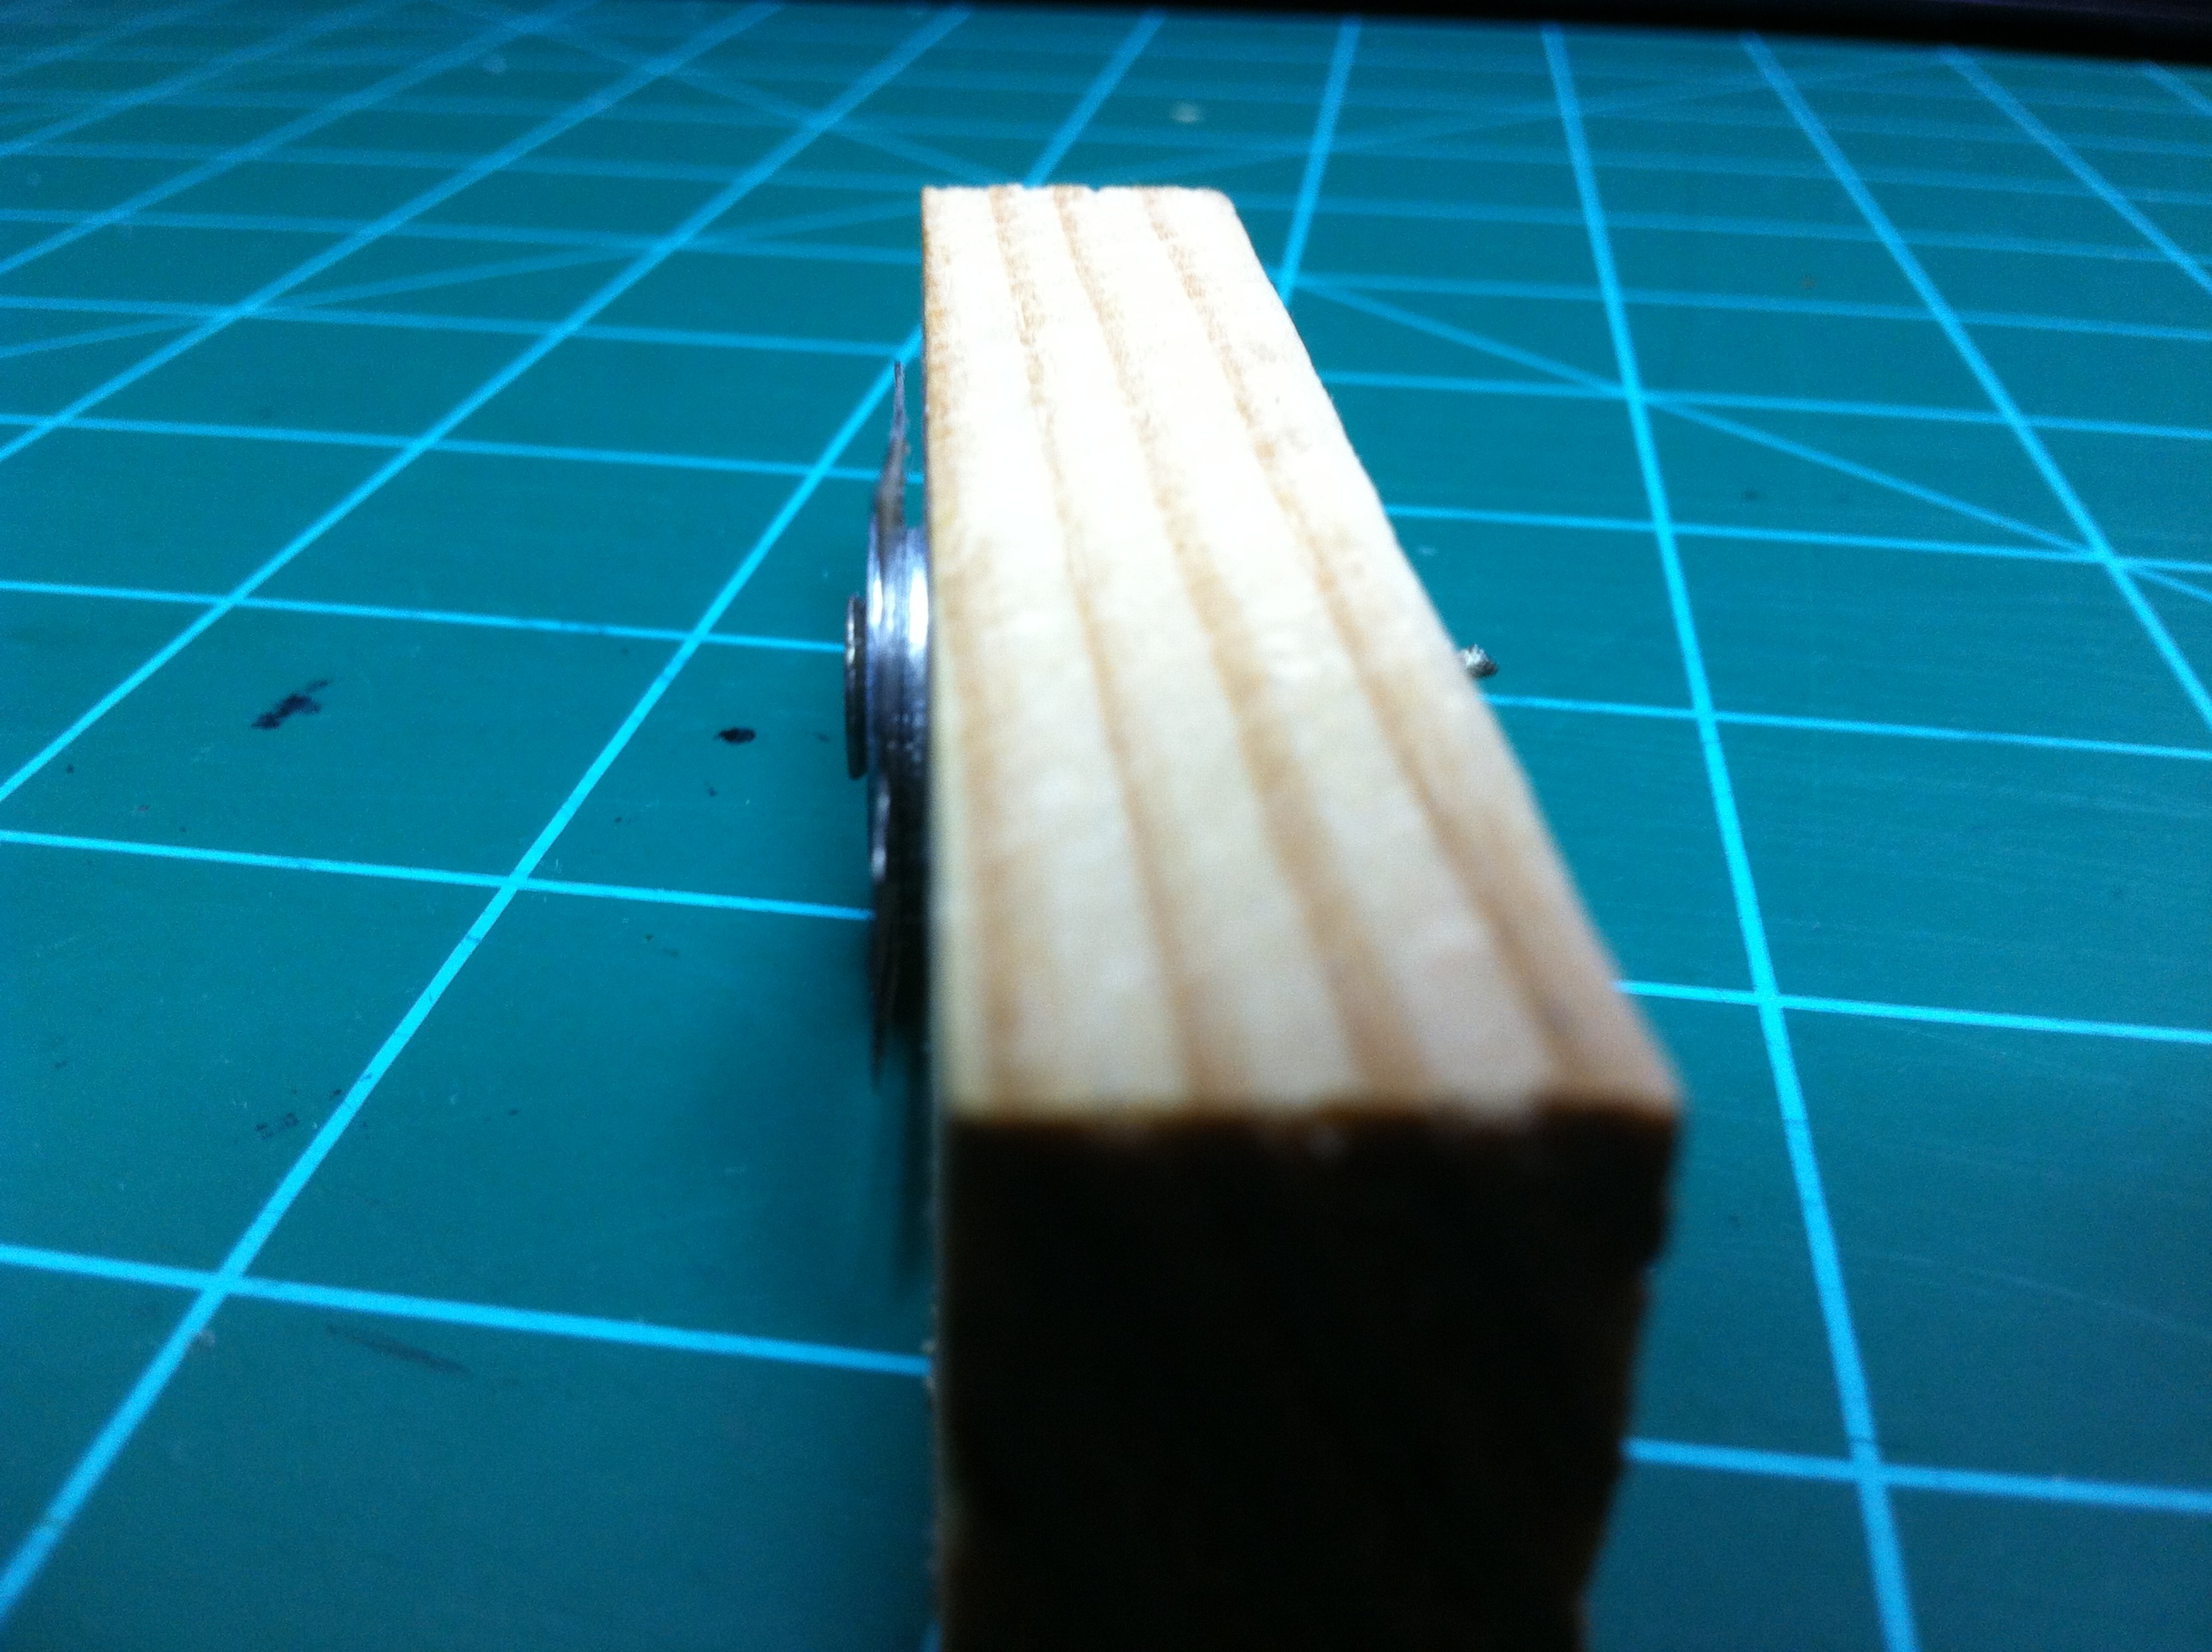
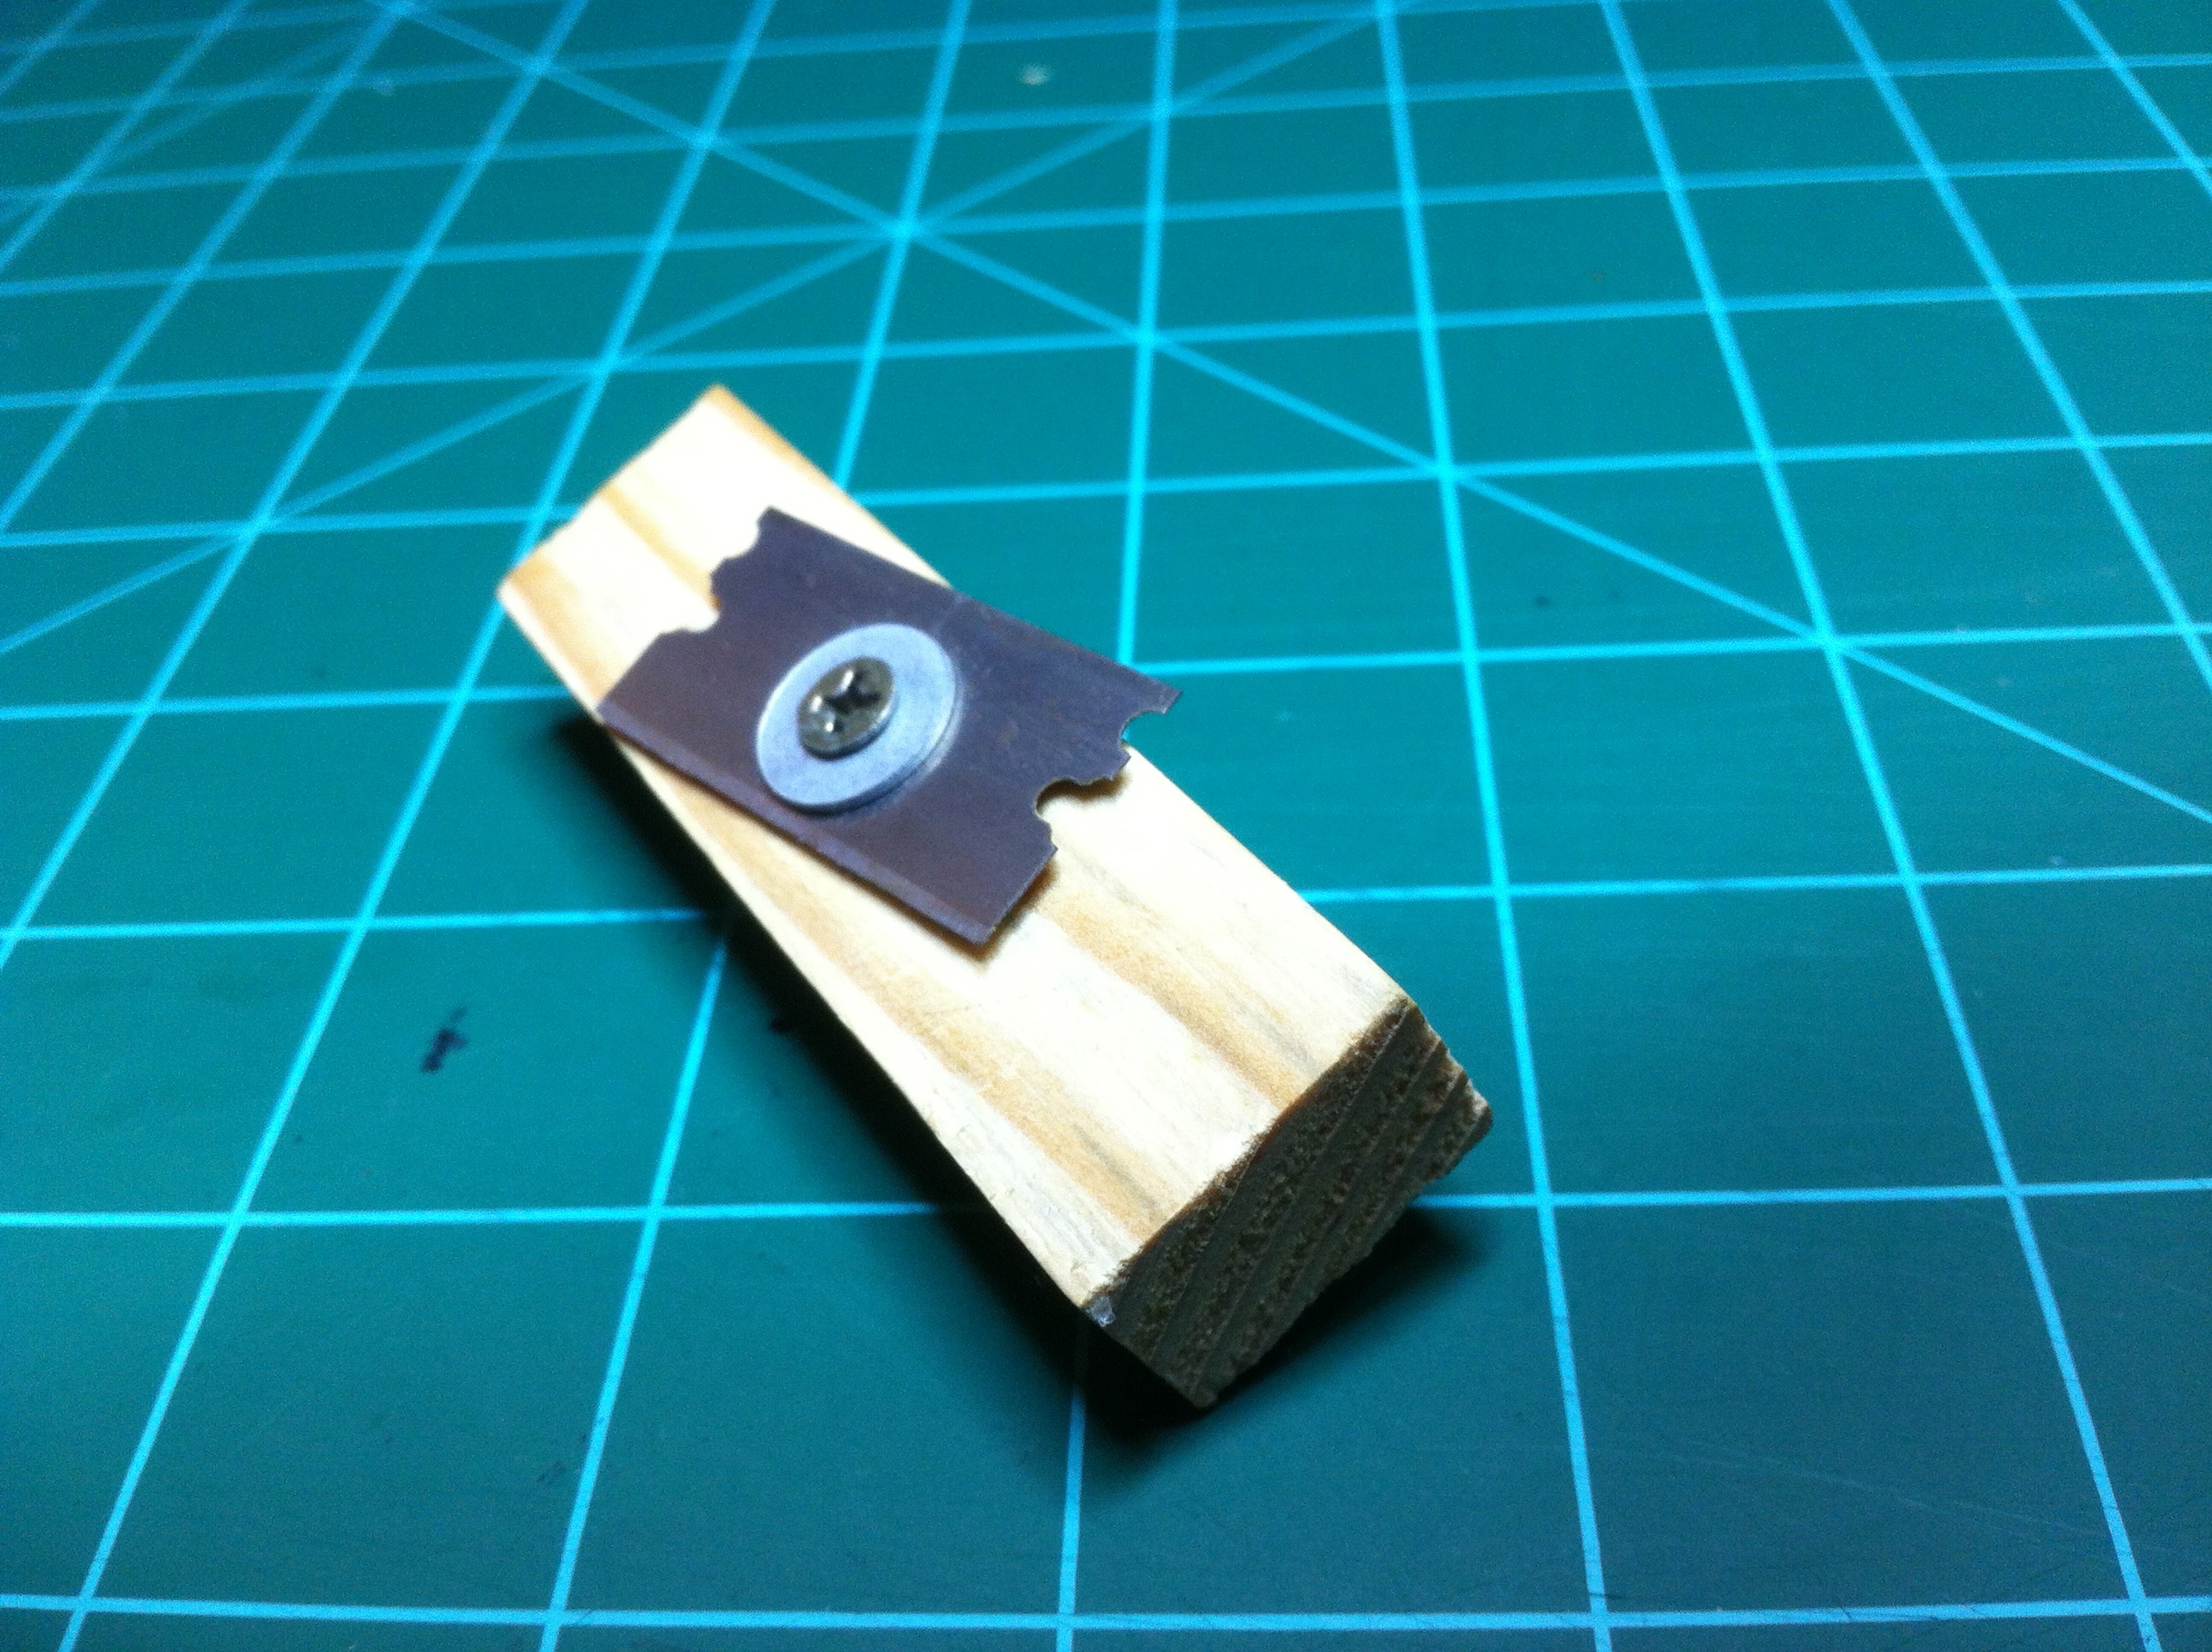
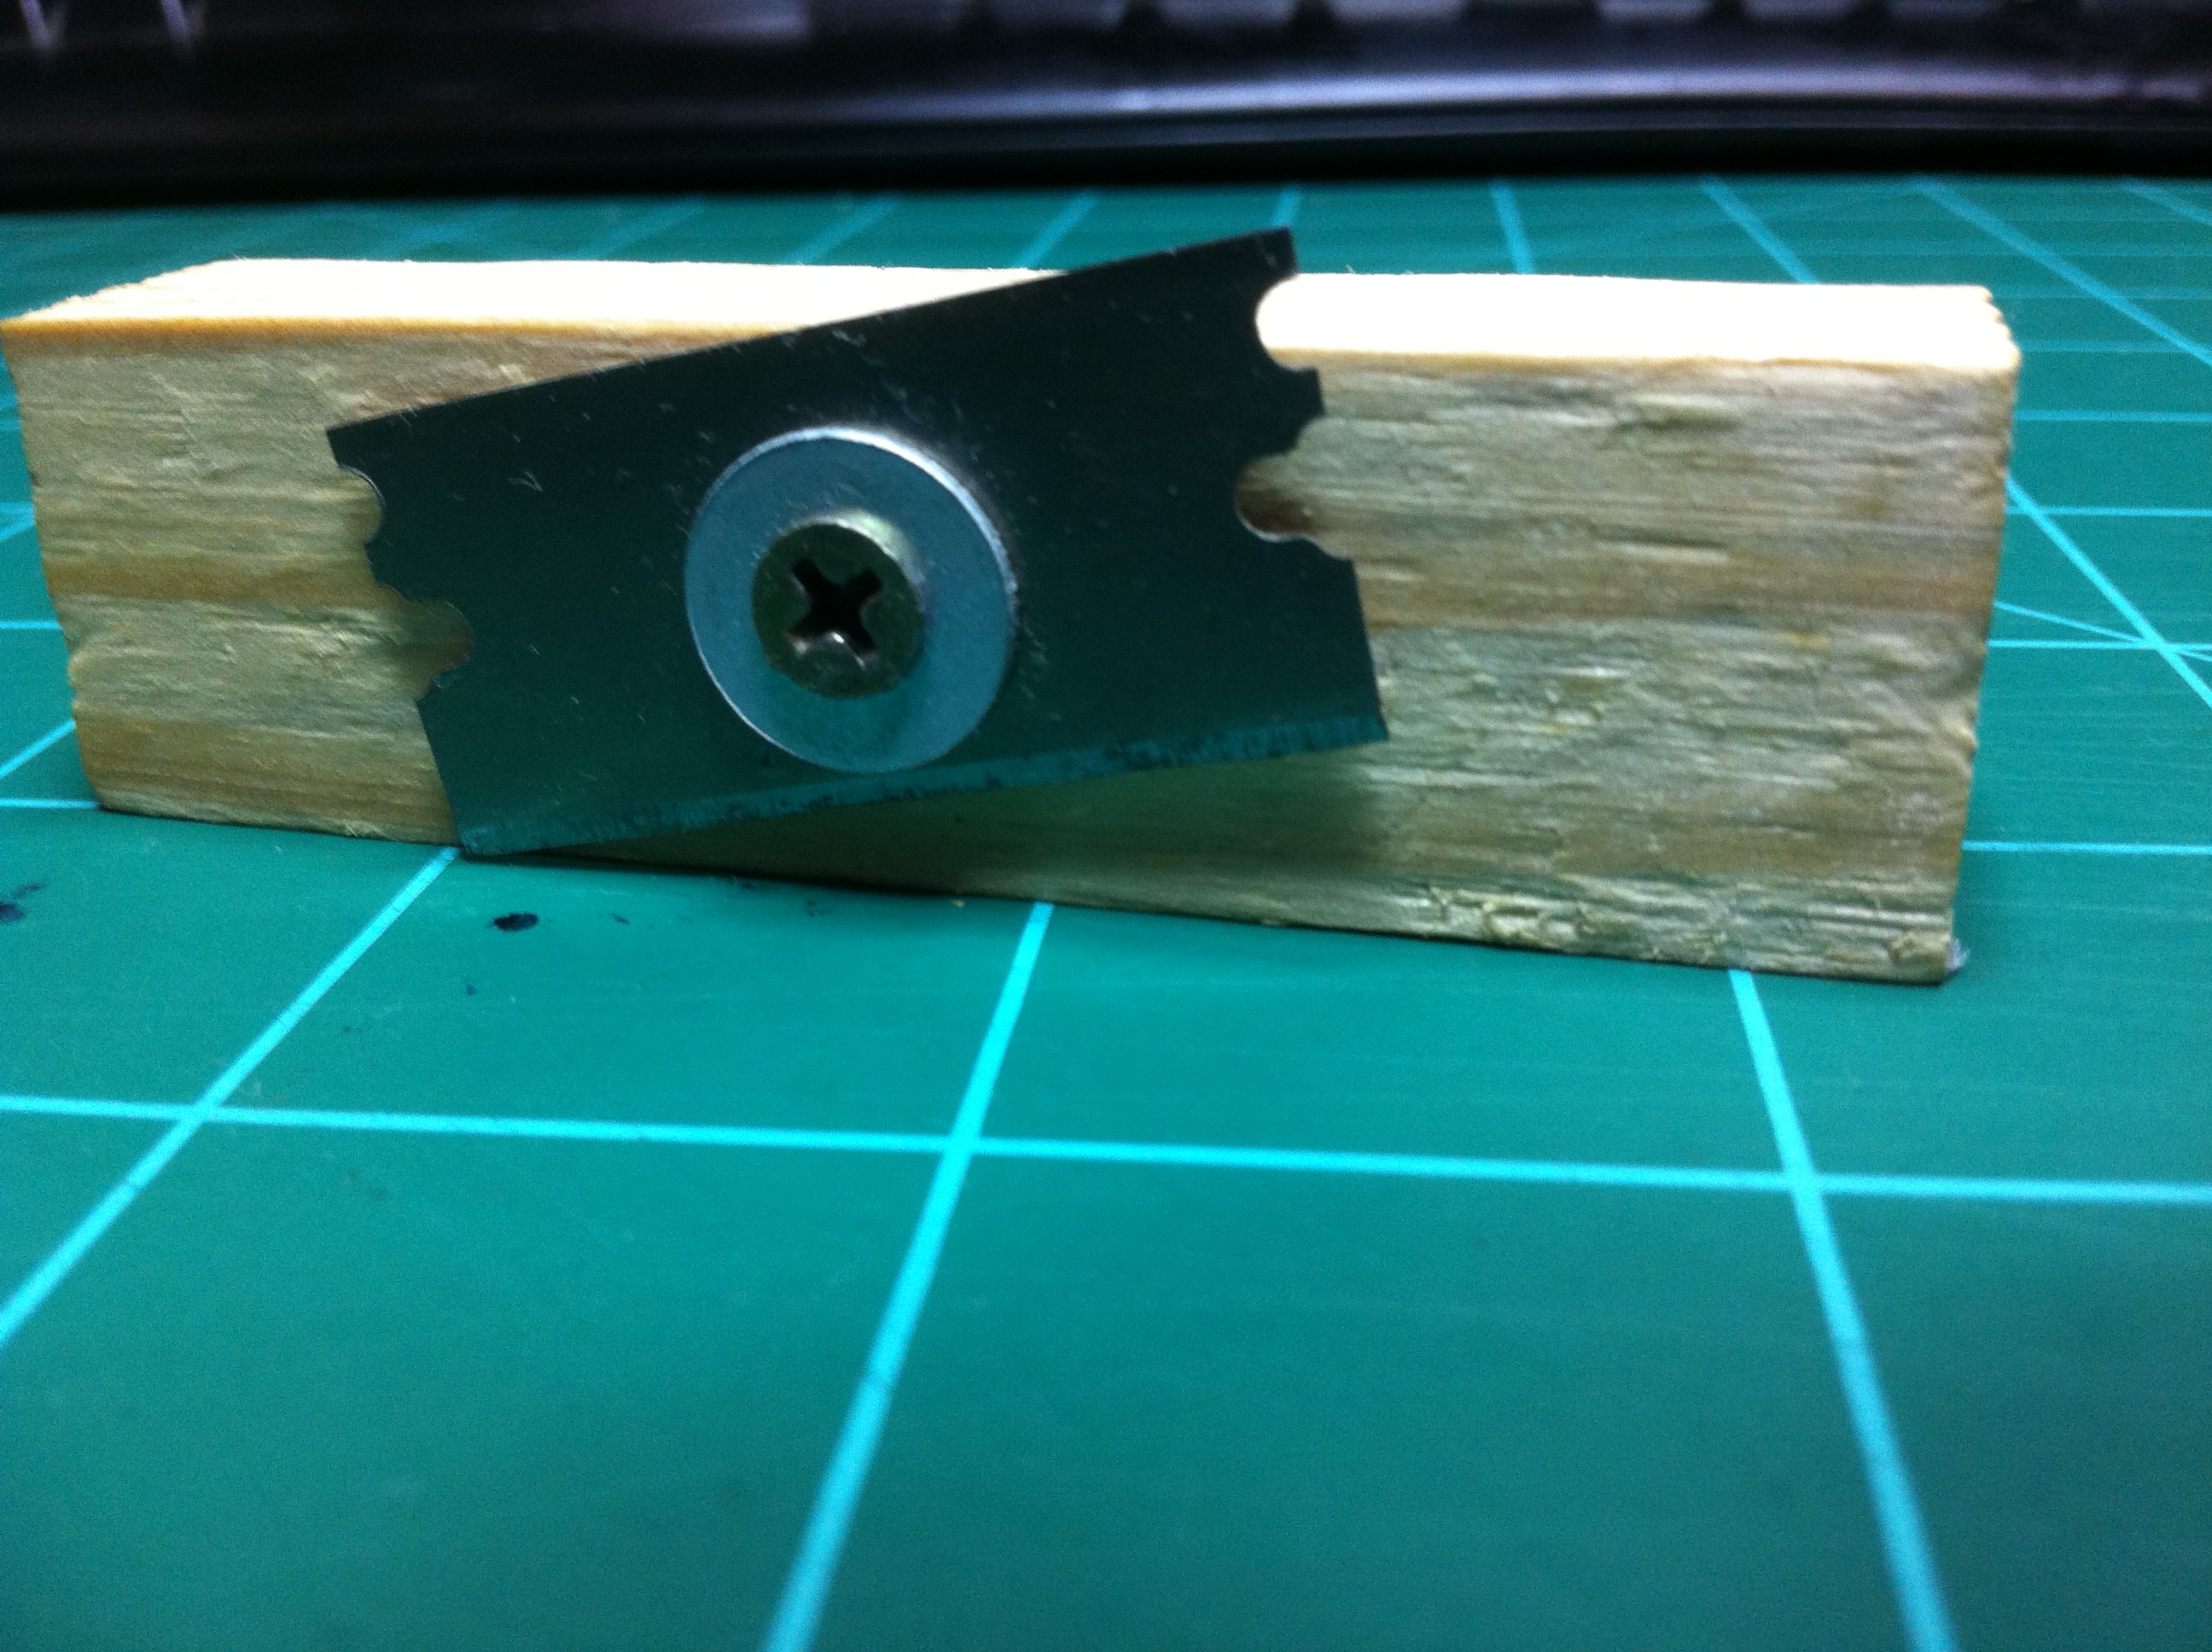
My homemade balsa stripper isn’t as precise as the commercially available ones, nor is it as easy to adjust. The only thing important to me though is that it gets the job done. This balsa stripper is very easy to build. I took a Jenga block and drilled a hole perpendicular to the block in the center of the wider side. I then took a washer and put it on a wood screw and then slid a straight razor blade onto the screw. Then I put a washer, or two depending on how thick of a slice I wanted to make, on the screw and then screwed it into the hole in the Jenga block. So the order in which the stuff goes on the screw is: washer, razor blade, washer/s (these washers determine how thick of a slice you want to make), then the Jenga block.
That’s it. Very simple and quick thing to build. Pictures . . .
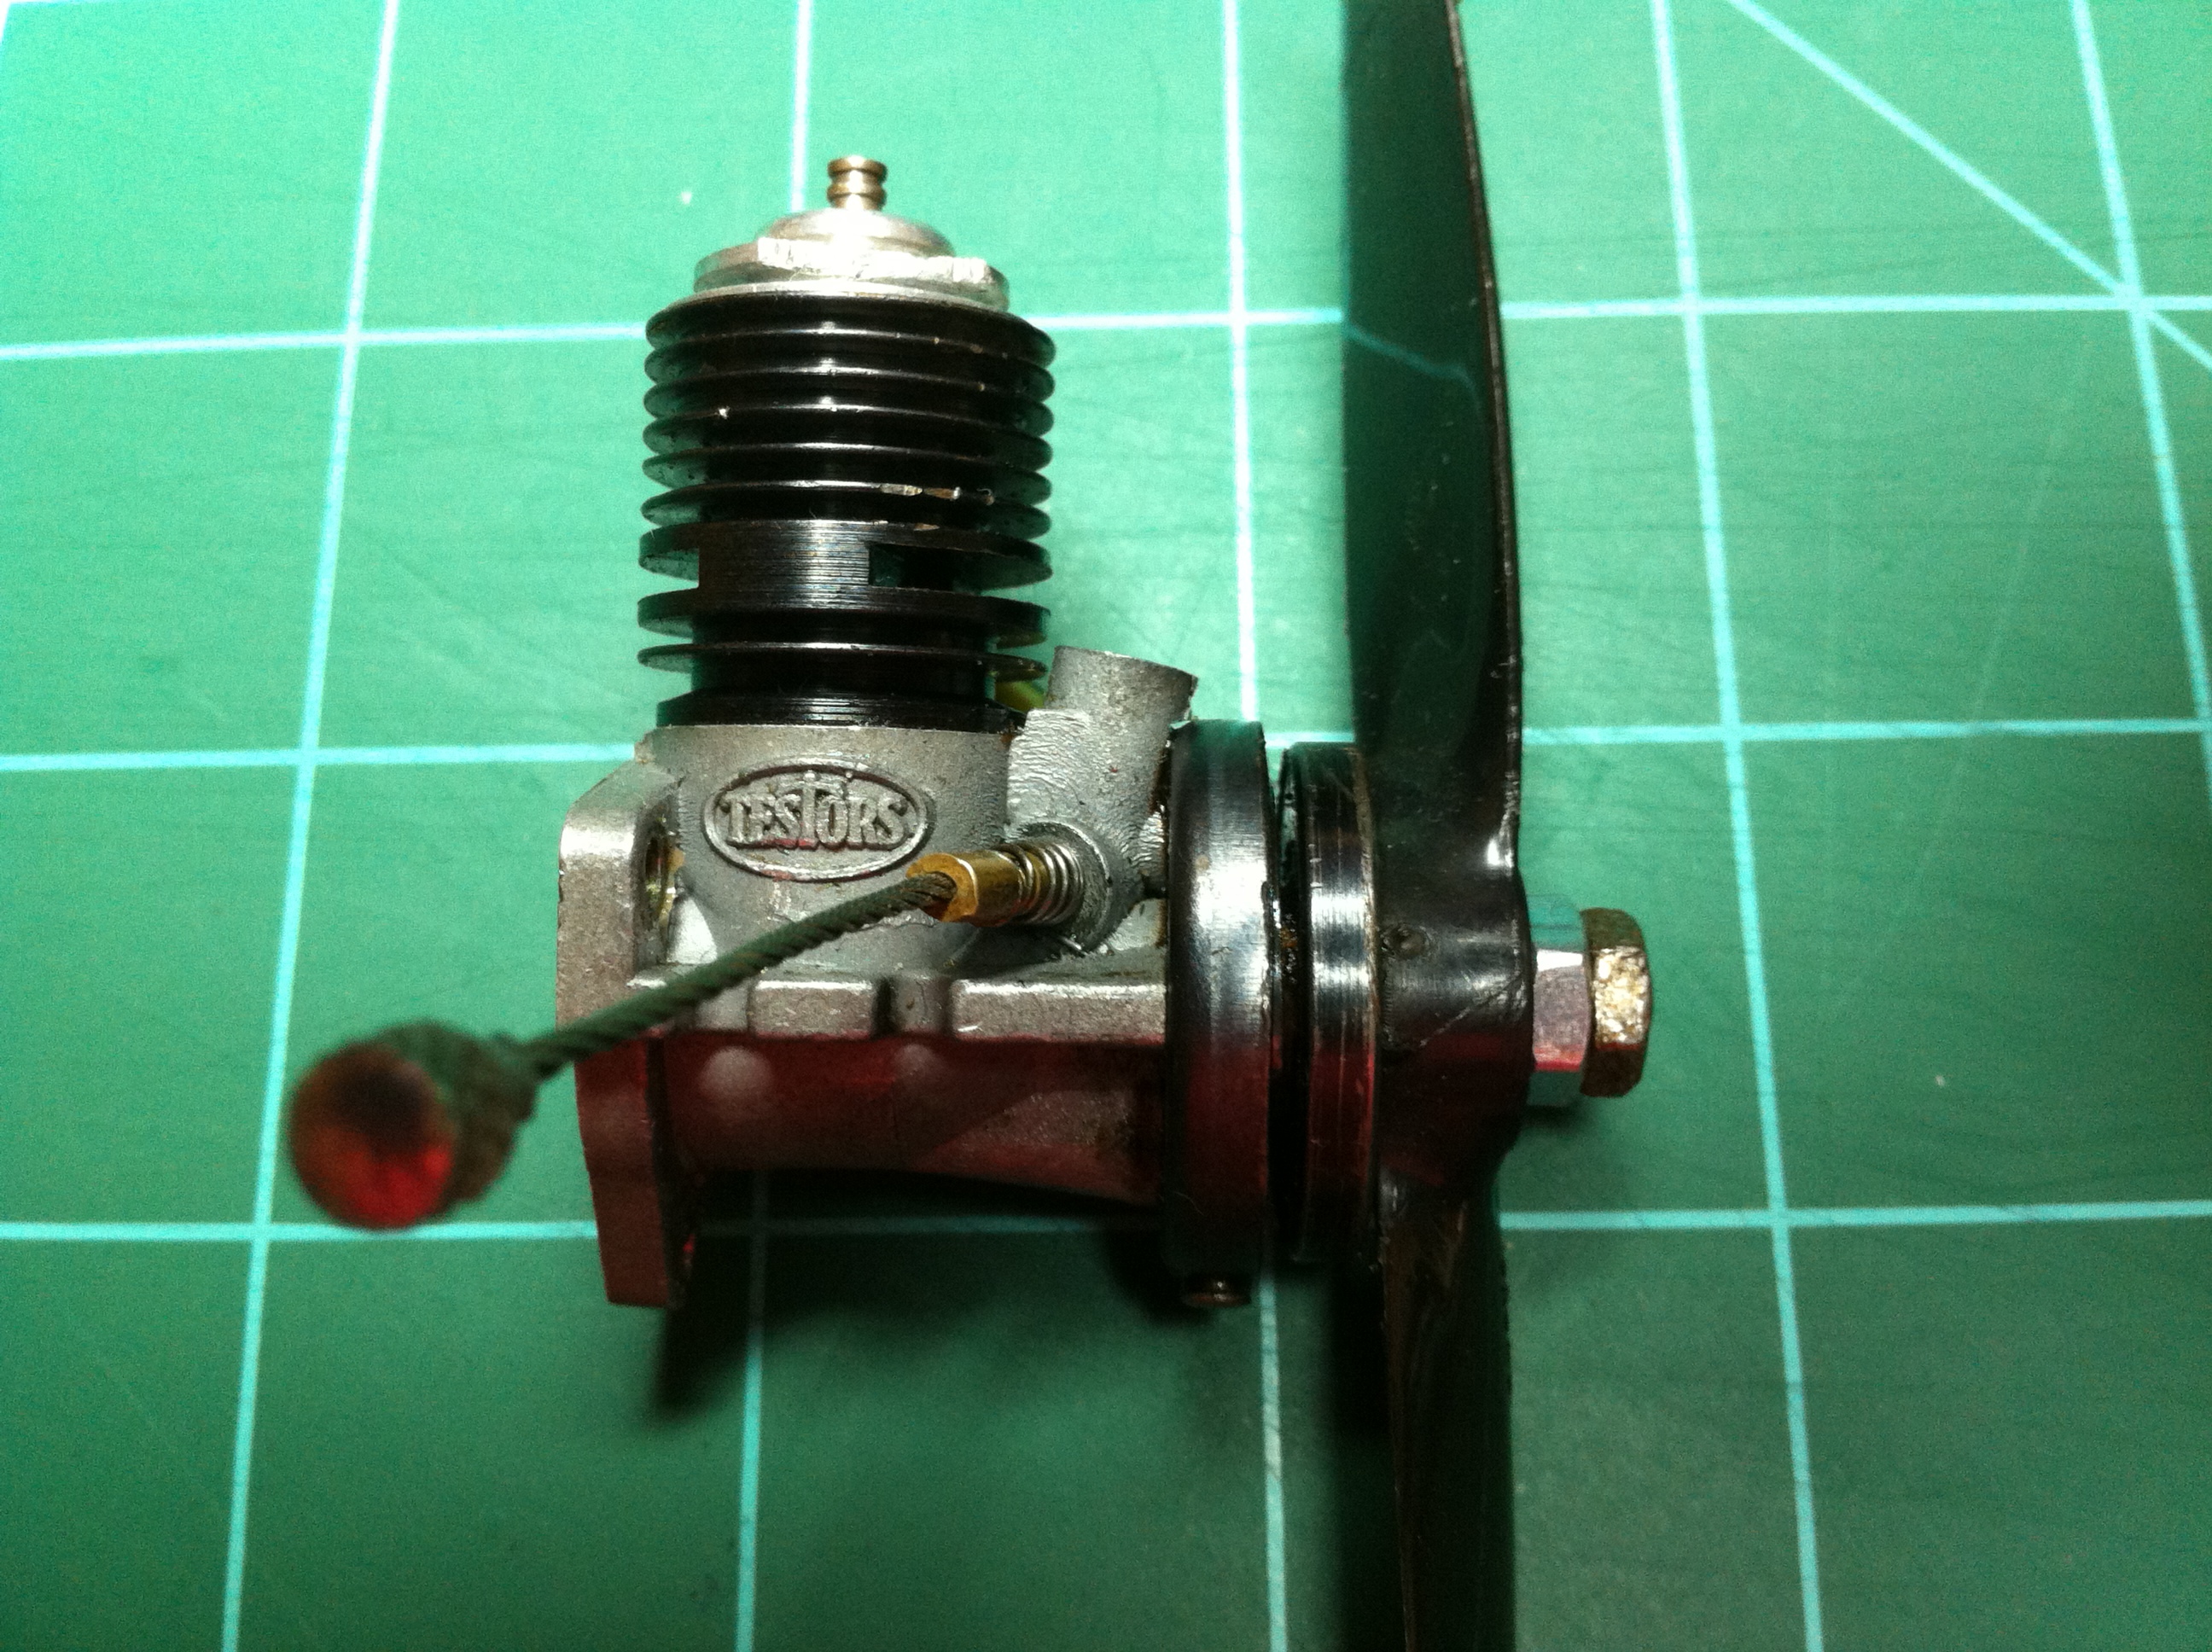
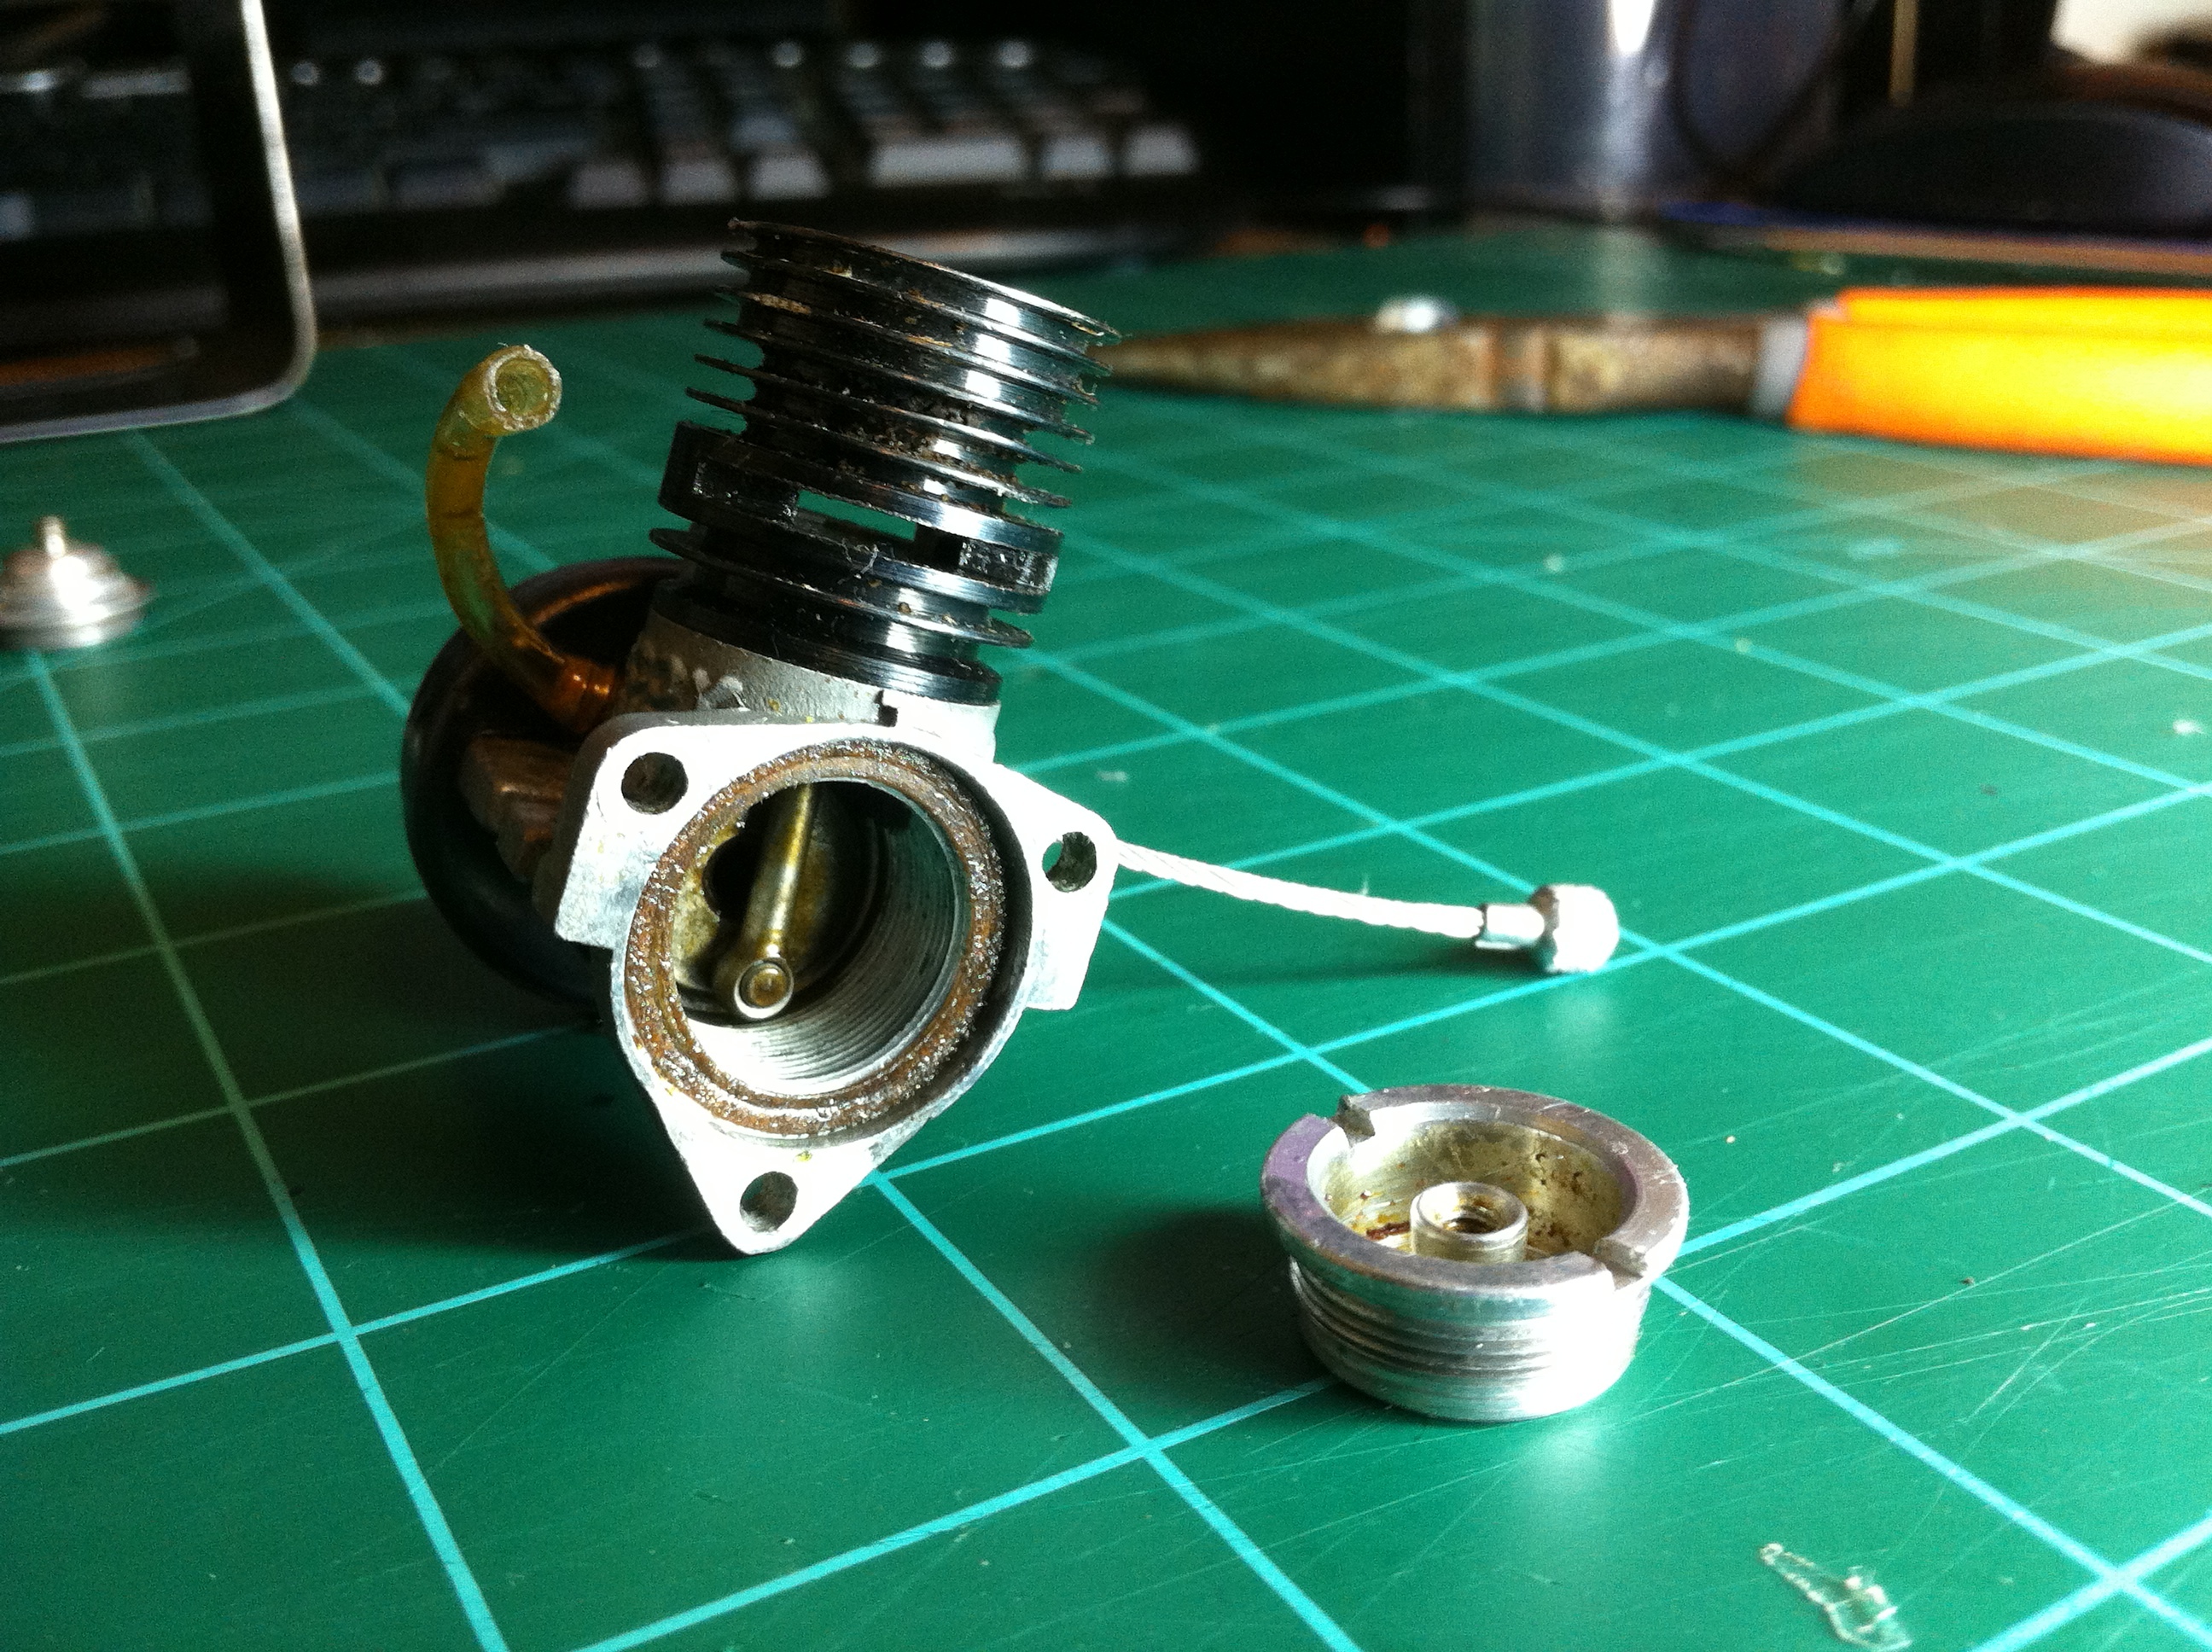
About three weeks ago and older gentleman gave me some of his son’s old R/C stuff from the ’80s. Most of it is useless to me, like an old homemade battery pack and some outdated chargers. Amid the pile of stuff was a Testors McCoy .049 engine. The gentleman said that it used to run and his son had used it on a control line airplane. The engine was in real bad shape. The motor was covered in tarnish, the shaft would only turn about 3 degrees, and I later found out that the rotomatic starter spring was broken. After I got home I decided to take it apart, clean it up, and get it running.
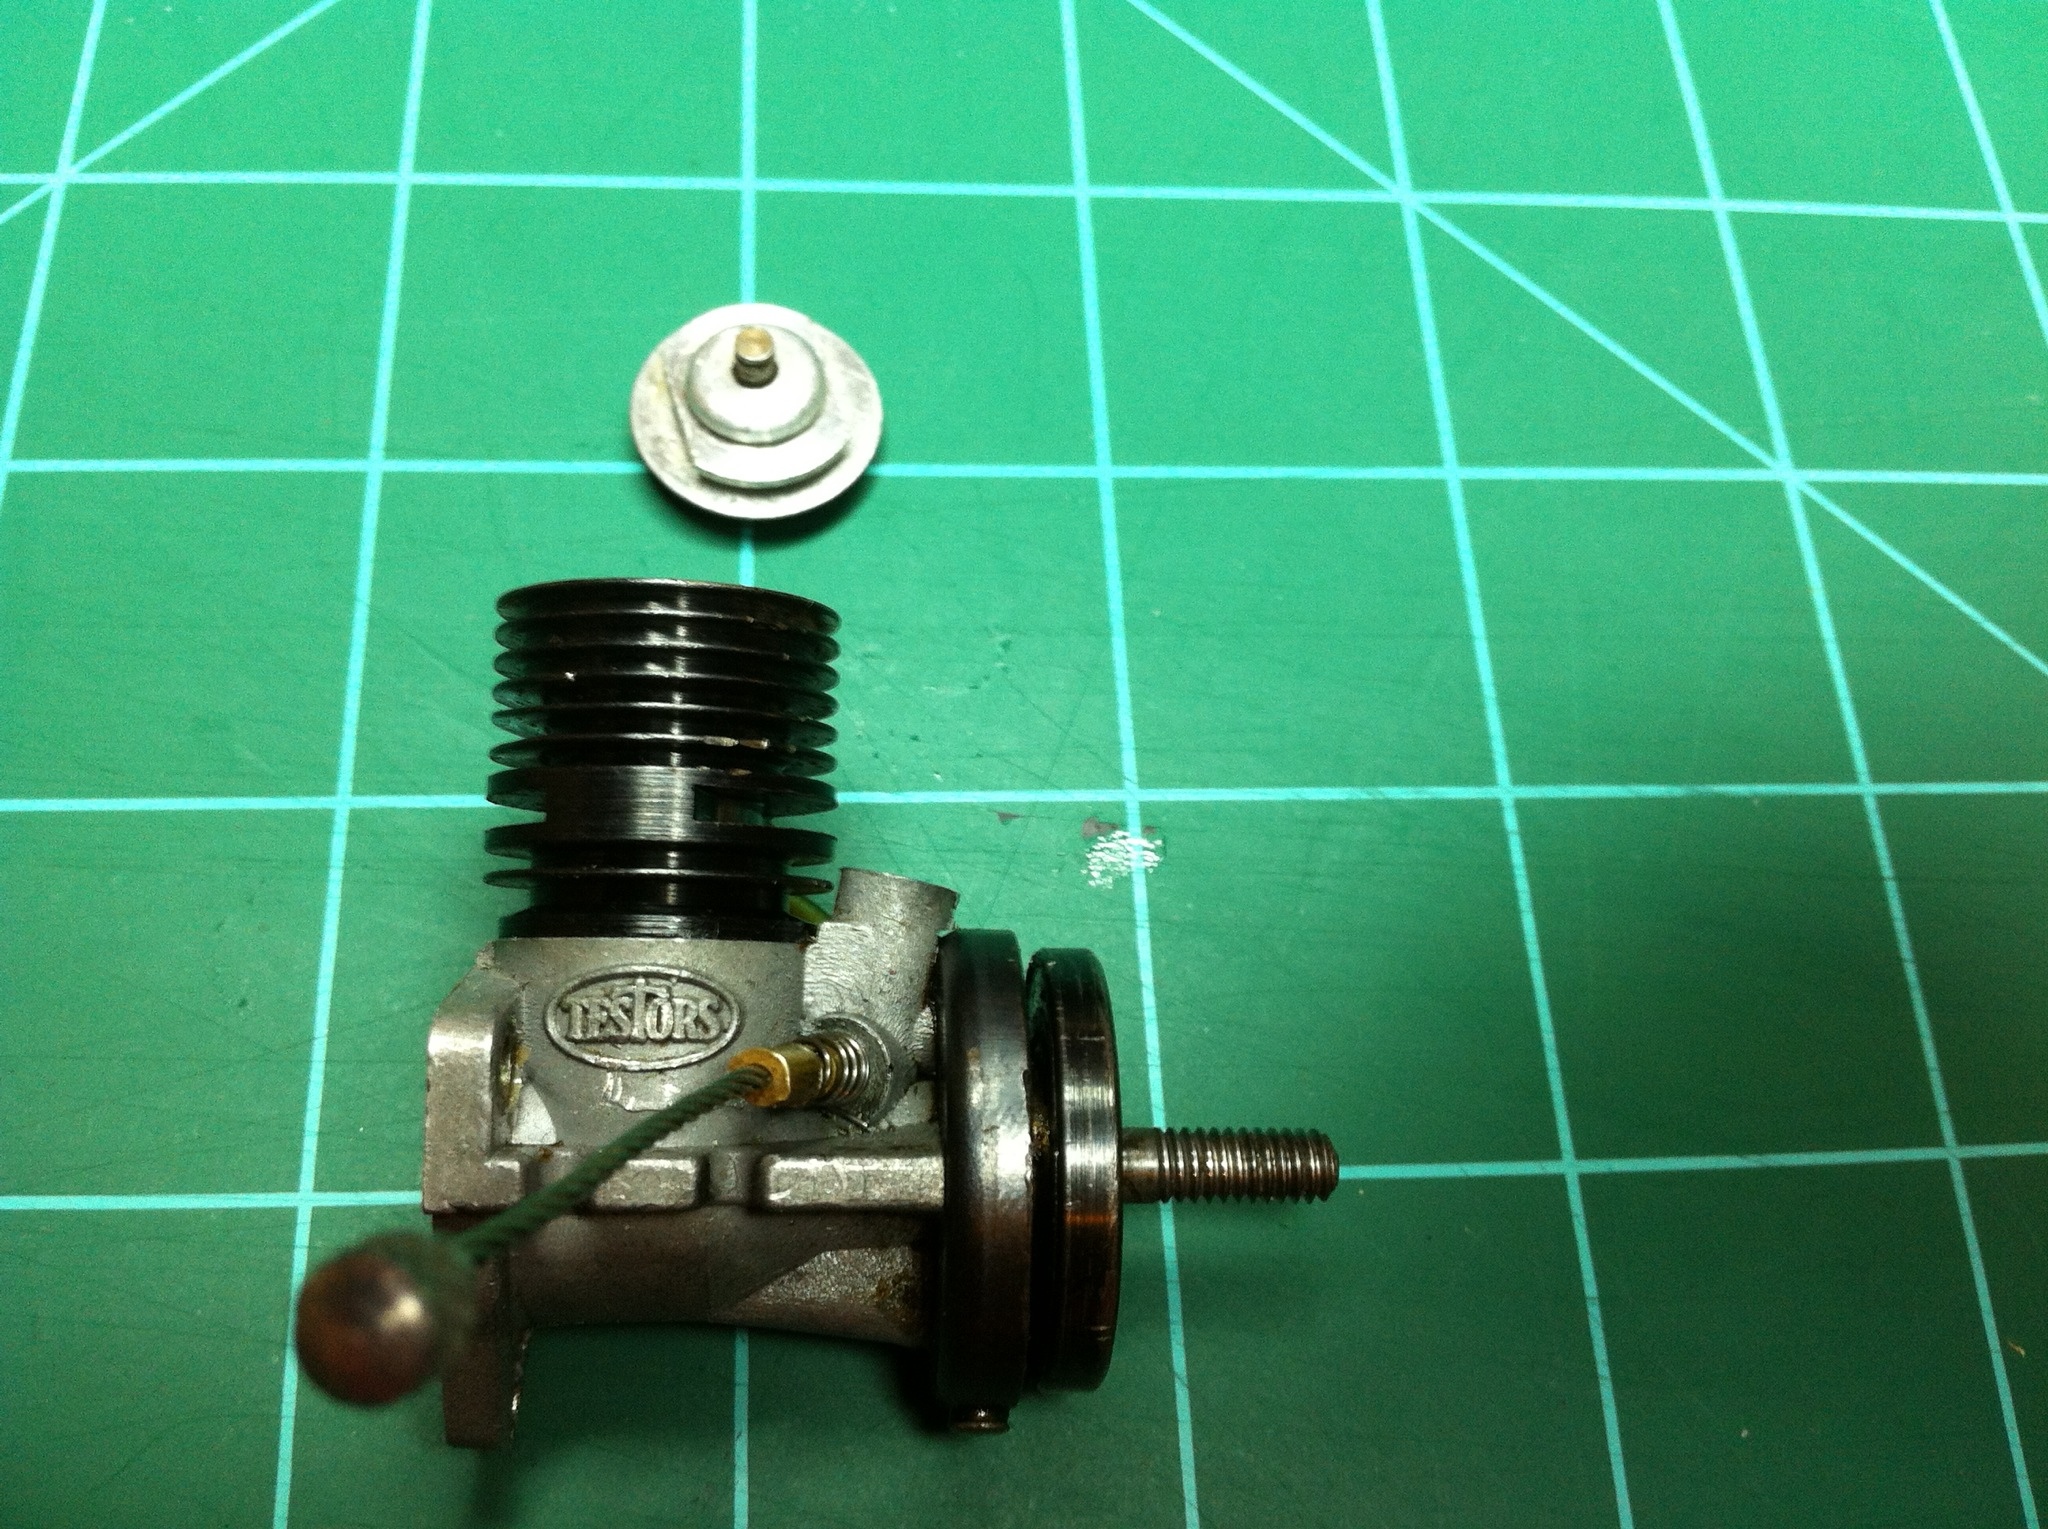
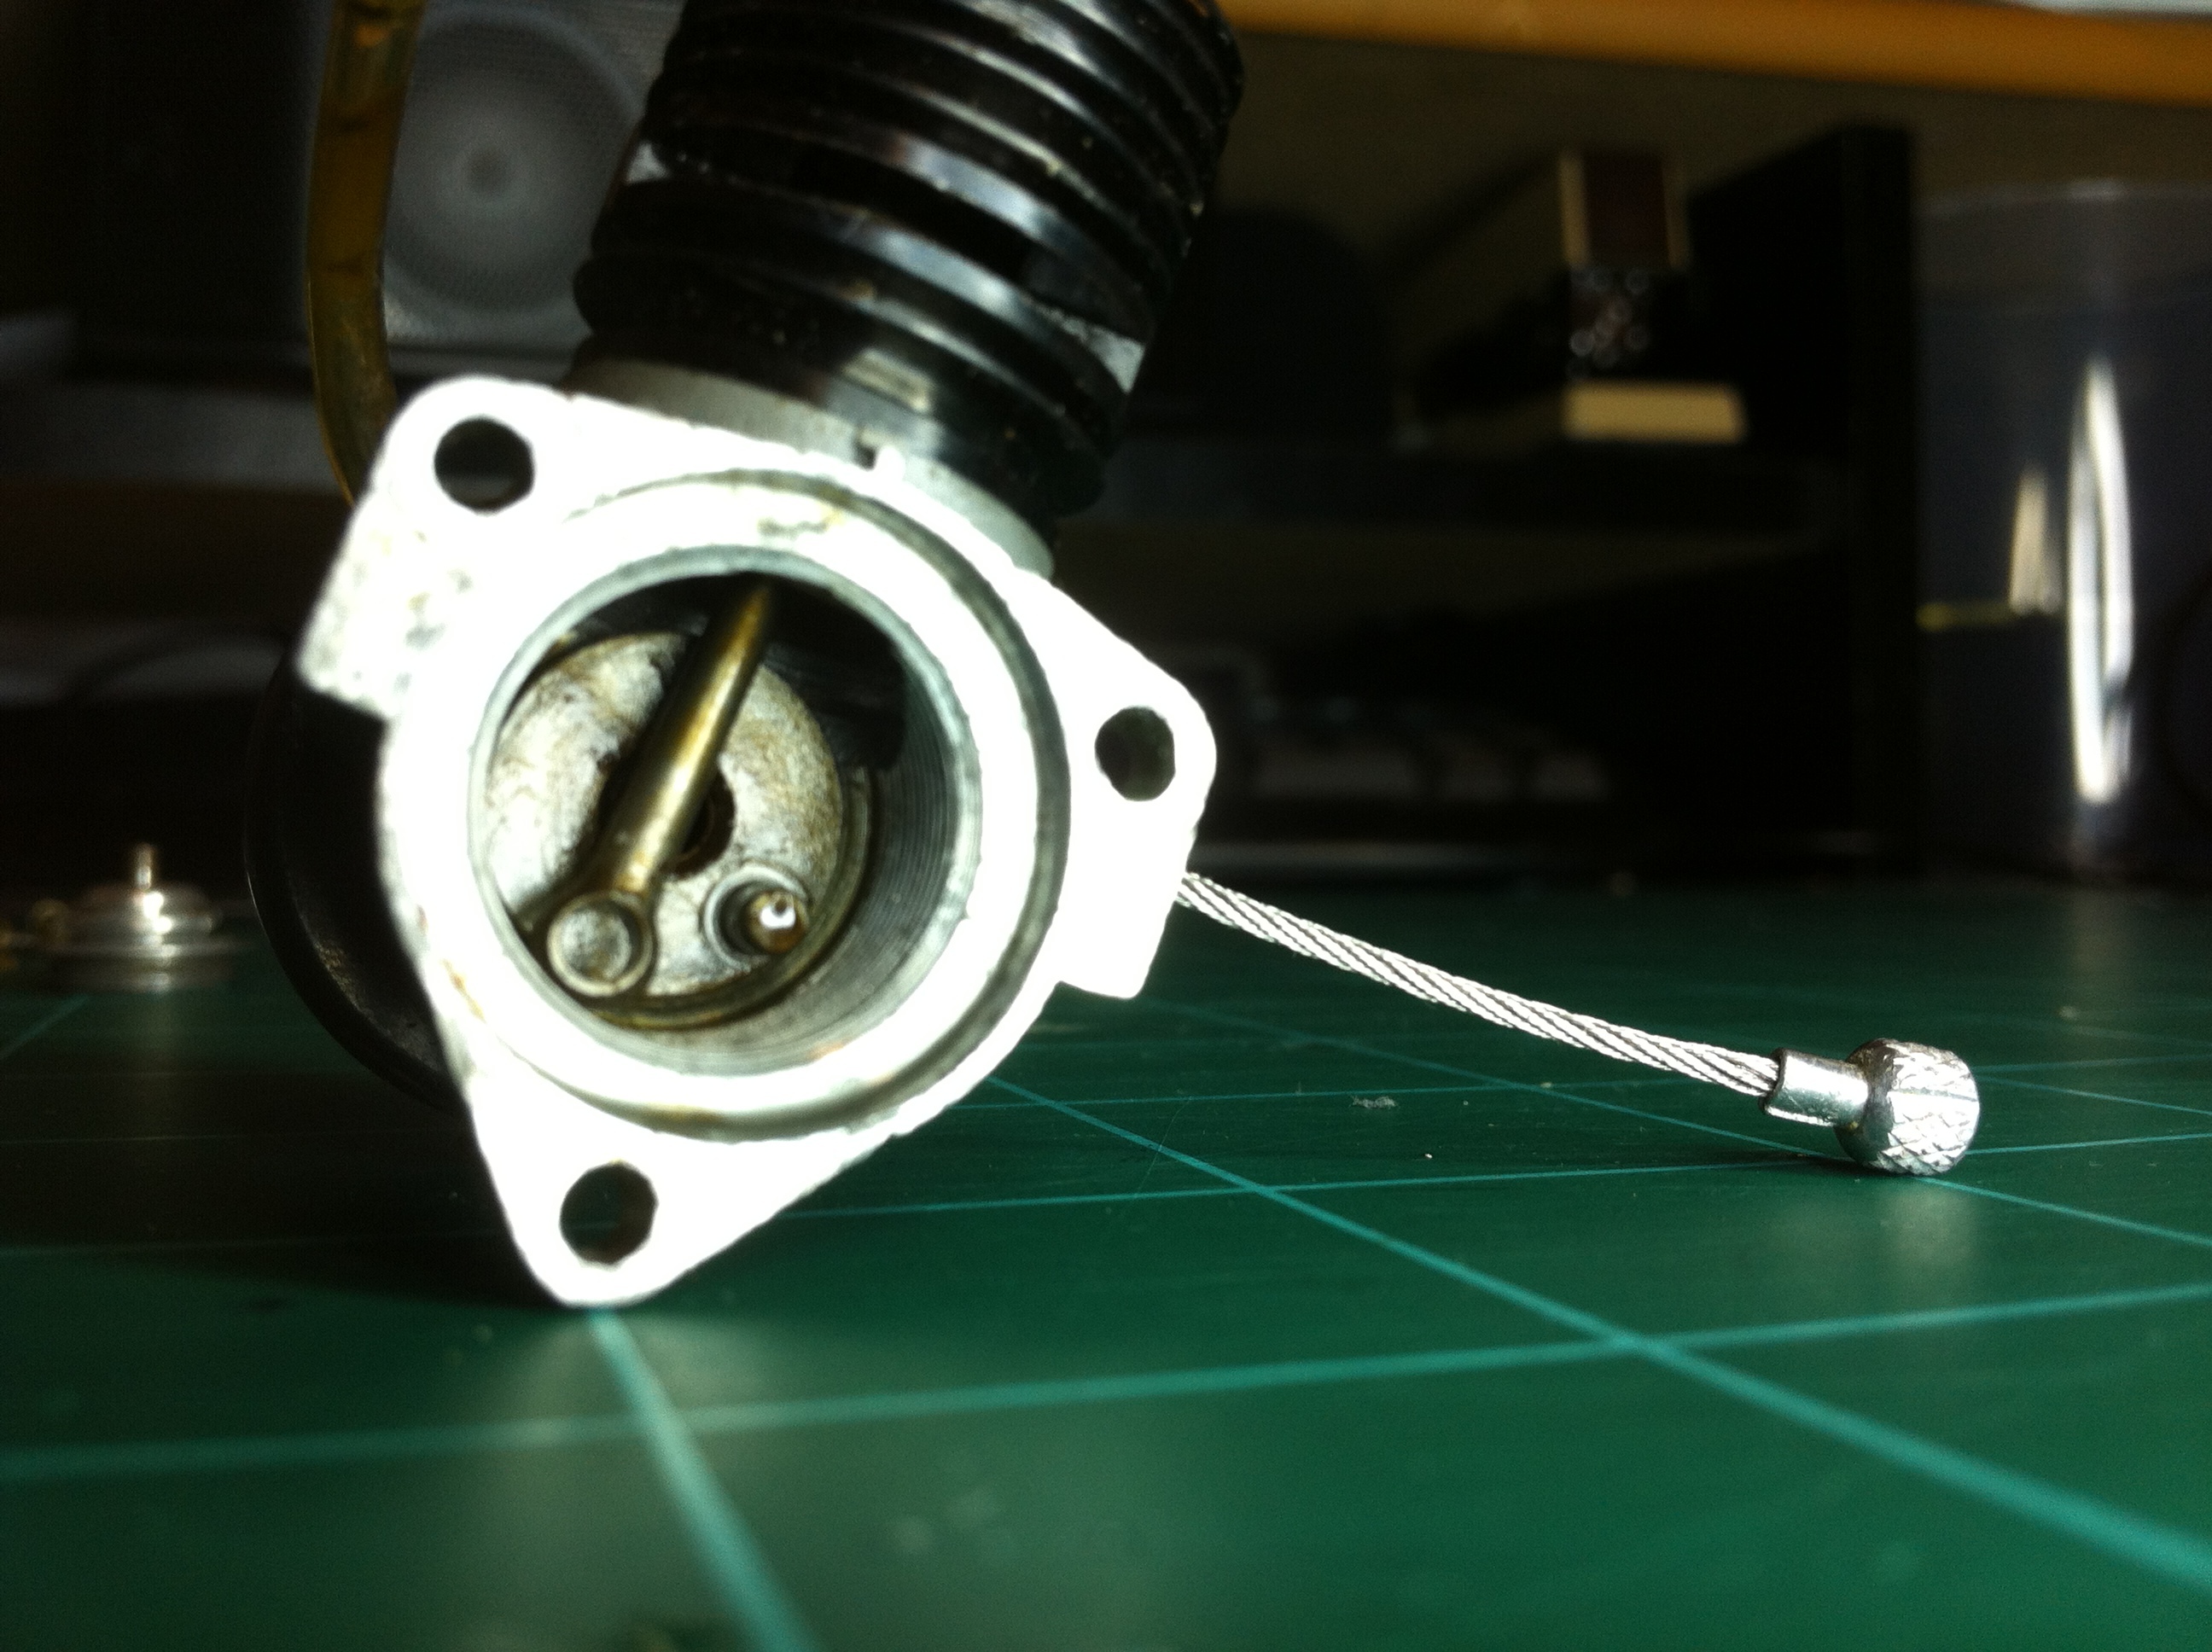
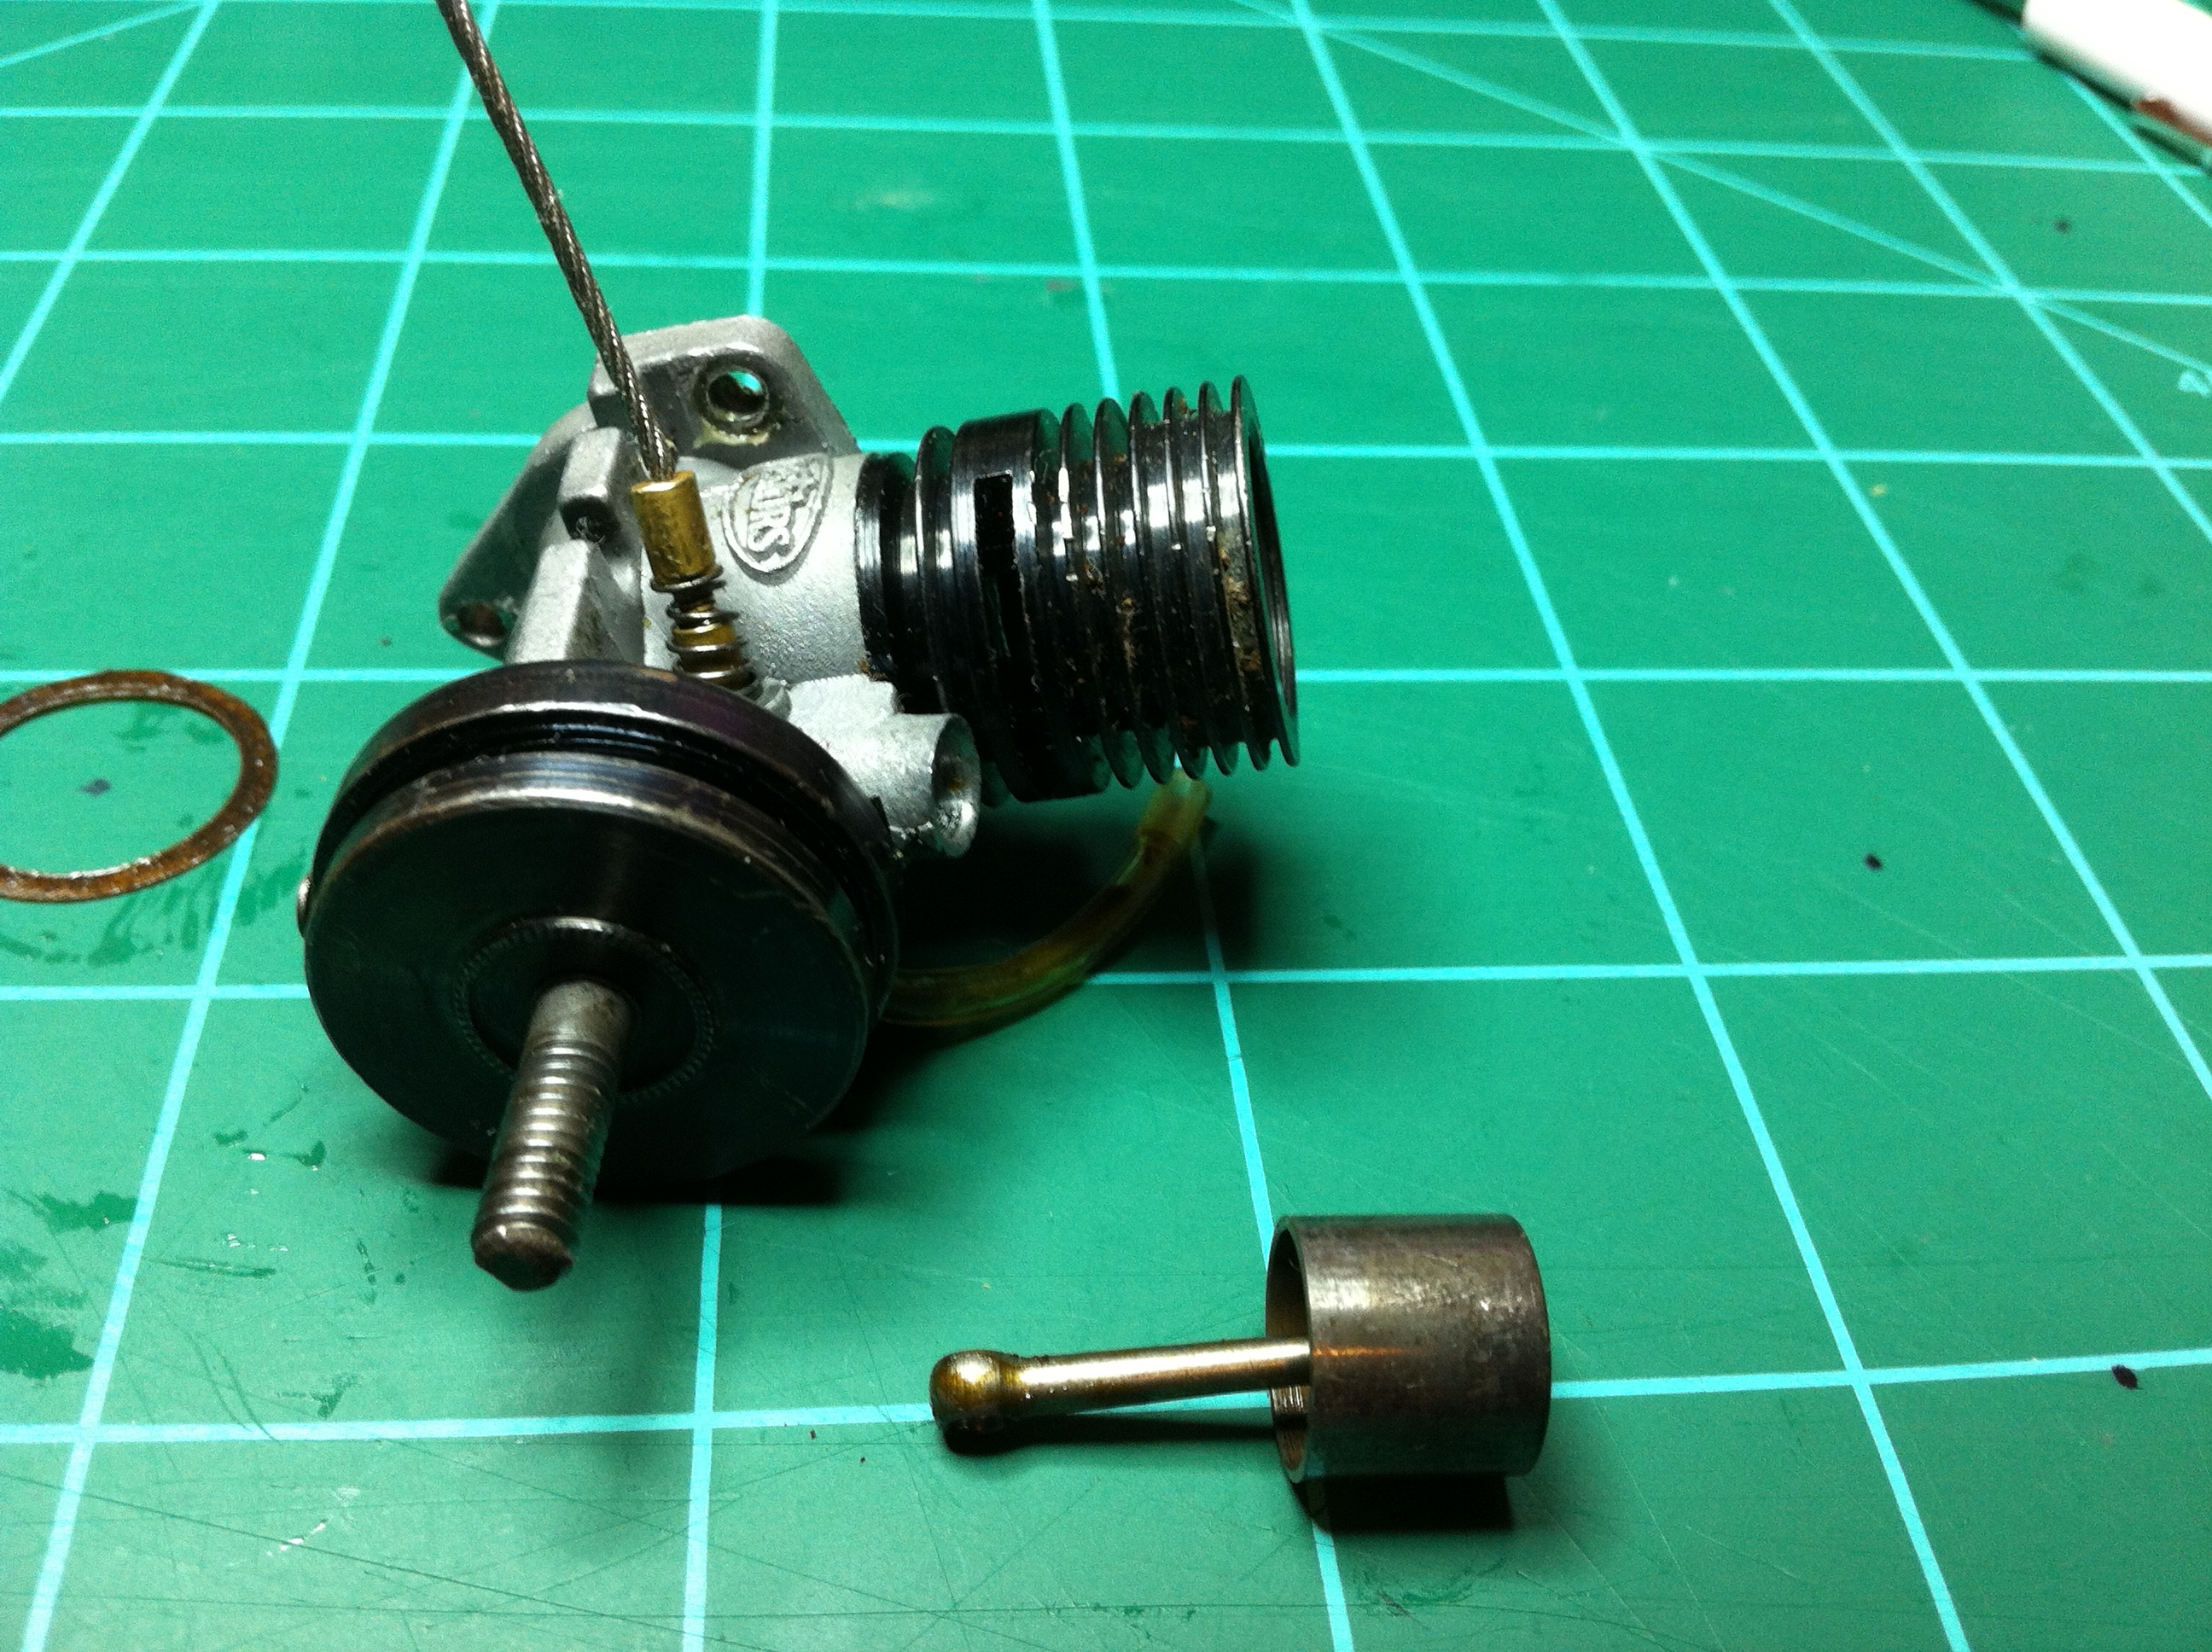
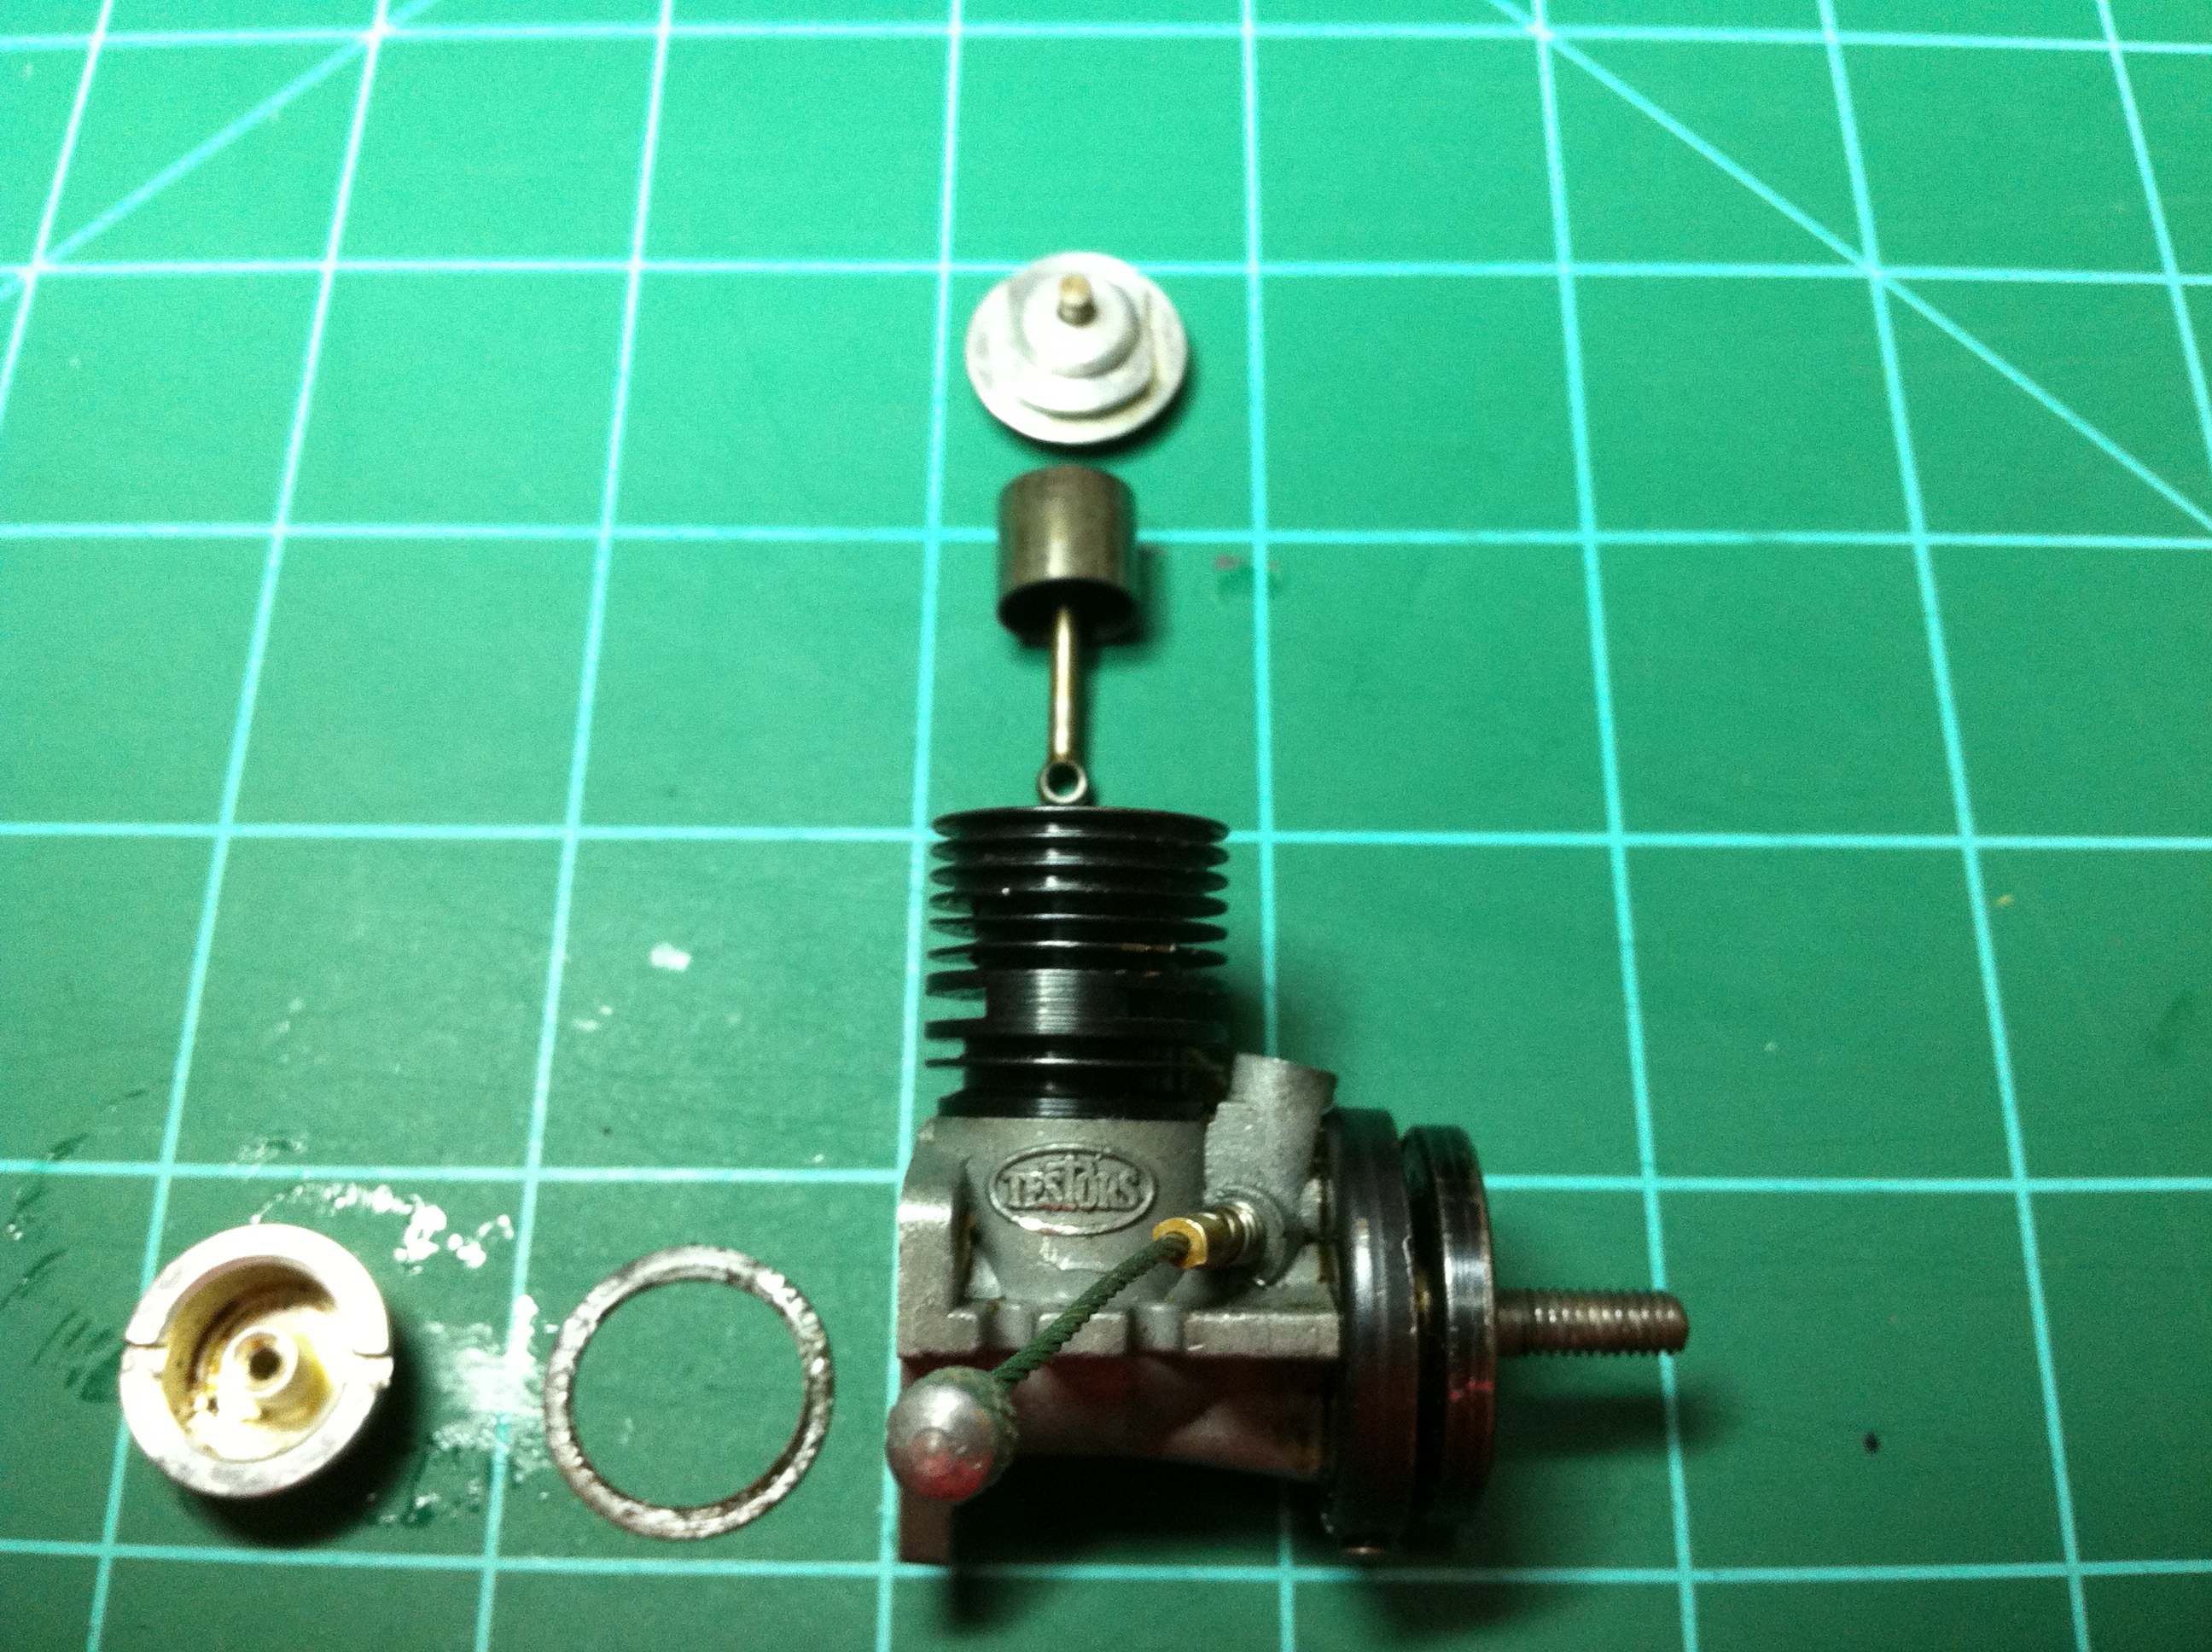
I googled how to dismantle the engine and the best way to clean it but I couldn’t find too much. To help free up the shaft and get a lot of the gummed up old fuel out of it, I decided to soak the engine in carburetor cleaner. I was able to get the glo-plug off of the top of the engine with a pair of pliers – This let the carb-cleaner get down into the engine itself. I let the engine soak for about 6 hours. After I took it out and dried up all of the carb-cleaner, I was able to spin the shaft 360 degrees. It wasn’t very smooth, but it spun. I then found a piece of aluminum 1/16″ x 3/4″ and I used that to unscrew the cap on the back of the engine. After that I took the piston out. To do this I took a very small pair of pliers and pulled the piston connection rod off of the crankshaft. Then I pushed the piston rod up and pulled the piston out through the hole where the glo-plug screws in.
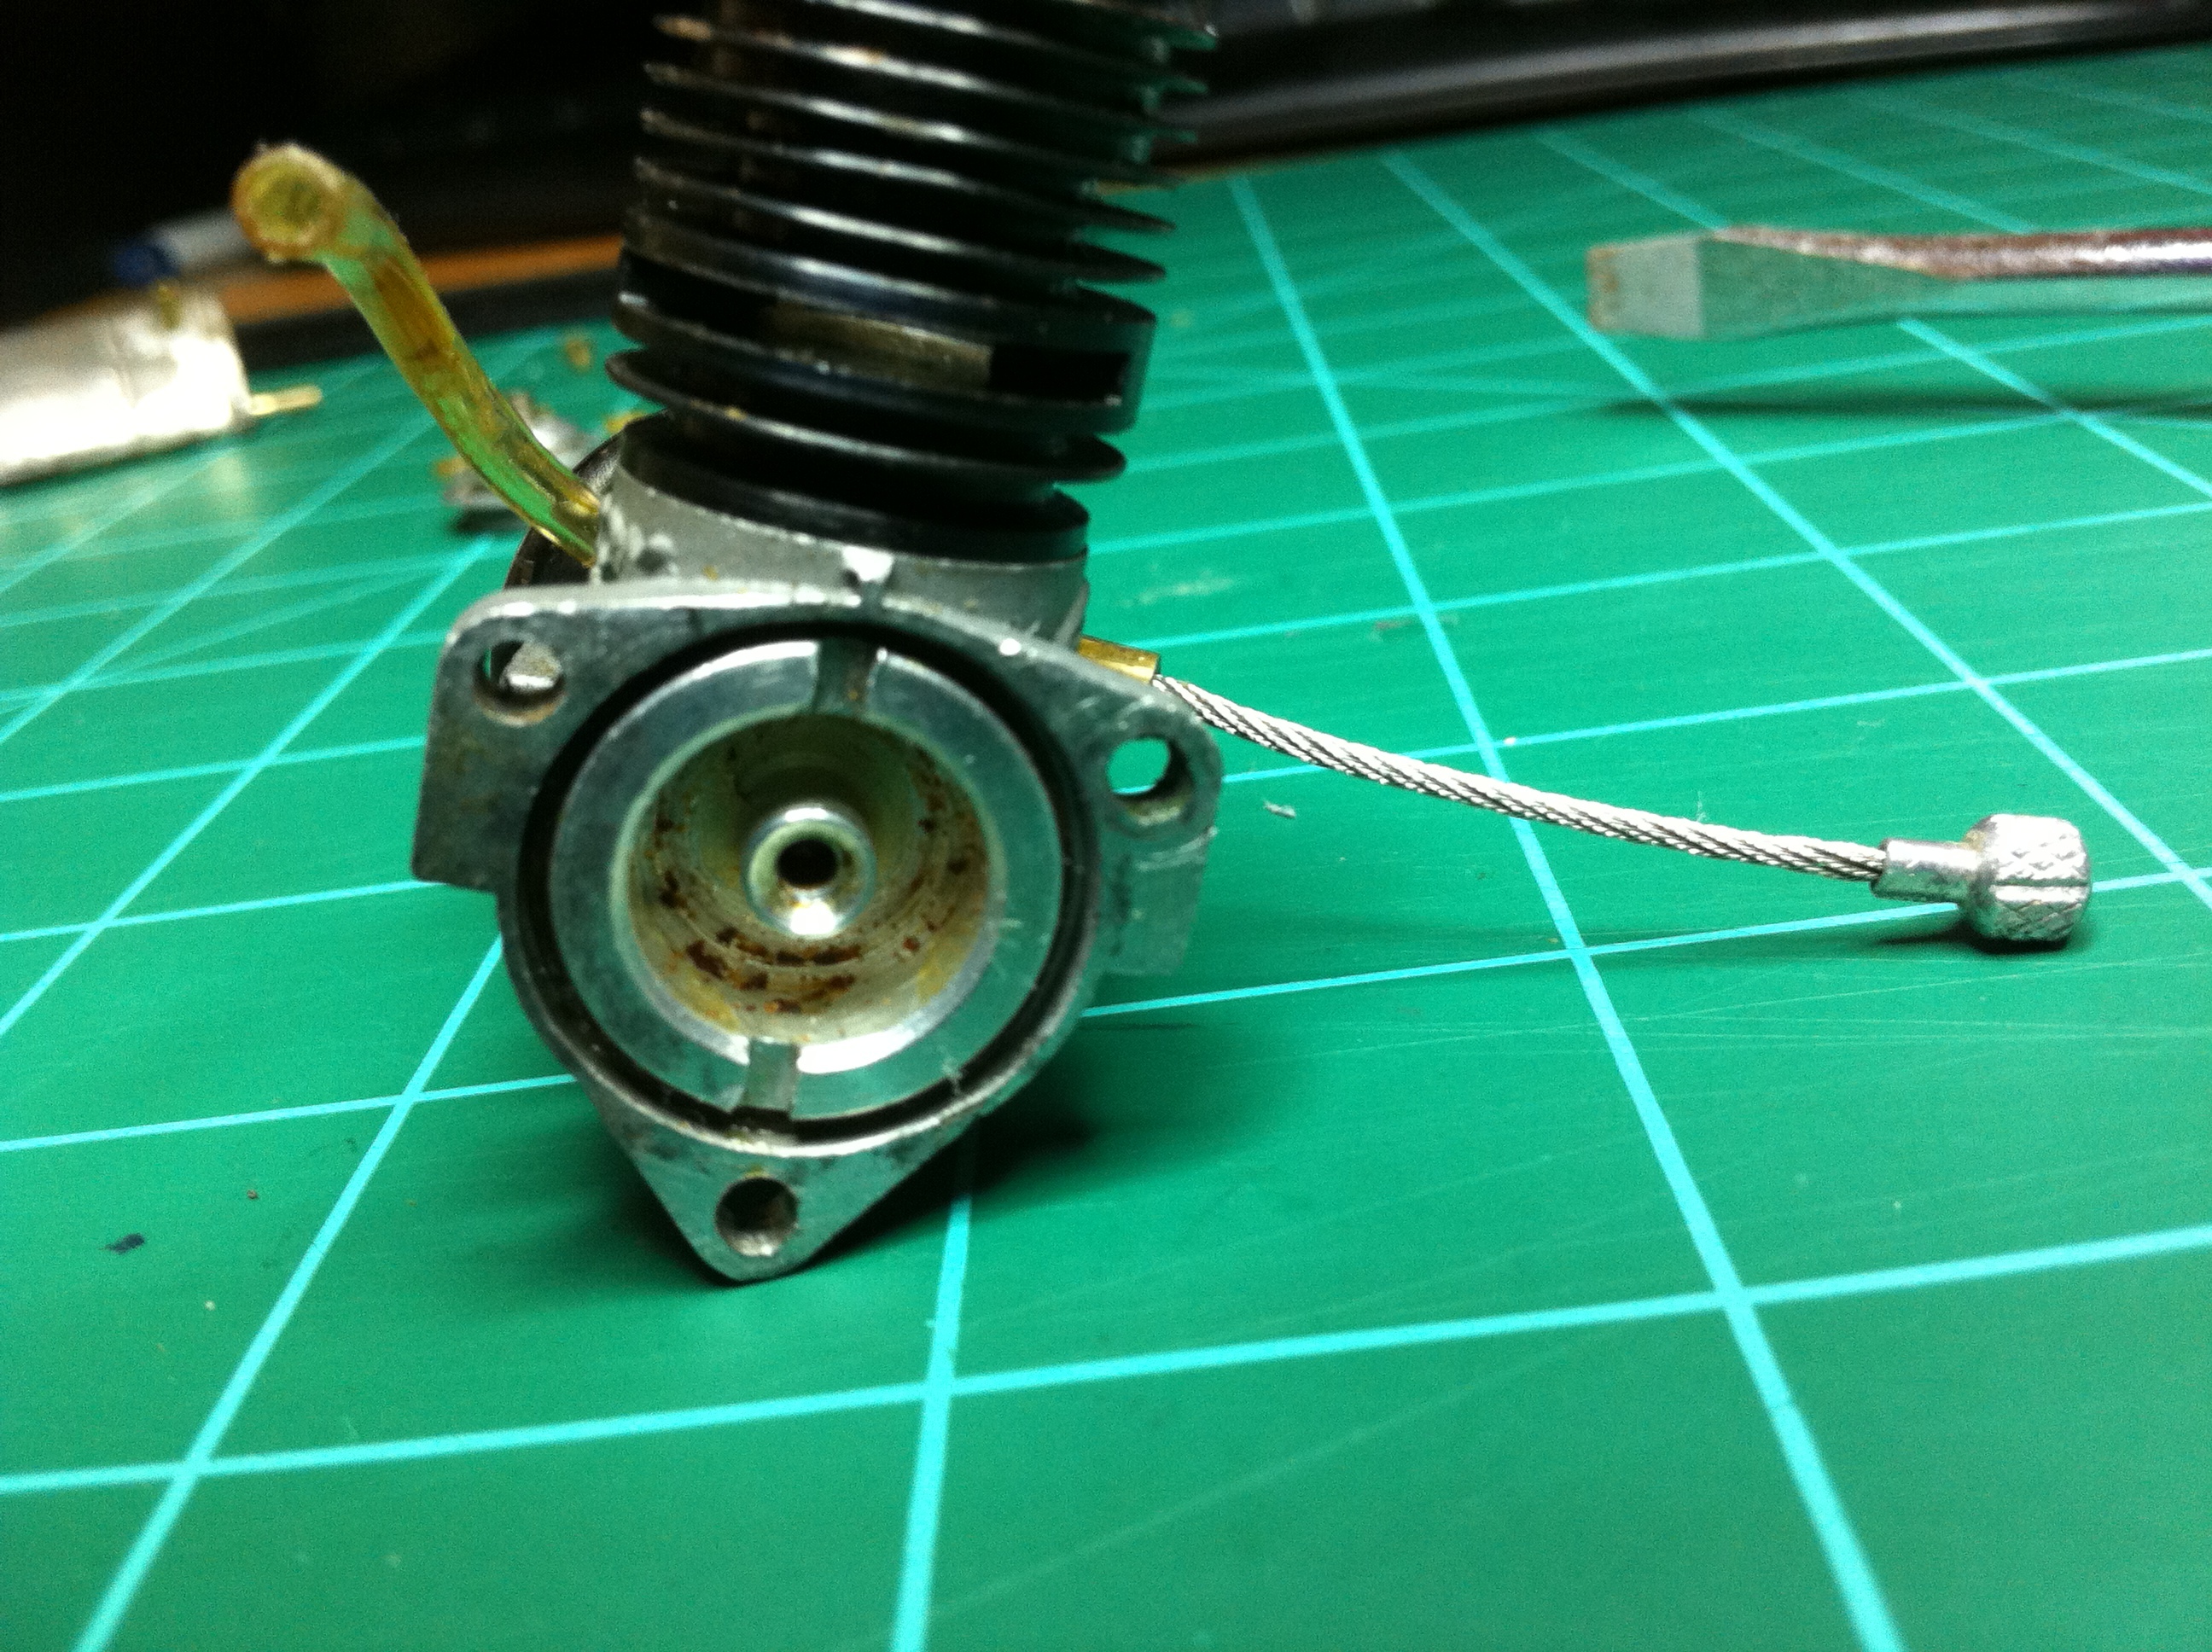
At this point I actually rinsed the whole engine in hot, soapy (dish detergent) water. This got a lot of grime that was still in the engine out. After I completely rinsed out ALL of the soap, I dried the engine with some paper towels and then let it air-dry for a while. After all of that I was ready to reassemble the engine. I then put a drop or two of 3-in-1 oil around the engine crankshaft and spun it a little to let it get down into the engine. I also put some 3-in-1 oil on a paper-towel and wiped it onto the piston. I did this because I didn’t want the inside of the engine to be filled with oil – I just wanted it all to be lightly oiled. Then I re-assembled the engine in reverse of how I disassembled it.
The engine right now is ready to start, I just have to buy some fuel. My local hobby shop doesn’t sell the right kind so I will have to find it elsewhere. I can’t wait to get it running, and I’ll keep ya’ll posted on how it goes.